Ever encountered a puzzle with a hidden answer, a secret message, or a quiz that requires a special trick to unveil the solution? If you’re looking for a simple, fun, and effective way to uncover obscured text on paper, this DIY method using just baby oil and a cotton swab is worth trying. It’s a quick hack to reveal answers or messages without damaging your paper.
What You’ll Need
- Baby oil (a small amount)
- Cotton swab (1)
- Paper with the hidden text (e.g., a quiz printout, a secret message, or a drawing meant to be revealed)
Why This DIY Can Be Useful
This clever trick works by utilizing the properties of oil. When baby oil is gently applied to paper, it saturates the paper fibers, making the paper more translucent. As the paper becomes more see-through, any text or image printed lightly underneath or on the reverse side becomes visible through the now-transparent paper. It’s a gentle and non-damaging way to reveal information.
How to Use It
-
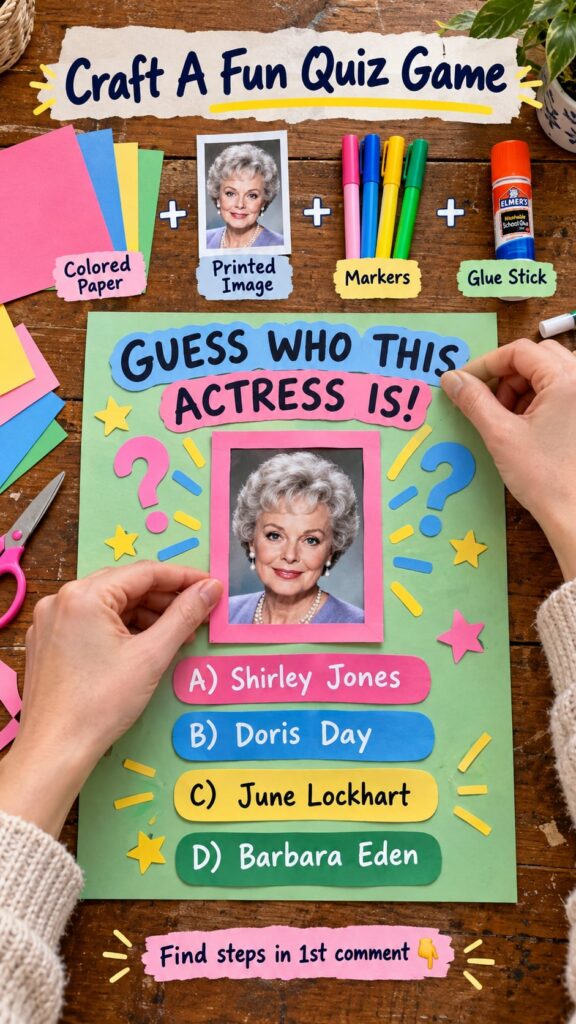
Gently apply baby oil to reveal hidden text. First, lay your paper with the hidden text flat on a clean, dry, and protected surface. It’s a good idea to place a piece of scrap paper or an old towel underneath to catch any potential excess oil.
- Dip one end of your cotton swab into the baby oil. You only need a very small amount; the goal is to moisten the swab, not to soak it.
- Lightly and gently brush the oiled cotton swab over the specific area of the paper where you suspect the hidden text is located. Aim for an even, thin layer of oil.
- As the oil is absorbed by the paper, the area should gradually become more translucent, making the text underneath visible.
- If the text isn’t fully clear, you can apply another tiny bit of oil. Be cautious not to over-apply, as too much oil can make the paper overly greasy and difficult to handle.
What to Expect
You should see the hidden text clearly appear as the paper absorbs the baby oil and becomes transparent. The sharpness of the revealed text will depend on the type of paper and how the hidden text was originally made. The paper will feel slightly oily and appear darker where the oil has been applied.
Helpful Tips
- Start Small: Always begin with a minimal amount of oil. You can always add a little more if needed, but it’s hard to remove excess.
- Even Application: Try to apply the oil as smoothly and evenly as possible to avoid splotches and ensure consistent transparency.
- Good Lighting: Perform this DIY in a brightly lit area to ensure the best possible visibility of the revealed text.
- Practice First: If you’re working on something important, consider trying this method on a similar piece of scrap paper with some test writing first to get a feel for it.
Important Notes / Safety
- Protect Surfaces: Baby oil can leave greasy marks. Always work on a surface that is protected or easy to clean.
- Paper Type Matters: This method generally works best on thinner, uncoated papers. Thicker, glossy, or heavily coated papers may not absorb the oil effectively or might react differently.
- Ink Considerations: While usually safe, some specific inks might react or bleed slightly when exposed to oil. If you have concerns, perform a small test on an inconspicuous area of the paper.
- Disposal: Oiled paper can be slippery and, depending on local regulations, may not be suitable for recycling. Dispose of it thoughtfully.
- Temporary Effect: The transparency effect might diminish over time as the oil eventually dries or disperses. The treated paper will also remain oily to the touch.
This DIY is a fun and simple trick for adding an element of surprise to quizzes, scavenger hunts, or revealing secret messages. Enjoy uncovering what’s hidden!