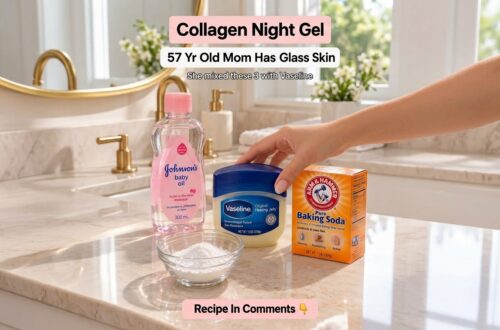
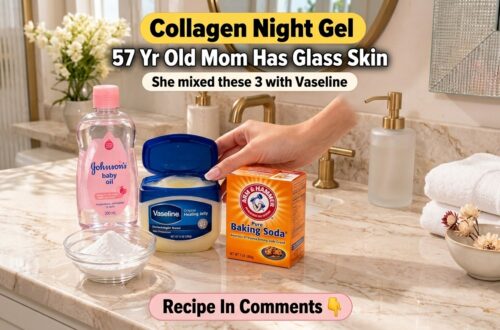
Hey gorgeous! Ever dreamed of waking up with that coveted ‘glass skin’ glow? You know, skin that’s so smooth, luminous, and poreless it looks like a sheet of glass? Well, your beauty bestie is here to tell you that this dream isn’t just for K-drama stars anymore! You can achieve a radiant, hydrated complexion right in your own home with a super simple, 3-ingredient DIY night gel.
Forget expensive serums and complicated routines. We’re talking about pantry and medicine cabinet staples that work wonders while you sleep. Ready to discover the secret to waking up with skin so smooth and dewy, you’ll feel like a million bucks?
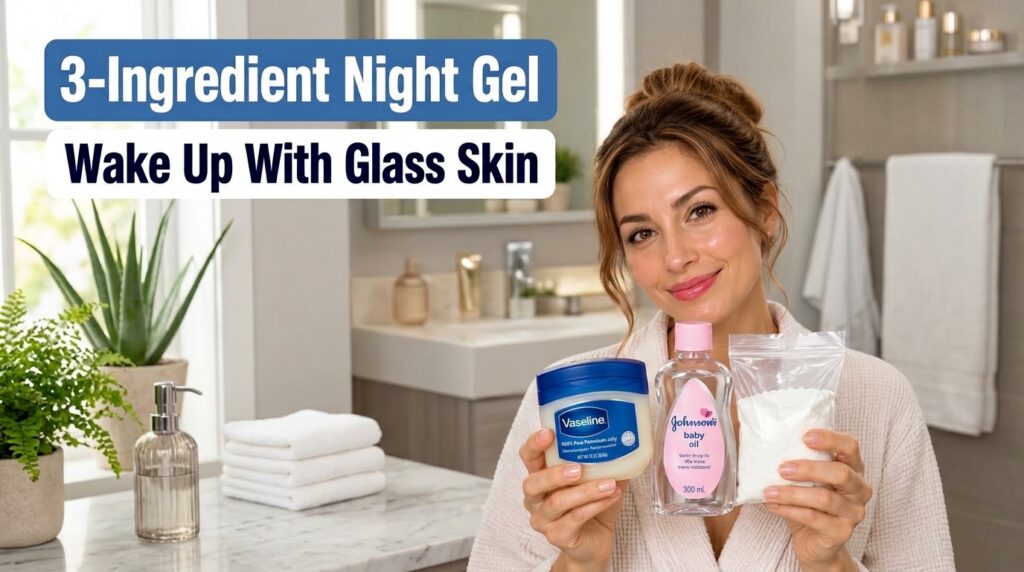
What Exactly is Glass Skin?
Before we dive into our magical night gel, let’s chat about what ‘glass skin’ truly means. It’s not about flawless skin (because perfectly flawless skin doesn’t exist!), but rather skin that is incredibly hydrated, plump, and smooth, reflecting light beautifully. It has a youthful, dewy translucence that makes it appear almost poreless and incredibly healthy. It’s a look that radiates health from within!
The Powerhouse Trio: Your 3 Secret Ingredients
This DIY night gel harnesses the moisturizing and soothing properties of three common household items. Let’s break down why they’re perfect for your glass skin journey:
1. Vaseline (Petroleum Jelly)
- The Ultimate Occlusive: Vaseline is a fantastic occlusive agent, meaning it creates a protective barrier on your skin. This barrier locks in moisture, preventing water loss throughout the night and keeping your skin incredibly hydrated.
- Heals and Protects: It’s excellent for soothing dry, chapped, or irritated skin, helping it to heal and feel soft.
- Non-Comedogenic: Despite common myths, pure petroleum jelly is non-comedogenic, meaning it won’t clog your pores.
2. Baby Oil (Mineral Oil)
- Lightweight Hydration: Baby oil, which is primarily mineral oil, is a lightweight moisturizer that helps to soften and smooth the skin.
- Enhances Barrier: It works synergistically with Vaseline to further seal in hydration and improve the skin’s natural barrier function.
- Gentle and Hypoallergenic: Formulated for delicate baby skin, it’s typically very gentle and less likely to cause irritation for most skin types.
3. Cornstarch (Maize Starch)
- Texture Enhancer: When mixed with the oils, cornstarch helps to create a smoother, more gel-like texture for our DIY creation, making it less greasy and more pleasant to apply as a night treatment.
- Gentle Soother: It can also offer a mild, soothing effect on the skin, and some believe it helps in mattifying slight excess oil without being drying.
Your DIY Glass Skin Night Gel Recipe
Ready to whip up this glow-inducing magic? Here’s what you’ll need and how to do it!
What You’ll Need:
- 1 tablespoon Vaseline (petroleum jelly)
- 1 teaspoon Baby Oil (mineral oil)
- 1/2 teaspoon Cornstarch (maize starch)
- A small, clean, airtight container (like a travel jar)
- A clean mixing spoon or spatula
Step-by-Step Instructions:
- Prep Your Workspace: Make sure your hands, mixing tools, and container are all thoroughly clean to prevent contamination.
- Melt the Vaseline (Optional): If your Vaseline is very firm, you can gently warm it for a few seconds in a microwave-safe bowl (remove from the metal tin first!) or over a double boiler until it’s slightly softened. This makes mixing easier.
- Combine Ingredients: In your clean container, add the 1 tablespoon of Vaseline. Then, add the 1 teaspoon of Baby Oil.
- Add Cornstarch: Sprinkle in the 1/2 teaspoon of Cornstarch.
- Mix Thoroughly: Using your clean spoon or spatula, mix all the ingredients together vigorously until they are fully combined and you have a smooth, consistent, gel-like texture. It might take a minute or two to get rid of any lumps.
- Store: Once mixed, close the airtight container. Your DIY night gel is ready to use!
How to Use Your Glass Skin Night Gel for Best Results
Consistency is key when it comes to skincare, especially for that glass skin glow!
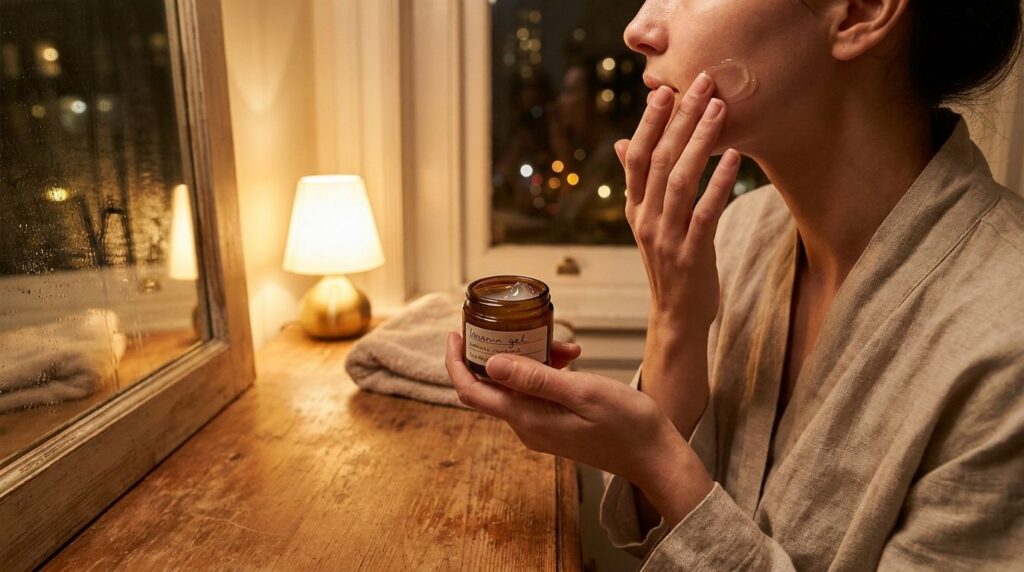
- Cleanse: Start with a thoroughly cleansed face. Remove all makeup, dirt, and impurities.
- Tone & Treat: Apply your usual toner, serums, or targeted treatments (like hyaluronic acid or niacinamide) if you use them. This gel goes on top to seal everything in.
- Apply the Gel: Take a small pea-sized amount of your DIY night gel. Gently warm it between your fingertips and then pat or lightly massage it all over your face and neck. A little goes a long way!
- Go to Sleep: Let the gel work its magic overnight!
- Wake Up & Rinse: In the morning, simply rinse your face with lukewarm water and proceed with your morning skincare routine.
Important Tips for Your Glass Skin Journey
- Patch Test: Always perform a patch test on a small area of your skin (like behind your ear or on your inner arm) before applying any new DIY product to your entire face, especially if you have sensitive skin.
- Start Small: Begin with a tiny amount of the night gel. You can always add more if needed. Over-applying can make it feel heavy.
- Consistency is Key: Use this night gel consistently, 3-4 times a week, or as your skin tolerates, to see the best results.
- Hydration from Within: Remember that true glow starts from within! Drink plenty of water throughout the day.
- Sun Protection: While this is a night treatment, always protect your skin during the day with a broad-spectrum SPF, especially when aiming for healthy, glowing skin.
- Storage: Store your DIY night gel in a cool, dark place. Since it contains no preservatives, try to use it within 2-3 weeks.
Ready to Glow?
Embracing a simple, natural, and affordable approach to skincare can be incredibly rewarding. This 3-ingredient DIY night gel is your secret weapon for achieving that luminous, hydrated glass skin look you’ve been dreaming of, all while using products you likely already have. Give it a try and wake up to a brighter, dewier you!
Have you tried a similar DIY hack or have your own secrets for glass skin? Share your tips with our beauty community in the comments below! We’d love to hear from you!