Are you ready to revitalize your skin with a simple, effective nightly routine? Many of us are looking for ways to achieve a smoother, more radiant complexion without breaking the bank or navigating complicated product labels. Today, we’re diving into a popular beauty secret: a DIY anti-aging gel you can whip up right in your own kitchen using just two common ingredients!
This easy homemade recipe is a wonderful way to give your skin some extra love. People are trying this method to help reduce the appearance of wrinkles and fine lines, aiming for that youthful glow we all desire. It’s about nourishing your skin with gentle, readily available items.
What You’ll Need for Your DIY Anti-Aging Gel
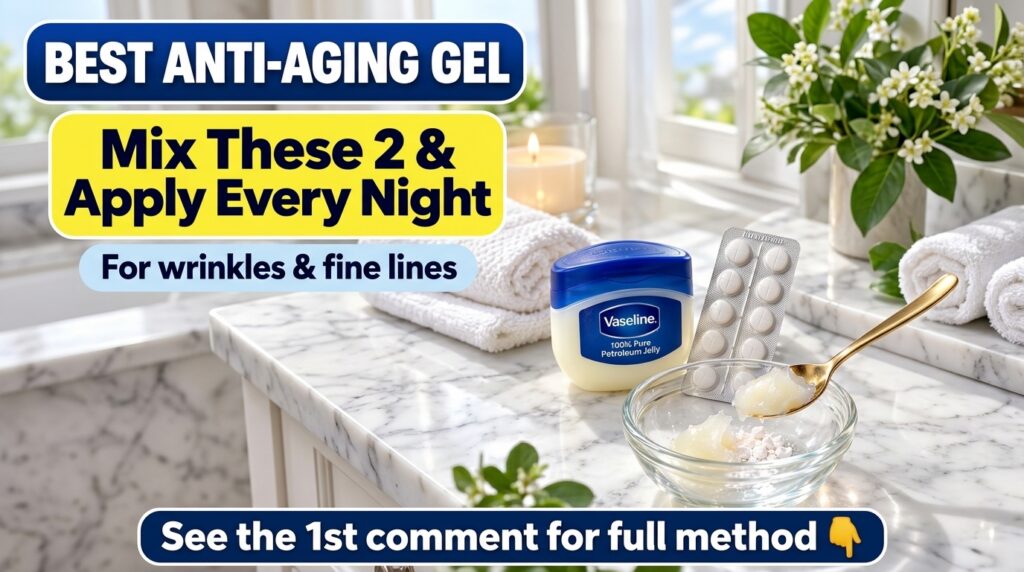
The beauty of this recipe lies in its simplicity. You likely already have one, if not both, of these items at home!
- Petroleum Jelly (like Vaseline): A fantastic occlusive that helps lock in moisture, creating a protective barrier for your skin. This can lead to a plumper, smoother-looking appearance.
- A Crushed Vitamin C Tablet or Powdered Vitamin C: Vitamin C is widely celebrated in the beauty world for its antioxidant properties. It’s commonly used in beauty routines for its potential to brighten the skin’s appearance and support a youthful glow.
Optional additions (if you wish to experiment):
- A few drops of your favorite facial oil (like almond oil or vitamin E oil) for extra nourishment.
Step-by-Step Instructions: Making Your Anti-Aging Gel
Let’s get mixing! This process is quick and easy, perfect for incorporating into your evening routine.
- Prepare Your Vitamin C: If using a tablet, crush it into a very fine powder. You can do this with the back of a spoon or a mortar and pestle. Ensure there are no large granules, as these could be abrasive on your skin.
- Measure Your Petroleum Jelly: Scoop about a tablespoon of petroleum jelly into a small, clean, heat-safe bowl.
- Gently Melt (Optional but Recommended): For easier mixing and a smoother consistency, you can gently warm the petroleum jelly. You can place the bowl over a larger bowl of hot water (a double boiler method) or microwave it for a few seconds until it’s slightly softened, not fully liquid.
- Combine Ingredients: Add about half a teaspoon of the crushed vitamin C powder to the softened petroleum jelly.
- Mix Thoroughly: Stir vigorously until the powder is completely incorporated and you have a smooth, uniform gel. If adding any optional oils, stir them in now.
- Transfer and Store: Spoon your freshly made anti-aging gel into a small, clean, airtight container. A small glass jar or a clean balm container works perfectly.
How to Use Your DIY Anti-Aging Gel
This gel is best applied as the last step in your nightly skincare routine to lock everything in.
- Cleanse and Tone: Start with a clean face. Wash away makeup and impurities, then follow with your usual toner if you use one.
- Apply Serums (Optional): If you use other serums (like hyaluronic acid), apply them before the gel.
- Apply the Gel: Take a small amount of your DIY anti-aging gel – a pea-sized amount is usually enough – and gently warm it between your fingertips.
- Pat Onto Skin: Lightly pat and spread the gel over your face, neck, and décolletage. Pay extra attention to areas where you notice fine lines or dryness. Avoid getting it too close to your eyes if you have sensitive eyes.
- Sleep and Let it Work: Allow the gel to absorb overnight. You’ll wake up to skin that feels wonderfully soft and hydrated!
Important Considerations Before You Try This
- Patch Test is Key: Always perform a patch test on a small, inconspicuous area of your skin (like behind your ear or on your inner arm) at least 24 hours before applying it to your entire face. This helps ensure you don’t have an adverse reaction to either ingredient.
- Individual Results Vary: While many people find success with natural beauty remedies, everyone’s skin is unique. Results can vary, and consistency is often key.
- No Medical Claims: Remember, this DIY gel is intended for cosmetic use to support healthy-looking skin and enhance moisture. It is not a medical treatment and should not be used to treat skin conditions or replace professional medical advice.
- Storage: Store your homemade gel in a cool, dark place. Since it contains no preservatives, it’s best to make small batches and use them within 1-2 weeks.
Embrace Your Natural Radiance
There you have it – a simple, affordable, and easy-to-make DIY anti-aging gel designed to help you on your journey to smoother, more radiant-looking skin. This beauty ritual is a testament to how simple ingredients can offer a lot of value. Give it a try and discover the joy of nurturing your skin with a touch of homemade goodness!
Do you have any favorite two-ingredient beauty hacks? Share them in the comments below!