If your skin has been feeling rough, flaky, or dull, you’ve probably come across countless homemade exfoliating mixtures on social media. Among the most popular and simple versions is a paste that combines just three common ingredients: Vaseline, honey, and baking soda. This viral DIY blend aims to transform into a thick, creamy paste that many people use to help their skin feel incredibly soft.
The appeal of this mixture is easy to understand: Vaseline is known for its ability to help seal in moisture, creating a protective barrier. Honey lends the mixture a smooth, conditioning texture, making it feel lovely on the skin. Baking soda, on the other hand, adds a mild gritty feel that many people use for gentle physical exfoliation. While this paste can certainly leave very dry skin feeling softer after use, it—like many DIY remedies—should be treated as an occasional body-care mixture. It’s not a guaranteed way to “remove dead skin on the first try” or a permanent solution for all skin concerns, but rather a popular routine worth learning about for its potential to help achieve smoother-feeling skin.
What You’ll Need
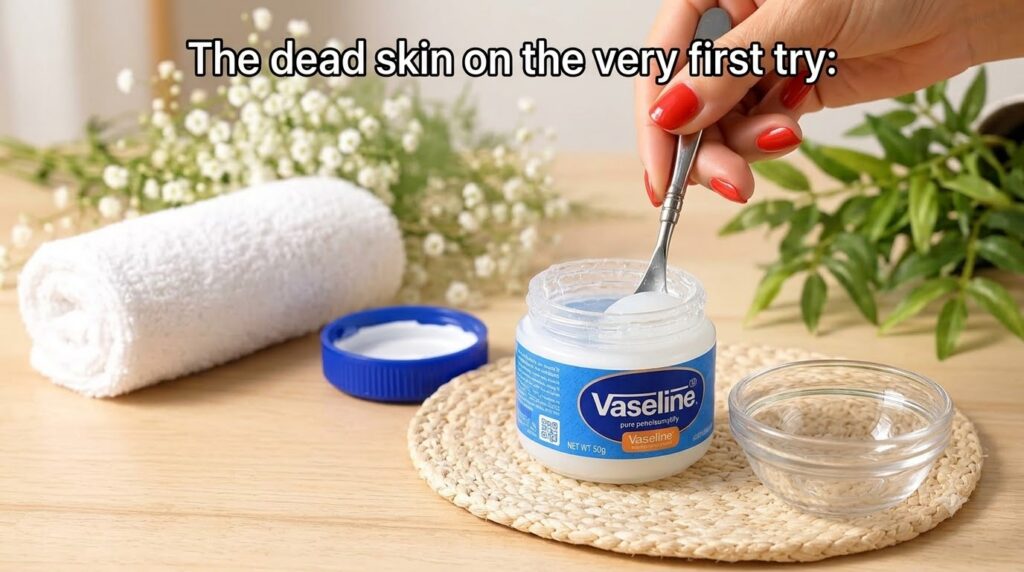
Gathering your ingredients and tools before you start makes the process smooth and easy. Here’s what you’ll need for this popular DIY paste:
- 1 teaspoon Vaseline petroleum jelly
- 1 teaspoon honey (any variety will do, but raw honey is often preferred in DIY beauty)
- A small pinch of baking soda (start with less than 1/4 teaspoon; you can add more if desired, but caution is advised)
- 1 small glass or ceramic bowl
- 1 clean spoon or spatula for mixing
A word of caution: Baking soda can be quite abrasive and potentially irritating, especially on sensitive facial skin. It’s always best to start with much less than the large spoonfuls often shown in viral videos, particularly if you have never used it on your skin before.
How to Make the Mixture
Creating this paste is incredibly simple. Just follow these easy steps:
Step 1: Add the Vaseline
Scoop about 1 teaspoon of Vaseline petroleum jelly into your clean glass or ceramic bowl. Vaseline forms the rich, emollient base of this mixture, helping to bind the ingredients together and provide its signature moisturizing feel.
Step 2: Add the Honey
Next, add 1 teaspoon of honey to the bowl with the Vaseline. Honey is a natural humectant, meaning it helps to attract and retain moisture, giving the paste a smoother texture and an extra boost of conditioning properties.
Step 3: Add the Baking Soda
Now, it’s time for the exfoliating component. Add just a small pinch of baking soda to the mixture. Remember, less is often more with baking soda, especially when you’re first trying this DIY. Its fine granules provide the gentle abrasive quality for exfoliation.
Step 4: Mix It Up
Using your clean spoon or spatula, thoroughly mix all the ingredients together in the bowl. Continue stirring until you achieve a thick, creamy, and uniform paste. Ensure there are no large clumps of baking soda and that the Vaseline and honey are fully incorporated.
How to Use Your DIY Exfoliating Paste
Once your paste is mixed, you’re ready to try it! Here’s how people commonly use this popular DIY blend:
- Patch Test First: Always, always perform a patch test on a small, inconspicuous area of your skin (like your inner arm) at least 24 hours before applying it to a larger area. This helps you check for any adverse reactions.
- Clean Skin: Apply the paste to clean, slightly damp skin. This can be done after a shower or bath when your skin is soft and ready for exfoliation.
- Gentle Application: Take a small amount of the paste and gently massage it onto your skin in circular motions. Focus on areas that feel rough or dry, such as elbows, knees, heels, or other body parts. Avoid delicate areas like the face, especially if you have sensitive skin, due to the baking soda.
- Rinse Thoroughly: After a minute or two of gentle massage, rinse your skin thoroughly with lukewarm water until all traces of the paste are gone.
- Moisturize: Pat your skin dry and follow up with your favorite moisturizer to lock in the newfound softness.
Important Considerations Before You Try This
While DIY beauty can be fun and feel rewarding, it’s essential to approach it with a balanced perspective and prioritize skin health. Here are a few things to keep in mind regarding the Vaseline, honey, and baking soda paste:
- Not for Daily Use: This mixture is generally not recommended for daily use. The exfoliating action of baking soda can be too much for everyday application and may disrupt your skin’s natural barrier over time.
- Baking Soda Sensitivity: As mentioned, baking soda has a high pH and can be irritating for many skin types, especially sensitive or acne-prone skin. It’s best used sparingly and with caution.
- Focus on Body: Most users find this paste more suitable for rougher areas of the body rather than the delicate skin of the face.
- Individual Results Vary: What works for one person may not work for another. Pay attention to how your skin responds and discontinue use if you experience any irritation, redness, or discomfort.
The Takeaway for Smoother-Looking Skin
The Vaseline, honey, and baking soda paste is a popular, affordable DIY beauty hack that people are trying to achieve smoother-feeling skin. By combining the moisturizing properties of Vaseline and honey with the mild exfoliating texture of baking soda, it offers a simple way to address rough, dry patches. Remember to always proceed with caution, perform a patch test, and listen to your skin’s needs. Enjoy exploring the world of natural beauty solutions with a mindful approach!