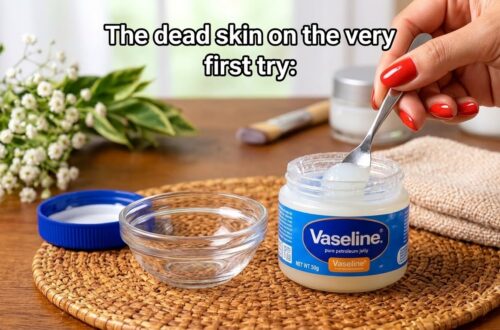
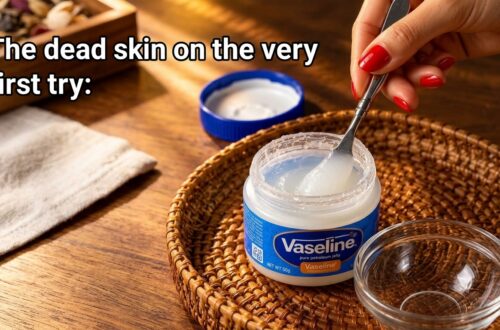
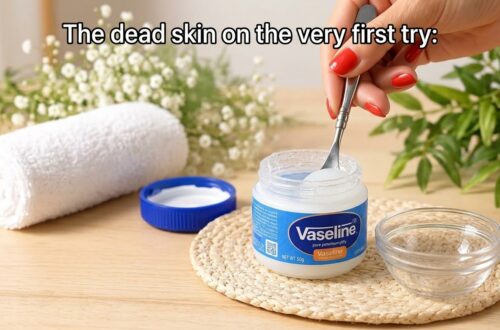
If your skin feels rough, flaky, or dull, you have probably seen homemade exfoliating mixtures all over social media. One of the simplest versions combines just Vaseline, honey, and baking soda into a thick, creamy paste.
The appeal is easy to understand: Vaseline helps seal in moisture, honey gives the mixture a smooth, conditioning texture, while baking soda adds a mild gritty feel that people use for exfoliation. It can leave very dry skin feeling softer after use, but it should be treated as an occasional DIY body-care mixture—not as a guaranteed way to “remove dead skin on the first try.” This popular beauty routine is worth learning about if you’re looking for an affordable way to achieve smoother-looking skin.
What You’ll Need
- 1 teaspoon Vaseline petroleum jelly
- 1 teaspoon honey
- A small pinch of baking soda
- 1 small glass or ceramic bowl
- 1 clean spoon
Because baking soda can be irritating, especially on sensitive facial skin, start with much less than the large spoonfuls often shown in viral videos. This mixture is generally recommended for tougher skin areas like elbows, knees, or feet.
How to Make the Mixture
Step 1: Add the Vaseline
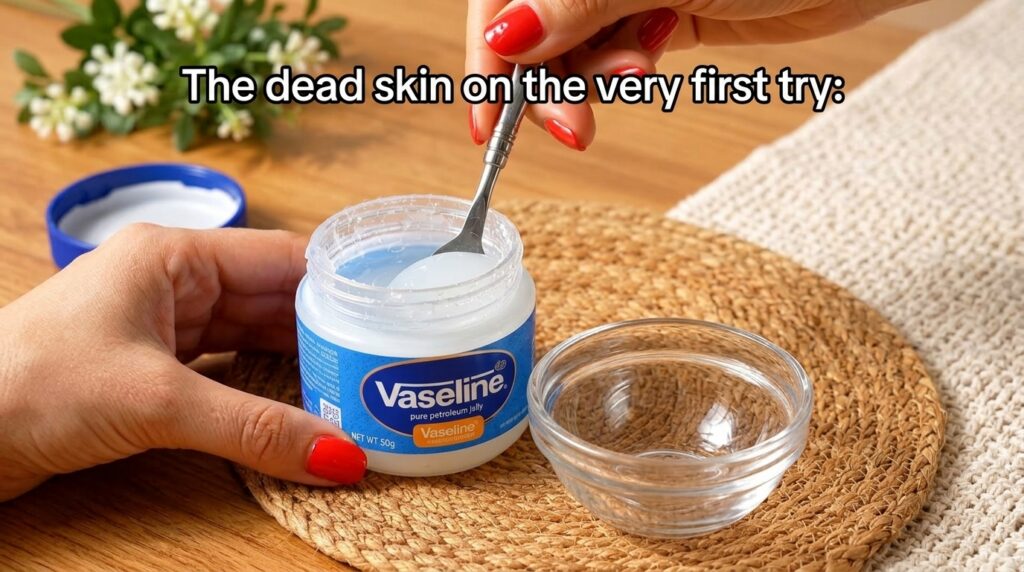
Scoop about 1 teaspoon of Vaseline into a clean bowl. Vaseline creates the rich base of the mixture and helps reduce potential irritation from the baking soda by providing a protective, moisturizing layer. It’s the key to making this paste creamy and easy to spread.
Step 2: Incorporate Honey
Next, add 1 teaspoon of honey to the bowl with the Vaseline. Honey is a natural humectant, meaning it helps attract and retain moisture in the skin, contributing to that desired soft, smooth feeling. It also helps bind the ingredients together, making the paste easier to apply.
Step 3: Mix in Baking Soda
Finally, add a small pinch of baking soda to the mixture. Remember, a little goes a long way! Use about a quarter of a teaspoon or even less, especially if you have sensitive skin. Baking soda provides the mild abrasive quality for gentle physical exfoliation, helping to buff away surface dryness. Mix all the ingredients thoroughly with your spoon until you have a thick, creamy, and uniform paste.
How to Use Your DIY Paste for Smoother Skin
Once your paste is ready, here’s how to apply it:
- Cleanse your skin: Ensure the area you plan to treat (like elbows, knees, or heels) is clean and dry.
- Patch test: Before full application, apply a tiny amount to a small, inconspicuous area of your skin and wait 24 hours to check for any adverse reactions.
- Apply gently: Take a small amount of the paste and gently massage it onto your rough, dry skin in circular motions. Avoid vigorous scrubbing, as baking soda can be abrasive.
- Leave on (optional): Some people prefer to leave the paste on for 5-10 minutes, allowing the moisturizing ingredients to work. However, if you have sensitive skin, it’s best to rinse immediately after gentle exfoliation.
- Rinse thoroughly: Wash off the paste with warm water, ensuring no residue is left behind.
- Moisturize: Follow up with your favorite moisturizer to lock in the newfound softness.
Important Considerations Before You Try This
While this DIY paste is popular, it’s important to use it wisely:
- Body-care only: This mixture is best reserved for rougher areas of the body, such as elbows, knees, and feet. It is generally not recommended for delicate facial skin due to the abrasive nature of baking soda.
- Infrequent use: This is an occasional treatment, not a daily routine. Using it once or twice a week at most is usually sufficient for most people. Over-exfoliation can lead to irritation or compromise your skin barrier.
- Listen to your skin: If you experience any redness, burning, itching, or discomfort, rinse the paste off immediately and discontinue use.
- Avoid broken skin: Never apply this mixture to broken, cut, or irritated skin.
This Vaseline, honey, and baking soda paste can be a wonderful addition to your DIY beauty toolkit for achieving softer, smoother-looking skin on rough patches. Just remember to approach it with caution, especially regarding the amount of baking soda, and always listen to your skin’s unique needs. Enjoy exploring the benefits of simple, natural ingredients!