Craving a sweet treat but short on time? You’re in luck! We’ve rounded up 7 irresistible no-bake recipes, starting with the viral 3-ingredient No-Bake Banana Chocolate Fudge that everyone is talking about. These recipes are designed for ease, minimal cleanup, and maximum flavor, making them perfect for quick snacks, healthy desserts, or satisfying your sweet tooth without turning on the oven.
From rich fudges to energy-boosting bites, get ready to discover your new favorite guilt-free indulgence. Each recipe uses simple ingredients and requires just a few steps, proving that healthy and delicious can go hand-in-hand.
Quick Overview
- Main topic: Easy, healthy no-bake desserts and snacks
- Best for: Quick treats, healthy indulgences, busy schedules, sweet cravings
- Number of recipes: 7
- Prep style: No-bake, minimal cooking required
- Reader benefit: Delicious, simple, and wholesome dessert ideas
Recipe 1: 3-Ingredient No-Bake Banana Chocolate Fudge
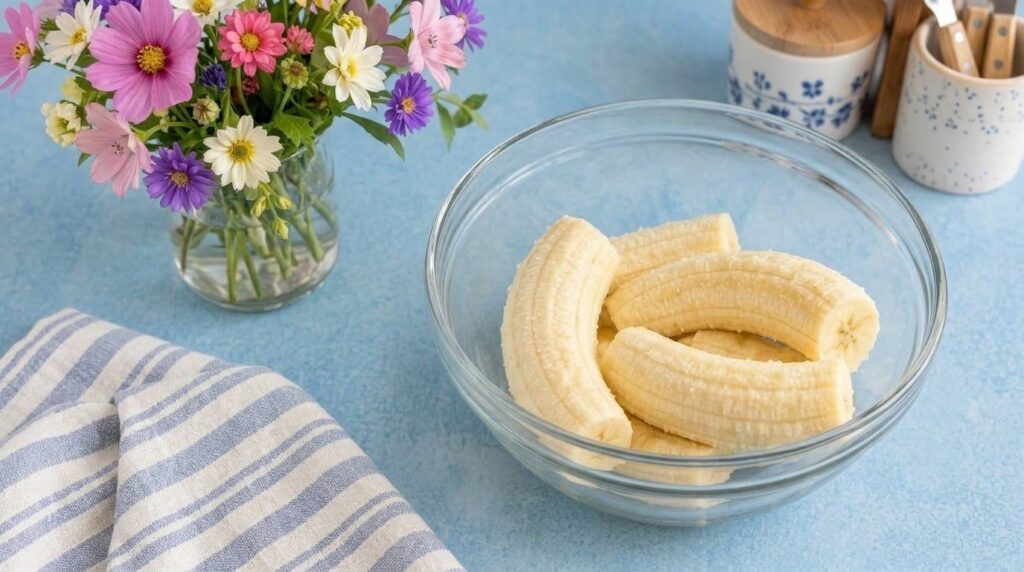
This is the viral sensation you’ve been waiting for! Just three simple ingredients combine to create a creamy, decadent fudge that’s surprisingly healthy and incredibly easy. Perfect for a quick dessert or a satisfying snack.
Servings: 8-10 squares
Prep time: 10 minutes
Cook / chill / rest time: 30 minutes (chill)
Ingredients:
- 2 medium ripe bananas, mashed
- 1/4 cup creamy peanut butter
- 2-3 tablespoons unsweetened cocoa powder (adjust to taste)
Instructions:
- In a medium mixing bowl, combine the mashed bananas, creamy peanut butter, and unsweetened cocoa powder.
- Mix thoroughly with a spoon or spatula until all ingredients are well incorporated and the mixture is smooth and consistent.
- Line a small square dish (approximately 8×8 inches or similar) with parchment paper, leaving an overhang on the sides for easy removal.
- Press the fudge mixture evenly into the prepared dish. Alternatively, roll into small balls for individual servings.
- Place the dish in the refrigerator for at least 30 minutes to allow the fudge to set firmly.
- Once set, lift the fudge out using the parchment paper, slice into squares, and serve immediately.
Storage / Serving / Usage Note:
Store leftover fudge in an airtight container in the refrigerator for up to 3-4 days. Best served chilled.
Recipe 2: Peanut Butter Energy Balls
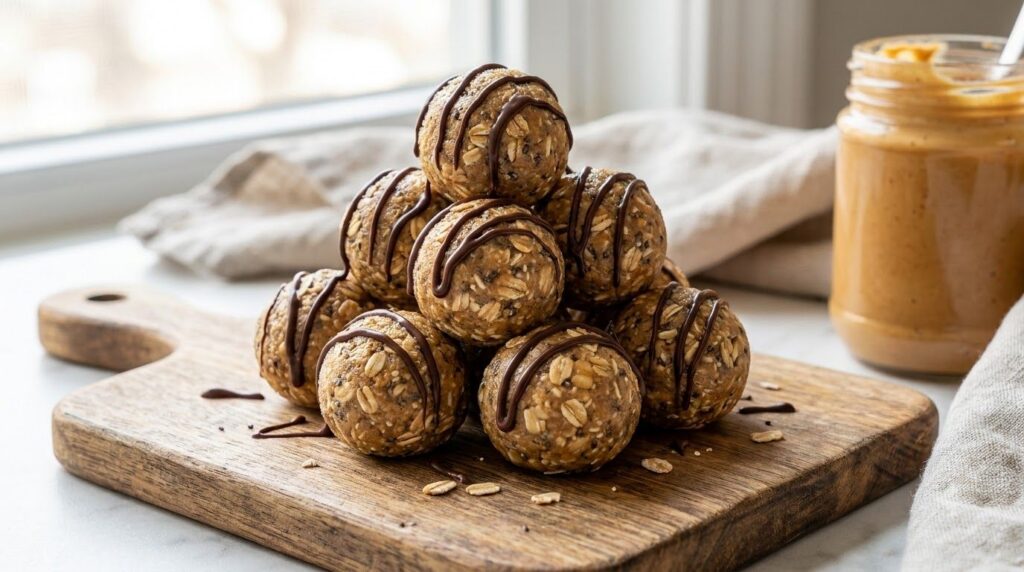
These no-bake energy balls are packed with protein and fiber, making them an ideal snack to keep you going. Easy to customize and perfect for meal prepping!
Servings: 12-15 balls
Prep time: 15 minutes
Cook / chill / rest time: 30 minutes (chill)
Ingredients:
- 1 cup rolled oats
- 1/2 cup creamy peanut butter
- 1/4 cup honey or maple syrup
- 2 tablespoons chia seeds (optional)
- 1/4 cup mini chocolate chips (optional)
Instructions:
- In a bowl, combine rolled oats, peanut butter, honey (or maple syrup), and chia seeds.
- Mix until well combined and the mixture forms a sticky dough.
- Stir in mini chocolate chips, if using.
- Roll the mixture into small, bite-sized balls.
- Place the energy balls on a plate or baking sheet lined with parchment paper.
- Chill in the refrigerator for at least 30 minutes to firm up.
Storage / Serving / Usage Note:
Store in an airtight container in the refrigerator for up to 1 week, or freeze for longer storage.
Recipe 3: No-Bake Chocolate Oatmeal Cookies
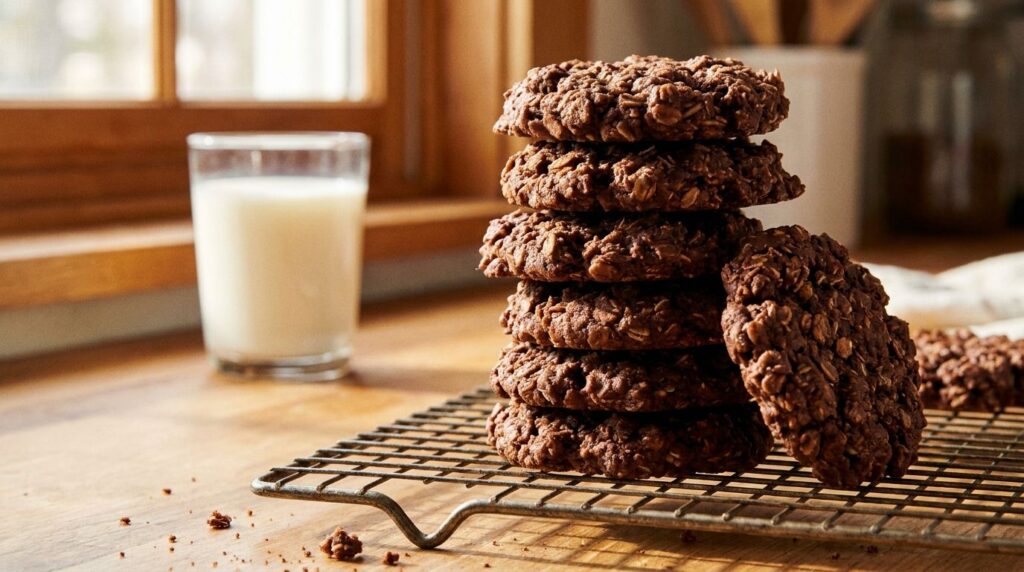
A childhood favorite reinvented! These rich and chewy no-bake chocolate oatmeal cookies are simple to make and hit the spot every time. No oven needed for this classic treat.
Servings: 18-20 cookies
Prep time: 10 minutes
Cook / chill / rest time: 30 minutes (set)
Ingredients:
- 1/2 cup unsalted butter
- 1/2 cup milk (dairy or non-dairy)
- 1/2 cup unsweetened cocoa powder
- 2 cups granulated sugar
- 1/2 cup peanut butter or almond butter
- 1 teaspoon vanilla extract
- 3 cups quick-cooking oats
Instructions:
- In a large saucepan, combine butter, milk, cocoa powder, and sugar. Bring to a rolling boil over medium heat, stirring constantly.
- Boil for exactly 1 minute, then remove from heat.
- Stir in the peanut butter (or almond butter) and vanilla extract until smooth.
- Add the quick-cooking oats and mix well until fully coated.
- Quickly drop spoonfuls of the mixture onto parchment-lined baking sheets.
- Let cool and set at room temperature for about 30 minutes, or chill in the refrigerator for faster setting.
Storage / Serving / Usage Note:
Store in an airtight container at room temperature for up to 3 days, or in the refrigerator for up to a week.
Recipe 4: Date & Nut Energy Bars
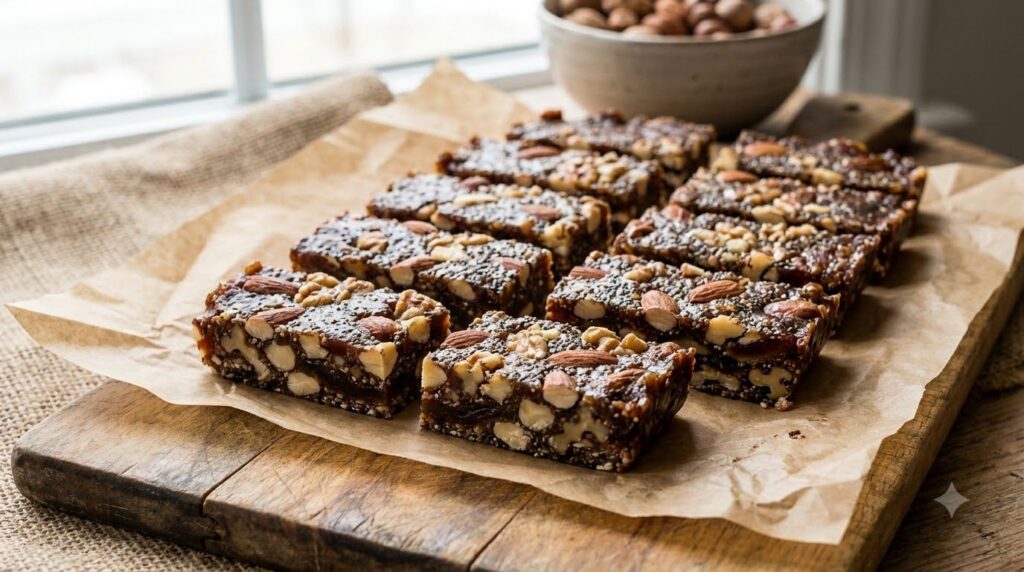
These dense and chewy bars are packed with natural sweetness and healthy fats, making them a fantastic grab-and-go snack or post-workout fuel. Super customizable with your favorite nuts and seeds!
Servings: 8 bars
Prep time: 15 minutes
Cook / chill / rest time: 1 hour (chill)
Ingredients:
- 1 cup pitted Medjool dates
- 1/2 cup raw almonds
- 1/2 cup raw walnuts
- 2 tablespoons chia seeds
- 1 tablespoon unsweetened cocoa powder (optional)
- Pinch of sea salt
Instructions:
- In a food processor, pulse almonds and walnuts until roughly chopped but still with some texture. Set aside.
- Add pitted dates to the food processor and process until a sticky ball forms.
- Add the chopped nuts, chia seeds, cocoa powder (if using), and sea salt to the food processor. Pulse until everything is well combined and the mixture is sticky enough to hold together when pressed.
- Press the mixture firmly and evenly into a small (8×4 inch) parchment-lined loaf pan.
- Chill in the refrigerator for at least 1 hour to set.
- Once firm, remove from the pan using the parchment paper and cut into 8 bars.
Storage / Serving / Usage Note:
Store in an airtight container in the refrigerator for up to 2 weeks, or freeze for up to 3 months.
Recipe 5: Berry Yogurt Bark
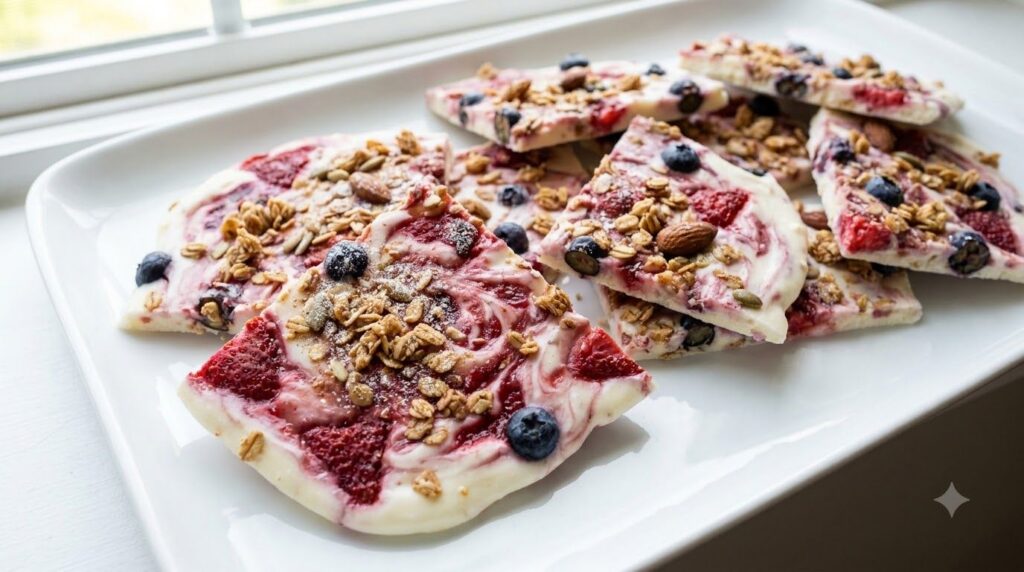
For a refreshing and light treat, this berry yogurt bark is a delightful option. It’s incredibly simple to make, highly customizable, and perfect for a hot day or a guilt-free sweet craving.
Servings: 6-8 pieces
Prep time: 10 minutes
Cook / chill / rest time: 2-3 hours (freeze)
Ingredients:
- 2 cups plain Greek yogurt
- 2 tablespoons honey or maple syrup
- 1 teaspoon vanilla extract
- 1/2 cup mixed berries (fresh or frozen), chopped
- Optional toppings: granola, chia seeds, chopped nuts
Instructions:
- Line a baking sheet with parchment paper.
- In a bowl, mix Greek yogurt, honey (or maple syrup), and vanilla extract until well combined.
- Spread the yogurt mixture evenly onto the prepared baking sheet, forming a thin layer (about 1/4 inch thick).
- Scatter the chopped mixed berries evenly over the yogurt. If desired, add granola, chia seeds, or chopped nuts.
- Place the baking sheet in the freezer for 2-3 hours, or until the yogurt bark is completely frozen and solid.
- Once frozen, break the bark into irregular pieces.
Storage / Serving / Usage Note:
Store frozen yogurt bark in an airtight container or freezer bag in the freezer for up to 2 weeks. Serve directly from the freezer.
Recipe 6: Avocado Chocolate Mousse
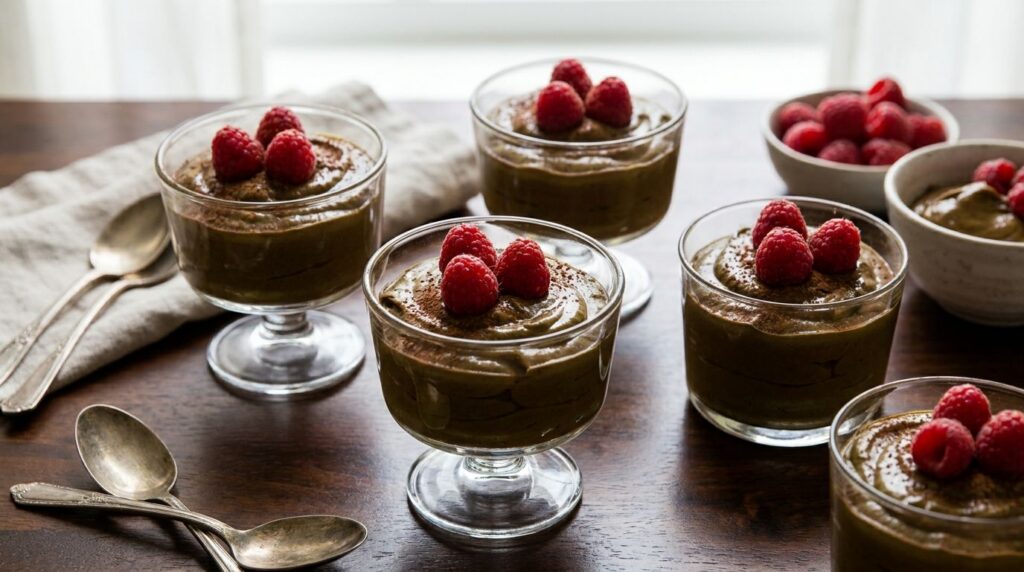
You won’t believe this rich and creamy chocolate mousse is made with avocado! It’s a healthy, dairy-free, and surprisingly decadent dessert that comes together in minutes. A perfect way to sneak in some healthy fats.
Servings: 2
Prep time: 10 minutes
Cook / chill / rest time: 30 minutes (chill, optional)
Ingredients:
- 1 ripe avocado, pitted and scooped
- 1/4 cup unsweetened cocoa powder
- 1/4 cup maple syrup or agave nectar (adjust to taste)
- 1/4 cup unsweetened almond milk (or other milk of choice)
- 1/2 teaspoon vanilla extract
- Pinch of sea salt
Instructions:
- Combine all ingredients (avocado, cocoa powder, maple syrup, almond milk, vanilla extract, and sea salt) in a food processor or high-speed blender.
- Process until the mixture is completely smooth and creamy, scraping down the sides as needed. Ensure there are no avocado lumps remaining.
- Taste and adjust sweetness or cocoa powder if desired.
- Spoon the mousse into two small dessert cups or ramekins.
- Chill in the refrigerator for at least 30 minutes before serving for best flavor and texture, though it can be enjoyed immediately.
Storage / Serving / Usage Note:
Store covered in the refrigerator for up to 2 days. The color may darken slightly, but it will still be delicious.
Recipe 7: Coconut Date Rolls
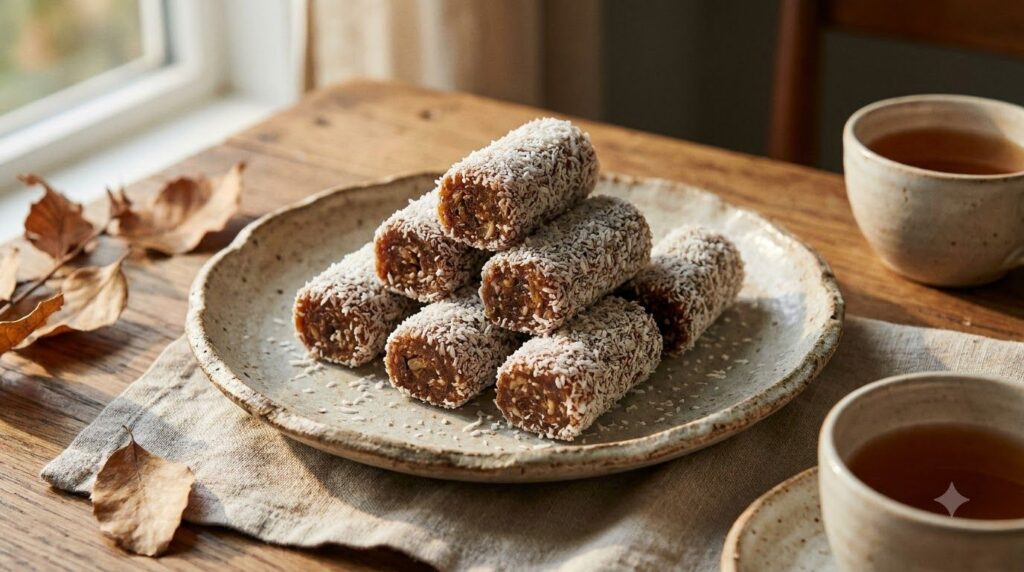
These simple coconut date rolls are a delightful blend of natural sweetness and chewy texture. With minimal ingredients, they are quick to prepare and make for a perfect healthy snack or a light dessert.
Servings: 10-12 rolls
Prep time: 15 minutes
Cook / chill / rest time: 30 minutes (chill)
Ingredients:
- 1 cup pitted Medjool dates
- 1/2 cup shredded unsweetened coconut, plus more for coating
- 1/4 cup almonds or cashews (optional, for added texture)
- 1/2 teaspoon vanilla extract
- Pinch of sea salt
Instructions:
- In a food processor, combine pitted dates, 1/2 cup shredded coconut, almonds (if using), vanilla extract, and sea salt.
- Process until the mixture comes together and forms a sticky dough ball.
- Take small portions of the dough and roll them into cylindrical shapes, about 1-inch thick and 2-3 inches long.
- Place additional shredded coconut in a shallow dish and roll each date cylinder in the coconut until fully coated.
- Arrange the rolls on a plate or baking sheet lined with parchment paper.
- Chill in the refrigerator for at least 30 minutes to firm up before serving.
Storage / Serving / Usage Note:
Store in an airtight container in the refrigerator for up to 1 week. Can also be frozen for longer storage.
Simple Tips for Best Results
- Use Ripe Bananas: For the banana fudge, very ripe (even spotty) bananas will provide the best sweetness and texture.
- Chill Adequately: Don’t rush the chilling process for any of these no-bake treats. It’s crucial for them to set properly and achieve the right consistency.
- Adjust Sweetness: Taste and adjust sweeteners like honey, maple syrup, or cocoa powder to your preference, especially when using ‘to taste’ ingredients.
- High-Quality Ingredients: Since these recipes have minimal ingredients, the quality of each component shines through. Use good quality peanut butter, cocoa powder, and fresh fruits.
- Experiment with Toppings: Feel free to add your favorite toppings like chopped nuts, seeds, extra chocolate chips, or a sprinkle of sea salt to enhance flavor and texture.
FAQ
What does “no-bake” mean?
“No-bake” recipes are desserts or snacks that do not require an oven for cooking. They typically involve chilling or freezing to set, making them ideal for quick preparation and hot weather.
Are no-bake desserts healthier?
Many no-bake desserts, especially those made with whole food ingredients like fruits, nuts, and oats, can be a healthier alternative to traditional baked goods, often containing less refined sugar and more fiber.
How long do no-bake treats last?
Most no-bake treats, especially those containing fresh ingredients, should be stored in an airtight container in the refrigerator for 3-7 days. Some, like energy balls or frozen bark, can last longer in the freezer.
Final Thoughts
From the creamy No-Bake Banana Chocolate Fudge to refreshing yogurt bark and energizing date rolls, these recipes prove that healthy and easy can coexist beautifully. They are perfect for satisfying cravings, boosting energy, and enjoying delicious treats without the fuss of baking. Give them a try and discover how effortless wholesome eating can be!