Are you looking for a simple, natural way to achieve smoother, more radiant skin? Your skin faces daily challenges, from environmental stressors to everyday wear, which can leave it feeling rough and looking dull. This DIY exfoliating salt scrub offers a refreshing solution, using readily available ingredients to gently buff away dead skin cells and reveal the soft, glowing skin underneath. It’s an easy and affordable way to pamper yourself right at home, making it a wonderful addition to any self-care routine.
What You’ll Need
- 1 cup coarse salt (such as sea salt or Epsom salt)
- 1/2 cup carrier oil (such as olive oil, coconut oil, or almond oil)
- 5-10 drops essential oil (optional, e.g., lavender, peppermint, or citrus)
- Mixing bowl
- Measuring cups and spoons
- Airtight container for storage
Why This DIY Can Be Useful
This simple salt scrub works wonders by combining the exfoliating power of salt with the moisturizing benefits of natural oils. The coarse texture of the salt physically removes dead skin cells from the surface, promoting cell turnover and revealing fresher, brighter skin. The carrier oil deeply nourishes and hydrates your skin, leaving it feeling soft and supple, not stripped and dry. Adding an essential oil not only provides a pleasant aroma but can also offer additional benefits, such as relaxation or invigoration, depending on your choice.
How to Make It
-
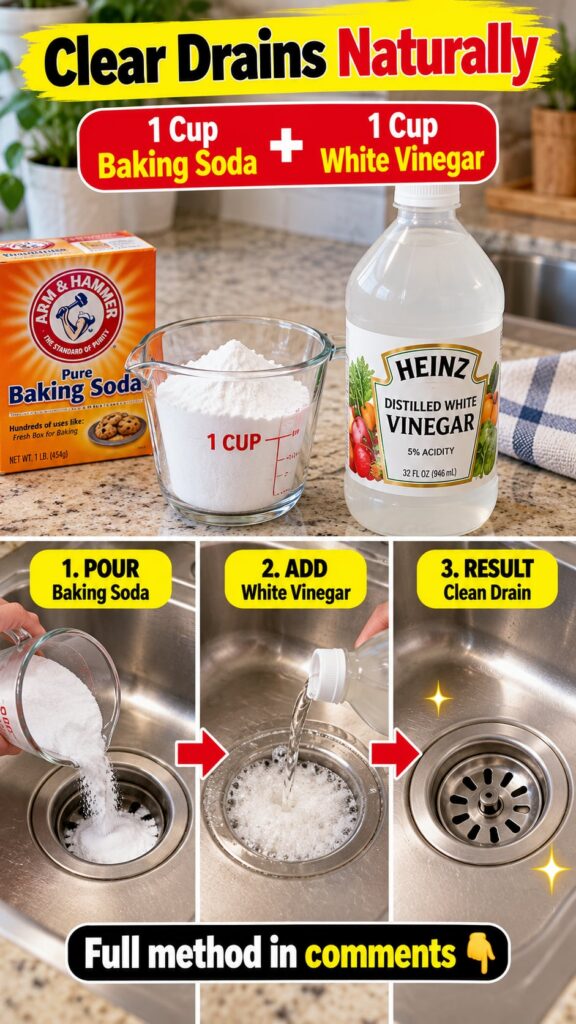
Start by measuring your salt into a bowl. Pour 1 cup of coarse salt into your mixing bowl. The coarse texture is key for effective exfoliation.
- Add 1/2 cup of your chosen carrier oil to the salt. Stir well with a spoon until the salt is thoroughly coated and the mixture forms a consistent, somewhat wet paste.
- If desired, add 5-10 drops of your preferred essential oil. Stir again to ensure the oil is evenly distributed throughout the scrub.
- Once mixed, transfer your homemade salt scrub into an airtight container.
How to Use It
This scrub is best used in the shower or bath. After wetting your skin, take a small amount of the scrub—about a tablespoon—and gently massage it onto your body in circular motions. Focus on areas that tend to be rough, like elbows, knees, and heels. Avoid using it on your face or any broken or highly sensitive skin. After a few minutes of gentle scrubbing, rinse thoroughly with warm water. Pat your skin dry with a towel.
What to Expect
After using this DIY salt scrub, you can expect your skin to feel noticeably softer and smoother. Regular use can help improve skin texture and promote a healthy glow. The moisturizing oils will leave your skin feeling hydrated, reducing the need for heavy lotions afterward. Results are typically visible after the first use, with continued improvement over time.
Helpful Tips
- Customize Your Scent: Experiment with different essential oils to find a fragrance you love. Lavender is great for relaxation, while citrus oils like grapefruit or orange can be invigorating.
- Adjust Consistency: If your scrub feels too dry, add a little more oil, a teaspoon at a time. If it’s too oily, add a bit more salt.
- Storage: Store your scrub in a cool, dry place away from direct sunlight. It should last for several weeks to a month. Ensure the container is tightly sealed to prevent moisture from getting in.
Important Notes / Safety
- Patch Test: Always perform a patch test on a small area of your skin before applying the scrub to your entire body, especially if you have sensitive skin or are using new essential oils.
- Avoid Sensitive Areas: Do not use this scrub on your face or any areas with cuts, rashes, or open wounds. The salt can cause irritation.
- Slippery Surfaces: Be mindful that the oils in the scrub can make your shower or bath floor slippery. Rinse surfaces thoroughly after use to prevent accidents.
- Water Contamination: Try to avoid introducing water into your scrub container, as this can encourage bacterial growth and shorten its shelf life. Use a clean, dry spoon to scoop out the product.