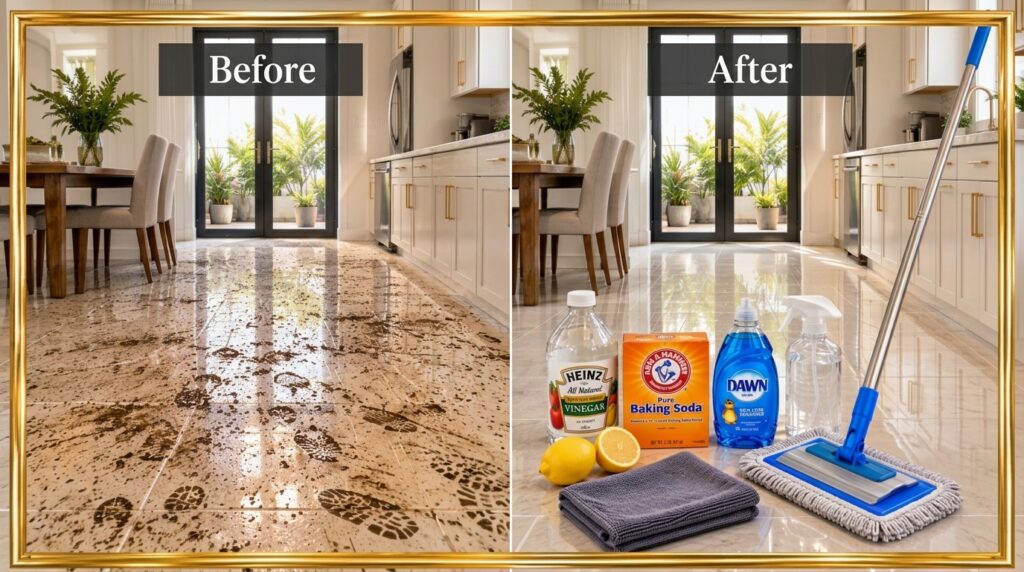
Tired of dull, dirty floors that just don’t seem to sparkle no matter how much you scrub? Many commercial cleaners contain harsh chemicals and often leave behind a residue that dulls your tiles over time. If you’re looking for an effective, natural, and affordable way to bring back the shine to your tiled floors, this DIY cleaner is worth trying. Using simple ingredients you likely already have in your kitchen, you can achieve brilliantly clean and naturally glowing floors.
What You’ll Need
Gather these common household items to make your DIY tile cleaner:
Ingredients:
- 1 cup white vinegar
- 2 cups warm water
- 1 tablespoon liquid dish soap
- Juice of 1 fresh lemon
- 1/4 cup baking soda (for tough spots)
Tools:
- Empty spray bottle
- Microfiber cloth
- Flat mop
- Small bowl (for squeezing lemon juice)
- Bucket (for rinsing your mop)
Why This DIY Can Be Useful
This natural cleaning solution harnesses the power of common ingredients:
- White Vinegar: An excellent natural disinfectant and deodorizer. Its acetic acid helps cut through grease, grime, and hard water stains, leaving surfaces streak-free.
- Dish Soap: Acts as a degreaser, helping to lift and dissolve stubborn dirt and oily residues from your tiles.
- Lemon Juice: Provides a fresh, clean scent and contributes mild acidity, which can help break down stains and add to the cleaning power.
- Baking Soda: A mild abrasive that is perfect for scrubbing away tough, caked-on dirt without scratching your tiles. It also helps neutralize odors.
How to Make It
Preparing your natural tile cleaner is quick and easy:
- In a small bowl, squeeze the juice from one fresh lemon. Remove any seeds.
- Carefully pour 1 cup of white vinegar, 2 cups of warm water, and the strained lemon juice into your empty spray bottle.
- Add 1 tablespoon of liquid dish soap to the mixture in the spray bottle.
- Secure the lid on the spray bottle and gently shake it to combine the ingredients. Do not shake vigorously if the bottle is too full, as it might create excessive suds.
- Keep the baking soda separate for direct application on tough spots.
How to Use It
Follow these steps for sparkling clean floors:
- Prepare the Area: Start by sweeping or vacuuming your tiled floors thoroughly to remove any loose dirt, dust, or debris. This prevents it from turning into mud once wet.
- Address Tough Spots: For areas with caked-on mud or stubborn stains, sprinkle a small amount of baking soda directly onto the spot.
- Apply the Cleaner: Spray your homemade cleaning solution directly onto a section of your floor, ensuring the area is well-dampened. For spots with baking soda, spray the solution over the baking soda to create a fizzing action.
- Let It Work: Allow the cleaner to sit on the tiles for 5-10 minutes. This gives the ingredients time to break down the dirt and grime.
- Mop or Wipe: Using your flat mop or a clean microfiber cloth, scrub the treated section of the floor. For areas with baking soda, gently scrub with the mop or cloth to work the paste into the stain.
- Rinse: Fill a clean bucket with plain warm water. Rinse your mop head or microfiber cloth frequently in the clean water, wringing it out well, and then go over the cleaned sections of the floor to remove any cleaning solution residue. Change the rinse water as it becomes dirty.
- Dry: Allow your floors to air dry, or for an extra streak-free shine, wipe them dry with a clean, dry microfiber cloth.
What to Expect
After using this DIY tile cleaner, you can expect significantly cleaner floors with a noticeable natural shine. Stubborn dirt and grime should be lifted, and your room will likely smell fresh and clean from the lemon. While it won’t magically repair worn grout or deep scratches, it will reveal the natural beauty and luster of your tiles.
Helpful Tips
- Sweep First: Always ensure your floors are thoroughly swept or vacuumed before applying any liquid cleaner to avoid creating muddy streaks.
- Warm Water Boost: Using warm water in your solution can help dissolve dirt and grease more effectively than cold water.
- Spot Test: Before cleaning your entire floor, always test the solution on an inconspicuous area to ensure compatibility with your specific tile and grout.
- Regular Use: For best results and to maintain a continuous shine, use this cleaner regularly as part of your routine floor care.
Important Notes / Safety
- Ventilation: While natural, it’s always good practice to ensure proper ventilation when cleaning, especially with vinegar, by opening windows or doors.
- Surface Compatibility: This cleaner is generally safe for ceramic, porcelain, and most sealed natural stone tiles. However, avoid using vinegar on unsealed natural stone (like marble, granite, or travertine) as its acidity can etch the surface over time. Always patch test first.
- Grout: While generally safe, excessive scrubbing with baking soda on porous, unsealed grout might slightly lighten it over time. Use with caution on colored or delicate grout.
- Storage: Store the mixed solution in a cool, dark place. The effectiveness of lemon juice can diminish over time, so it’s best to make fresh batches as needed.