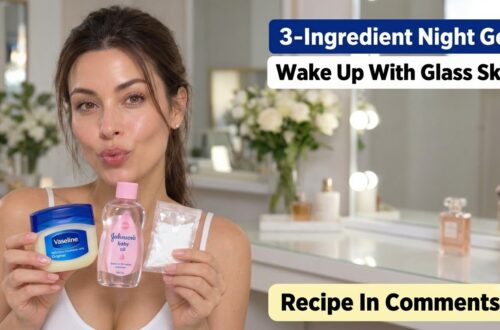
Dreaming of that coveted ‘glass skin’ look? You know, the kind of luminous, poreless, and translucent complexion that seems to glow from within? It might seem like an impossible dream without expensive treatments, but what if we told you that you could achieve a radiant, glass-like finish right from your home, using just three simple ingredients?
We understand the desire for healthy, glowing skin without breaking the bank. That’s why we’re thrilled to share a super easy, DIY night gel recipe that could be your secret to waking up with a beautifully dewy and smooth complexion. Get ready to transform your skin!
What is Glass Skin and Why Do We Love It?
Glass skin refers to a complexion that is so clear, radiant, and smooth that it resembles a piece of glass. It’s not just about being clear of blemishes; it’s about achieving an intense level of hydration and smoothness that creates a highly reflective surface. This trend originated in Korean beauty and emphasizes a healthy, well-nourished skin barrier, minimal pores, and a bright, even tone.
We love glass skin because it’s a testament to skin health. It signifies deep hydration, a strong barrier, and a consistent skincare routine. And the best part? You don’t need a complicated regimen to start your journey towards it.
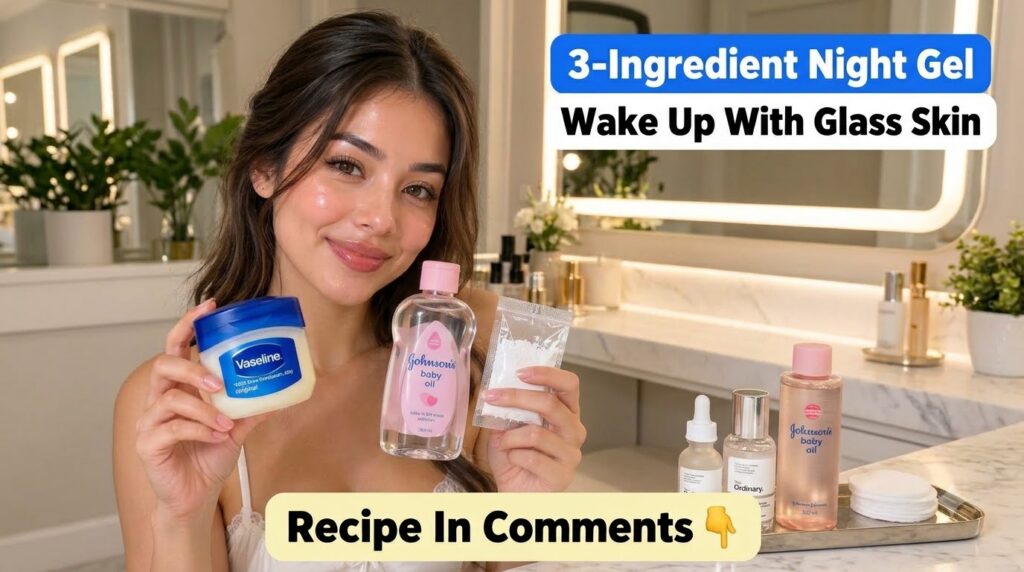
The 3 Simple Ingredients for Your DIY Night Gel
Our magical night gel relies on three readily available and affordable ingredients. You might already have them in your home!
1. Vaseline (Petroleum Jelly)
- Why it works: Vaseline is a powerful occlusive, meaning it creates a protective barrier on your skin to prevent moisture loss. This barrier locks in hydration, making your skin feel incredibly soft and plump by morning. It’s non-comedogenic for most people, meaning it won’t clog pores.
- Benefits for Glass Skin: Intense moisture retention is crucial for that dewy, hydrated look. Vaseline helps smooth the skin’s surface and supports the skin barrier, reducing fine lines and improving overall texture.
2. Baby Oil (Mineral Oil)
- Why it works: Baby oil is primarily mineral oil, which is a lightweight, non-comedogenic emollient. It helps to soften and smooth the skin, making it feel supple and nourished. It also helps in spreading the other ingredients evenly.
- Benefits for Glass Skin: Adds a silky feel and helps to dissolve impurities without stripping the skin. It contributes to a smooth, lustrous finish.
3. Rice Powder (or Rice Flour)
- Why it works: Rice powder has been a staple in Asian beauty for centuries. It’s known for its brightening, soothing, and gentle exfoliating properties. It can help absorb excess oil, refine pores, and give the skin a softer, more even tone.
- Benefits for Glass Skin: Helps to minimize the appearance of pores, brightens the complexion, and contributes to a smooth, polished look.
How to Make Your 3-Ingredient Glass Skin Night Gel
This recipe is incredibly simple and takes just a few minutes to prepare!
What You’ll Need:
- 1 tablespoon Vaseline
- 1 tablespoon Baby Oil
- 1/2 teaspoon fine Rice Powder (or rice flour)
- A small, clean, airtight container (like an empty lip balm pot or a small jar)
- A small spoon or spatula for mixing
Step-by-Step Instructions:
- Melt the Vaseline: Scoop 1 tablespoon of Vaseline into a microwave-safe bowl or a heat-resistant glass. Microwave for about 10-15 seconds on low heat, or use a double boiler method, until it’s just melted and runny. Be careful not to overheat.
- Add Baby Oil: Pour in 1 tablespoon of Baby Oil into the melted Vaseline. Stir gently until well combined.
- Incorporate Rice Powder: Add 1/2 teaspoon of Rice Powder to the mixture. Stir continuously and thoroughly until all the powder is fully dissolved and there are no lumps. You should have a smooth, milky, gel-like consistency.
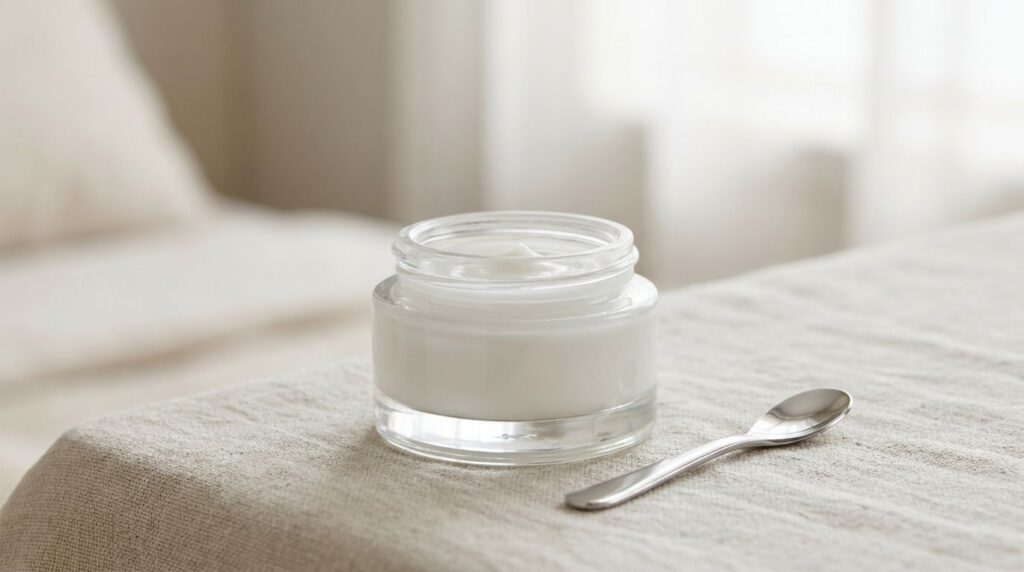
- Transfer to Container: Carefully pour the mixture into your clean, airtight container.
- Let it Set: Allow the gel to cool completely at room temperature, or place it in the refrigerator for about 30 minutes to help it solidify into a lovely, soft gel.
How to Use Your Glass Skin Night Gel for Best Results
This night gel is best applied as the last step in your evening skincare routine to lock in all the goodness.
- Cleanse: Start with a thoroughly cleansed face. Remove all makeup and wash your face with a gentle cleanser.
- Tone & Treat: Apply your usual toner, serums, or essences. Let them absorb fully into your skin.
- Apply the Gel: Take a small pea-sized amount of your DIY Glass Skin Night Gel. Gently warm it between your fingertips and lightly pat or spread it evenly over your face and neck. Avoid applying too much, as a little goes a long way.
- Sweet Dreams: Head to bed and let the gel work its magic overnight!
Tips for Maximizing Your Glass Skin Journey
- Consistency is Key: Use this night gel every evening for at least two weeks to start seeing noticeable results.
- Patch Test: Always perform a patch test on a small area of your skin (like behind your ear or inner forearm) before applying any new DIY recipe to your entire face, especially if you have sensitive skin.
- Sun Protection: While this gel is for nighttime, always wear sunscreen during the day to protect your glowing skin from UV damage.
- Hydrate from Within: Drink plenty of water throughout the day to support skin health from the inside out.
- Gentle Cleansing: Use mild cleansers and avoid harsh scrubbing, which can damage your skin barrier.
Embrace Your Natural Radiance!
Achieving glass skin doesn’t have to be complicated or expensive. With this simple 3-ingredient DIY night gel, you’re giving your skin the deep hydration and gentle care it needs to glow. Imagine waking up to a complexion that feels soft, looks luminous, and reflects light beautifully. It’s time to unlock your natural radiance and embrace the journey to beautiful, healthy skin!
Give this recipe a try and let us know your results in the comments below. Happy glowing!