Creamy Peanut Butter Banana Ice Cream (No Machine!)
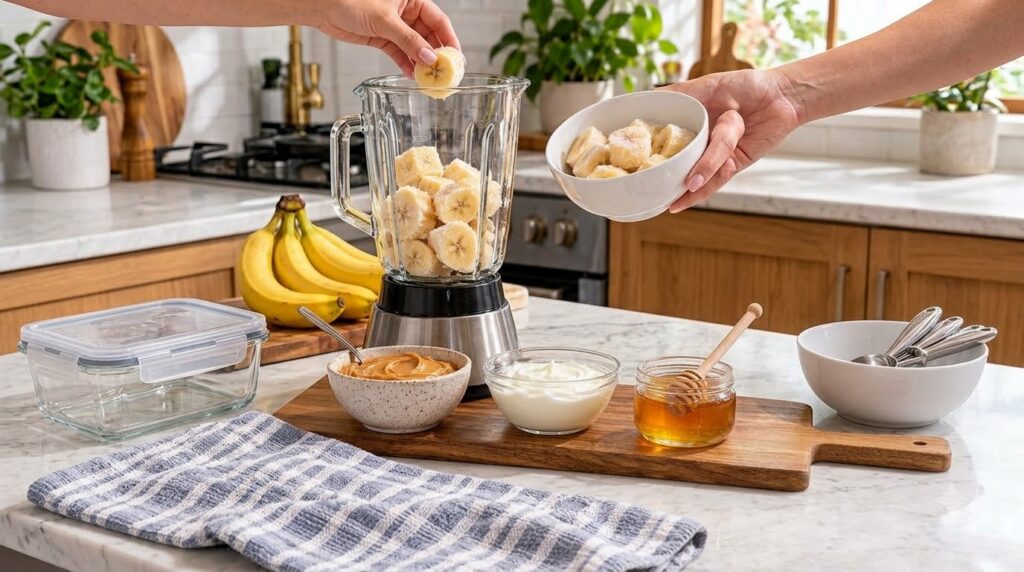
Who’s ready for a delicious, healthy treat that tastes absolutely indulgent? Today, I’m sharing my absolute favorite recipe for Homemade Peanut Butter Banana Ice Cream. This isn’t just any ice cream; it’s a creamy, dreamy dessert that requires no ice cream maker and comes together in a flash!
The beauty of this recipe lies in its simplicity. You get that rich, satisfying taste of peanut butter perfectly balanced with the natural sweetness of ripe bananas. The texture is incredibly smooth and creamy, just like soft-serve ice cream, making it a perfect pick-me-up on a warm day or a guilt-free dessert any evening. It’s incredibly easy to make, even for beginner cooks, and your family will absolutely adore it.
It’s the perfect frozen dessert when you’re craving something sweet but want to keep things on the healthier side. Plus, it’s so budget-friendly! Get ready to make a treat that your taste buds (and your family) will thank you for, because this creamy peanut butter banana ice cream is about to become a new household favorite.
Why You’ll Love This Recipe
- Ready in minutes (after freezing!)
- Super creamy, just like soft-serve
- No ice cream maker required
- Made with wholesome, simple ingredients
- A naturally sweet and healthy dessert
- Perfect for satisfying those sweet cravings
- Beginner-friendly and fun to make
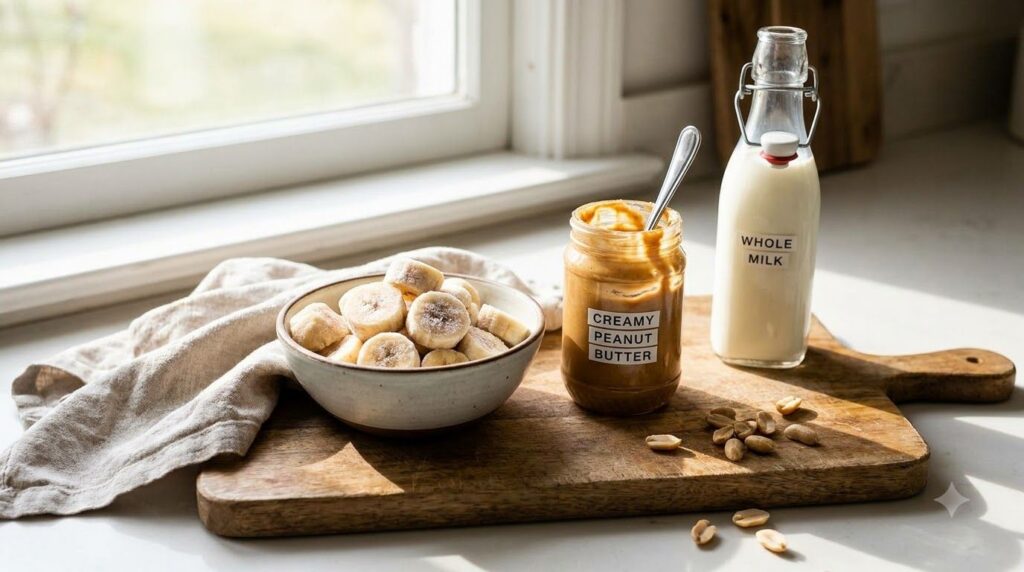
Ingredients You’ll Need
- 4 ripe bananas: Make sure they are very ripe, with brown spots, for maximum sweetness. Peel them and slice them into 1-inch thick rounds before freezing.
- ½ cup creamy peanut butter: Choose your favorite brand! Natural peanut butter works wonderfully, but any creamy kind will do.
- ¼ cup milk (or dairy-free alternative): You can use cow’s milk, almond milk, oat milk, or soy milk. Start with ¼ cup and add more if needed for blending.
- 1-2 tablespoons honey or maple syrup (optional): Only if your bananas aren’t super ripe or you prefer a sweeter treat.
Kitchen Equipment
- High-speed blender or food processor
- Freezer-safe container with a lid
- Cutting board
- Knife
- Measuring cups and spoons
Step-by-Step Instructions
- Prepare Bananas: Peel and slice your ripe bananas into 1-inch thick rounds. Place them in a single layer on a baking sheet lined with parchment paper, or in a freezer-safe bag. Freeze for at least 4 hours, or until solid. Overnight is even better!
- Combine Ingredients: Once frozen, transfer the banana slices, creamy peanut butter, and milk (and optional sweetener) into your high-speed blender or food processor.
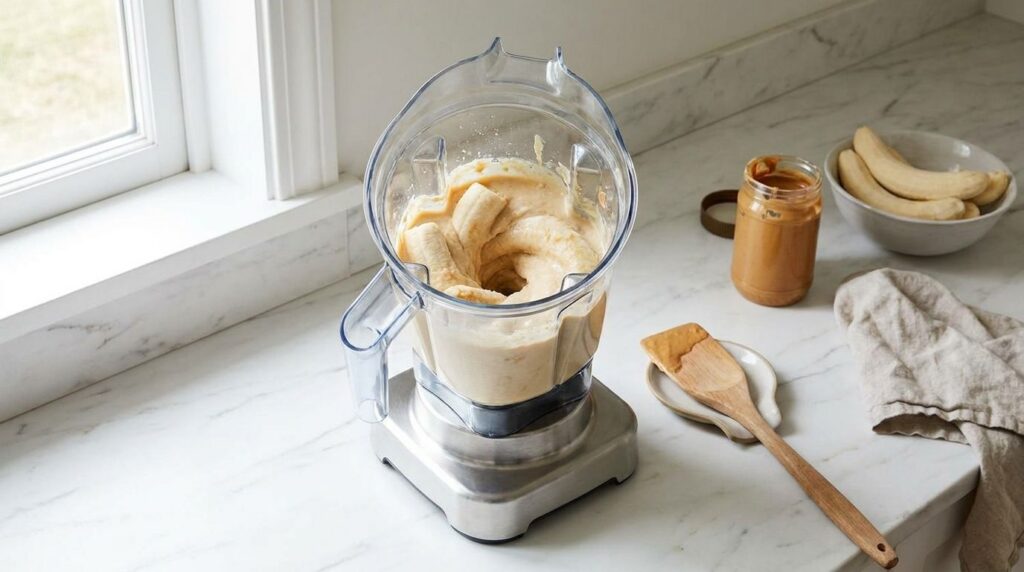
- Blend until Smooth: Blend on high speed. This might take a few minutes. You’ll need to stop occasionally to scrape down the sides of the blender or food processor with a rubber spatula. The mixture will go from crumbly to thick and eventually smooth and creamy, resembling soft-serve ice cream. Be patient, it will get there!
- Taste and Adjust: Give it a taste. If you prefer it sweeter, add a bit more honey or maple syrup and blend again briefly. If it’s too thick to blend, add another tablespoon of milk at a time until it reaches a smooth consistency.
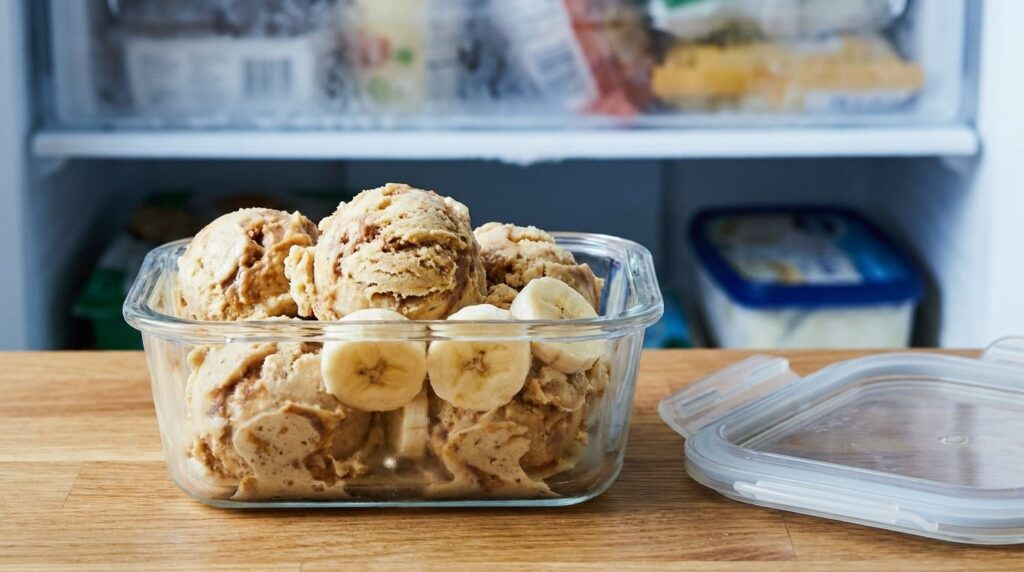
- Serve Immediately or Freeze: You can enjoy your homemade peanut butter banana ice cream right away as a soft-serve consistency. For a firmer, scoopable ice cream, transfer the mixture to a freezer-safe container, smooth the top, and freeze for another 1-2 hours.
Expert Tips for Perfect Ice Cream
- Use Ripe Bananas: The riper the bananas (with brown spots), the sweeter your ice cream will be naturally, reducing the need for added sweeteners.
- Freeze Bananas Thoroughly: Solidly frozen bananas are key to achieving that thick, creamy texture. Don’t rush this step!
- Be Patient While Blending: It can take a few minutes for the frozen bananas to break down and become smooth. Keep scraping down the sides of your blender or food processor.
- Start with Less Liquid: Add milk gradually. Too much liquid will make your ice cream icy instead of creamy.
- Pre-chill Your Container: If you plan to freeze for a firmer scoop, pop your freezer-safe container into the freezer for 15-20 minutes before adding the blended mixture.
Variations to Try
- Chocolate Swirl: Swirl in 2 tablespoons of melted dark chocolate at the very end, or add 1 tablespoon of cocoa powder to the blender for a chocolate peanut butter banana ice cream.
- High Protein: Add a scoop of your favorite vanilla or unflavored protein powder to the blender for an extra boost.
- Nut-Free: If you have allergies, swap peanut butter for sunflower seed butter for a delicious nut-free version.
- Spicy Kick: A tiny pinch of cayenne pepper with the peanut butter can add an unexpected and delightful warmth.
- Tropical Twist: Add a handful of frozen mango or pineapple chunks along with the bananas for a fruity, tropical flair.
What to Serve With
This creamy peanut butter banana ice cream is fantastic on its own, but you can also:
- Top it with a sprinkle of chopped peanuts or dark chocolate chips.
- Drizzle with extra peanut butter or a touch of honey.
- Serve alongside fresh berries or a slice of warm apple pie.
- Pair with a cup of hot coffee or a refreshing glass of iced tea.
Storage
- Refrigerator: This ice cream is best enjoyed fresh. It won’t hold its ice cream consistency in the refrigerator.
- Freezer: Transfer any leftovers to an airtight, freezer-safe container. It will keep well for up to 2-3 weeks.
- Reheating: When ready to enjoy from the freezer, let it sit at room temperature for 10-15 minutes to soften slightly, or zap it in the microwave for 10-20 seconds for an easier scoop.
- Shelf life: For optimal texture and flavor, try to consume within the first week of freezing.
Frequently Asked Questions
Can I use fresh bananas instead of frozen?
No, you need frozen bananas for this recipe to get the creamy, ice cream-like texture. Fresh bananas will result in a smoothie or a thick shake, not ice cream.
Do I need a high-speed blender?
A high-speed blender or a powerful food processor is highly recommended to achieve the smoothest texture. Regular blenders might struggle with the frozen bananas, but with patience and frequent scraping, it’s possible.
Is this recipe dairy-free?
It can easily be dairy-free if you use a dairy-free milk alternative like almond, oat, or soy milk. The recipe itself contains no dairy otherwise.
How ripe should the bananas be?
The riper the better! Look for bananas with plenty of brown spots on their peels. These are sweeter and will give your ice cream a richer banana flavor and a creamier texture.
Can I add other fruits?
Absolutely! You can experiment by adding a handful of other frozen fruits like berries, mango, or pineapple along with the bananas for different flavor combinations.
How long does it take to freeze the bananas?
It typically takes at least 4 hours for banana slices to freeze solid. For best results, I recommend freezing them overnight.
Is this ice cream suitable for kids?
Yes, it’s a fantastic healthy treat for kids! It’s naturally sweet, full of fruit, and can be customized with their favorite toppings.
Nutrition (Approximate Values)
- Calories: 250 kcal
- Protein: 7g
- Fat: 15g
- Carbs: 30g
- Fiber: 5g
- Sugar: 18g
- Sodium: 100mg
Nutritional information is an estimate and may vary.
Ready to Scoop Up Some Happiness?
I hope you give this Homemade Peanut Butter Banana Ice Cream a try! It’s truly one of those recipes that makes you wonder why you ever bought store-bought ice cream. It’s simple, delicious, and so satisfying. It’s perfect for a quick healthy dessert after dinner or a refreshing snack on a hot afternoon.
If you whip up a batch, please come back and let me know how you liked it in the comments below. Your feedback means the world! Don’t forget to rate the recipe too. And while you’re here, why not explore some of our other easy and family-friendly recipes?

