Is your blender sparkling clean, sitting on the counter, just waiting for its next culinary adventure? If you’re asking yourself, “What’s the first thing I should create?” then you’ve come to the right place! A blender is a powerhouse kitchen essential, transforming simple ingredients into delightful drinks, from energizing smoothies to refreshing beverages.
This guide isn’t about one secret recipe, but about unlocking the potential for any delicious blender drink. We’ll explore the foundational steps, ingredient ideas, and pro tips to help you craft perfect concoctions every time. Get ready to elevate your beverage game and enjoy homemade goodness that’s tailored exactly to your taste!
Why You’ll Love Making Blender Drinks
Embracing your blender for homemade drinks offers a wealth of benefits beyond just quenching your thirst:
- Endless Customization: From super green smoothies to creamy fruit milkshakes, you’re the boss of the flavor. Adjust ingredients to suit your taste, dietary needs, or what’s in season.
- Quick & Easy Preparation: Most blender drinks come together in mere minutes, making them perfect for busy mornings or a fast, healthy snack.
- Boost Your Nutrition: Easily pack in fruits, vegetables, and other wholesome ingredients. It’s a fantastic way to increase your daily intake of vitamins, minerals, and fiber.
- Refreshing & Delicious: There’s nothing quite like a chilled, freshly blended drink to cool down on a hot day or provide a vibrant energy boost.
- Minimizes Waste: Use up ripe fruits and vegetables that might otherwise go bad, transforming them into something delicious.
Blender Drink Ingredient Ideas
While there’s no single “secret recipe” here, the secret to great blender drinks lies in balancing a few key categories. Here’s a general guideline for building your perfect blend:
For a 16-20 oz (470-590 ml) drink, consider:
- Liquid Base (1 to 1.5 cups / 240-360 ml):
- Water (plain or coconut)
- Dairy Milk (whole, skim, almond, soy, oat, rice)
- Fruit Juice (apple, orange, pineapple)
- Yogurt or Kefir (plain, flavored)
- Fruits (1 to 1.5 cups / 150-225 g, frozen or fresh):
- Berries (strawberries, blueberries, raspberries)
- Bananas (especially frozen for creaminess)
- Mango, Pineapple, Peaches
- Apples, Pears
- Vegetables (0.5 to 1 cup / 75-150 g):
- Spinach, Kale (mild flavor)
- Cucumber, Celery
- Carrots, Cooked Beets
- Flavor Boosts & Sweeteners (to taste):
- Honey, Maple Syrup, Dates (1-2 tbsp / 15-30 ml or 2-3 dates)
- Vanilla Extract (0.5 tsp / 2.5 ml)
- Cinnamon, Ginger (0.25-0.5 tsp / 1.25-2.5 ml)
- Cocoa Powder (1-2 tbsp / 5-10 g)
- Nutritional Boosts (1-2 tbsp / 15-30 ml):
- Protein Powder
- Chia Seeds, Flax Seeds, Hemp Seeds
- Nut Butter (peanut, almond)
- Oats (rolled or quick-cooking)
- Ice (optional, 0.5 to 1 cup / 75-150 g): Add for extra chill and thickness if not using frozen fruit.
Ingredient Notes for Success
- Frozen vs. Fresh Fruit: Frozen fruit yields a thicker, colder drink without needing as much ice, which can dilute flavor. If using fresh fruit, add a few ice cubes for chill.
- Greens: Spinach blends almost imperceptibly into most drinks, offering nutrients without altering the flavor significantly. Kale is also great but has a stronger taste.
- Sweeteners: Start with a small amount and taste before adding more. Natural sweeteners like dates or a ripe banana can often provide enough sweetness.
- Protein Powder: Different brands and types (whey, plant-based) can affect the texture and flavor. Adjust your liquid base accordingly.
- Nut Butters: Add creaminess and healthy fats. Peanut butter, almond butter, or cashew butter all work well.
Equipment You’ll Need
To embark on your blender drink adventure, you’ll need a few basic tools:
- Blender: A high-speed blender is ideal for the smoothest results, but a standard blender will work for most recipes.
- Measuring Cups and Spoons: For accurate ingredient proportions.
- Spatula: To scrape down the sides of the blender jar if needed.
- Serving Glasses: For enjoying your delicious creation.
How to Make Any Blender Drink: General Steps
Follow these simple steps for a consistently delicious and smooth blender drink:
-
Prepare Your Ingredients
Wash and chop any fresh fruits and vegetables into manageable pieces. For leafy greens, a quick rinse is usually sufficient. Have all your liquids, powders, and boosts ready to go.
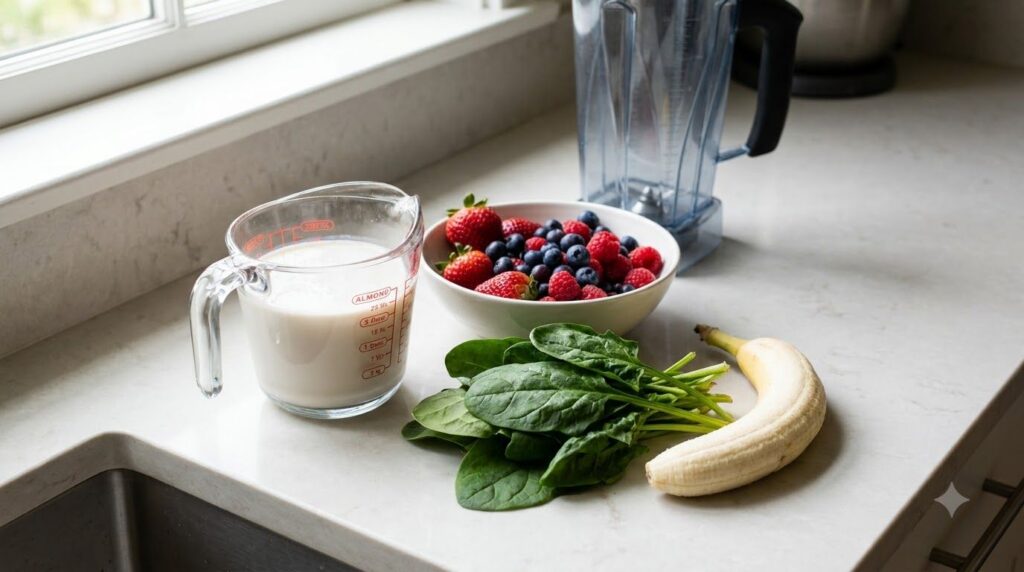
Gather and prepare all your chosen ingredients. -
Add Liquid First
Pour your chosen liquid base (water, milk, juice, etc.) into the blender jar first. This helps the blades move freely and prevents ingredients from getting stuck at the bottom.
-
Layer Ingredients Appropriately
After the liquid, add softest ingredients next, such as leafy greens, yogurt, or protein powder. Then add fresh fruits and vegetables. Finally, add frozen fruits and ice on top. This layering helps the blender process everything efficiently.
-
Blend Gradually
Secure the lid tightly. Start blending on a low speed to break down larger pieces, then gradually increase to a higher speed until the mixture is completely smooth and creamy. Use the tamper if your blender has one to push ingredients towards the blades, avoiding air pockets.
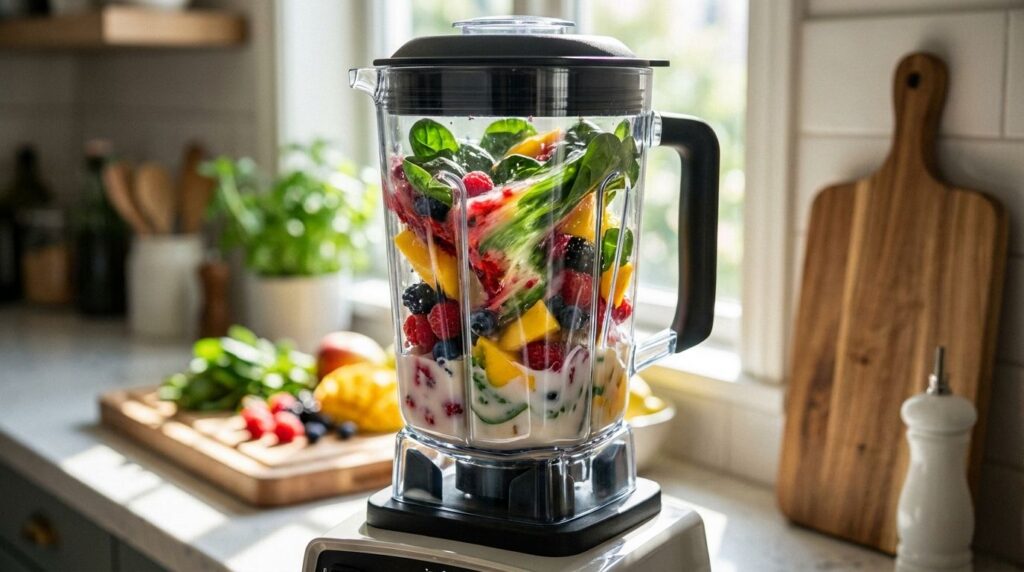
Blend until perfectly smooth and creamy. -
Check Consistency and Taste
Once smooth, open the lid and check the consistency. If it’s too thick, add a little more liquid (1-2 tablespoons at a time) and blend again. Taste and adjust any flavors – perhaps a pinch more sweetener or a squeeze of lemon for brightness.
-
Pour and Serve
Pour your freshly made blender drink into a glass. Serve immediately for the best flavor and texture.
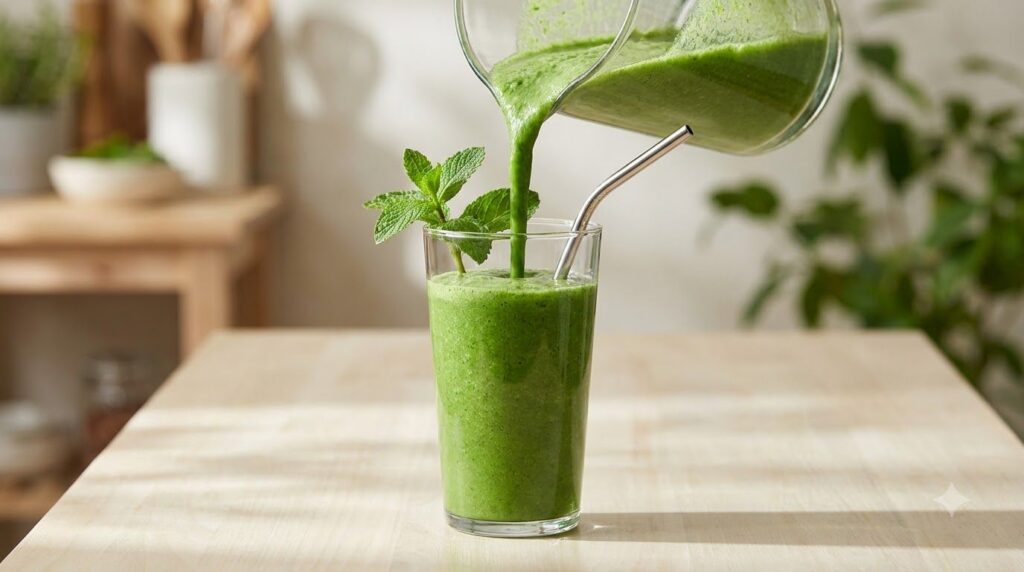
Enjoy your delicious, homemade blender drink!
Pro Tips for the Best Blender Drink Results
- Layer Ingredients Correctly: Always liquids first, then soft ingredients, fresh fruits/veg, and finally frozen items and ice. This creates a vortex that pulls everything into the blades.
- Start Slow, Finish Fast: Begin blending on a low setting to incorporate ingredients, then gradually increase to high speed for a smooth finish. This prevents air bubbles and ensures even blending.
- Don’t Overfill: Most blenders have a “max fill” line. Exceeding it can lead to spills and an uneven blend.
- Use Frozen Fruit for Thickness: For a cold, thick, milkshake-like texture without dilution, rely more on frozen fruits than ice.
- Taste and Adjust: Every palate is different! Always taste your drink before serving and add more sweetener, citrus, or spice as desired.
- Clean Immediately: Rinse your blender jar and blades right after pouring your drink. A quick rinse will prevent ingredients from drying and sticking, making cleanup much easier.
Common Mistakes to Avoid
- Not Enough Liquid: This is a common culprit for a chunky, difficult-to-blend mixture. Always ensure you have enough liquid to cover at least part of the blades.
- Adding Ice or Frozen Fruit First: Placing hard, frozen items at the bottom before liquid can prevent the blades from moving efficiently and create air pockets.
- Over-Blending: While you want a smooth texture, over-blending can sometimes warm up your drink or make it frothy. Blend just until smooth.
- Ignoring the Lid: Always make sure the lid is securely in place before you start blending to avoid a messy explosion!
Variations & Substitutions
The beauty of blender drinks is their adaptability. Here are some ideas:
- Smoothie Bowls: Reduce the liquid to create a thicker consistency that can be eaten with a spoon, then top with granola, fresh fruit, nuts, or seeds.
- Protein Shakes: Add a scoop of your favorite protein powder (whey, casein, plant-based) to any fruit or vegetable blend for a muscle-building boost.
- Green Juices: For a lighter, more liquid drink, use a higher ratio of water or light juice with your greens and less dense fruit.
- Dessert Shakes: Blend ice cream with milk, flavorings like cocoa or fruit, and perhaps a dollop of whipped cream for a decadent treat.
- Coffee or Tea Blends: Blend cold brew coffee or chilled tea with ice, milk, and sweetener for a homemade blended beverage.
Serving Suggestions
Blender drinks are best served immediately. Pour them into tall glasses, mugs, or travel tumblers. For an extra touch, consider:
- Garnishes: A fresh mint sprig, a slice of citrus, or a few whole berries.
- Straws: Use reusable straws for thick smoothies or milkshakes.
- Toppings: For smoothie bowls, think granola, coconut flakes, chia seeds, fresh fruit slices, or a drizzle of honey.
Storage & Reheating
Most blender drinks are best enjoyed fresh. However, if you have leftovers:
- Refrigerator Storage: Store in an airtight container or a jar with a tight-fitting lid in the refrigerator for up to 24 hours. Keep in mind that some separation may occur, and the texture might change slightly. Give it a good shake or a quick re-blend before drinking.
- Freezer Suitability: While not ideal for drinking directly, you can freeze leftover smoothies into ice cube trays. Once frozen, transfer the cubes to a freezer-safe bag for up to 1-2 months. These cubes can then be added to future blends or enjoyed as refreshing pops.
- Reheating: Most blender drinks (especially cold ones like smoothies) are not meant to be reheated.
FAQ
What’s the best blender for drinks?
High-speed blenders (like Vitamix or Blendtec) are excellent for achieving super smooth textures, especially with tough ingredients or leafy greens. However, many mid-range blenders can still create fantastic drinks for everyday use.
How do I make my blender drink thicker or thinner?
To make it thicker, add more frozen fruit, ice, or a thicker base like yogurt or oats. To make it thinner, add more liquid (water, milk, juice) a tablespoon at a time.
Can I use fresh fruit instead of frozen?
Absolutely! Fresh fruit works perfectly. If you want a cold drink, add a few extra ice cubes. If you want a thicker consistency, consider freezing fresh fruit beforehand.
How long do blended drinks last in the fridge?
For optimal freshness and nutrient retention, consume within 24 hours. After that, some ingredients may oxidize, and the texture can become less appealing.
Why is my blender drink lumpy?
Lumps usually occur due to insufficient liquid, too many hard ingredients at once, or not blending long enough. Try adding more liquid, layering ingredients correctly, and blending on a high speed until completely smooth.
Can I put hot liquids in a blender?
Generally, it’s best to avoid putting extremely hot liquids into most blenders as the steam can build pressure and blow off the lid, causing burns. If you must blend hot liquids, fill the blender only halfway, remove the center cap of the lid (if applicable) to vent steam, and cover with a towel, holding the lid down firmly. Always check your blender’s manual for specific guidelines.
Recipe Card: Custom Blender Drink Base
Short Description: A flexible guide to creating your own delicious and healthy blender drinks, perfect for any occasion.
Prep Time: 5 minutes
Cook Time: 0 minutes
Total Time: 5 minutes
Servings: 1-2
Course: Beverage
Cuisine: American
Cooking Method: Blending
Ingredients:
- 1 to 1.5 cups (240-360 ml) liquid base (e.g., water, milk, juice, yogurt)
- 1 to 1.5 cups (150-225 g) fruit (fresh or frozen, e.g., berries, banana, mango)
- 0.5 to 1 cup (75-150 g) vegetables (optional, e.g., spinach, kale, cucumber)
- 1-2 tbsp (15-30 ml) sweetener (optional, e.g., honey, maple syrup, dates)
- 1-2 tbsp (15-30 ml) nutritional boost (optional, e.g., protein powder, chia seeds, nut butter)
- 0.5 to 1 cup (75-150 g) ice (optional, if not using frozen fruit)
Instructions:
- Prepare Ingredients: Wash and chop any fresh fruits and vegetables.
- Add Liquid: Pour your chosen liquid base into the blender jar first.
- Layer Remaining Ingredients: Add soft ingredients (greens, yogurt, powders), then fresh fruits/vegetables, followed by frozen fruits and ice (if using).
- Blend: Secure the lid. Start blending on low speed, then gradually increase to high speed. Blend until the mixture is completely smooth and creamy, using a tamper if needed.
- Adjust: Check consistency and taste. Add more liquid to thin, or more frozen ingredients/ice to thicken. Add additional sweetener or flavorings to taste.
- Serve: Pour into a glass and enjoy immediately.
Notes:
This is a flexible template. Adjust ingredient quantities and types based on your preferences and desired consistency. Frozen fruit is key for a thick, cold smoothie without excess ice.
Storage:
Store leftover drinks in an airtight container in the refrigerator for up to 24 hours. Shake or re-blend before consuming. Not recommended for reheating.
Nutrition:
Nutrition information is an estimate and may vary depending on the ingredients and brands used.
