Achieving that coveted ‘glass skin’ look doesn’t have to be complicated or expensive. This simple, at-home remedy uses accessible ingredients to help you on your way to a smoother, more luminous complexion, just like those viral beauty secrets.
Quick Recipe
Prep time: 5 minutes
Best for: Dullness, dry skin, uneven texture, seeking a radiant glow
Use type: Topical cream/gel
Main ingredients:
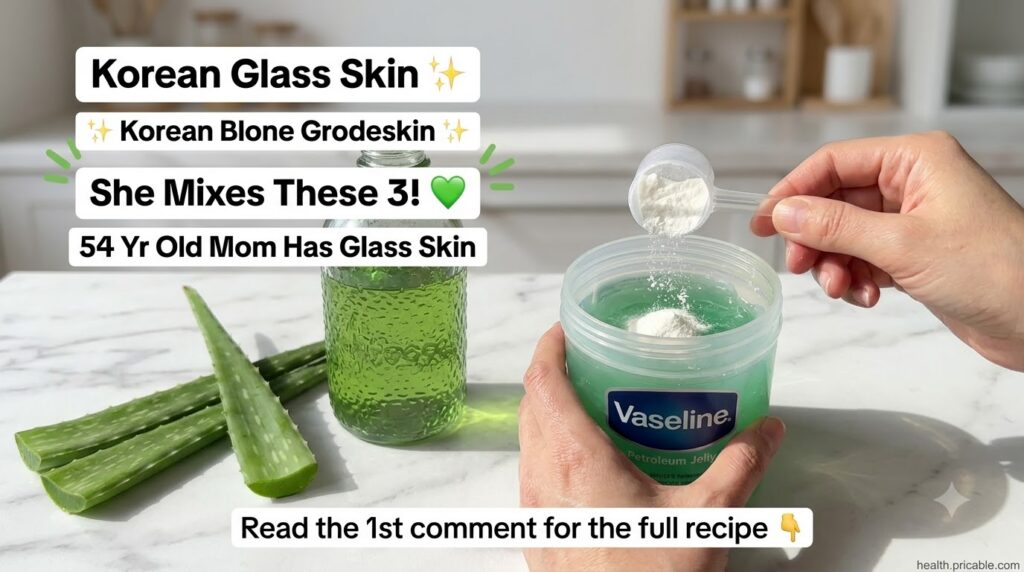
- Aloe Vera Petroleum Jelly
- Fine Rice Flour
- Vitamin E Oil
Ingredients
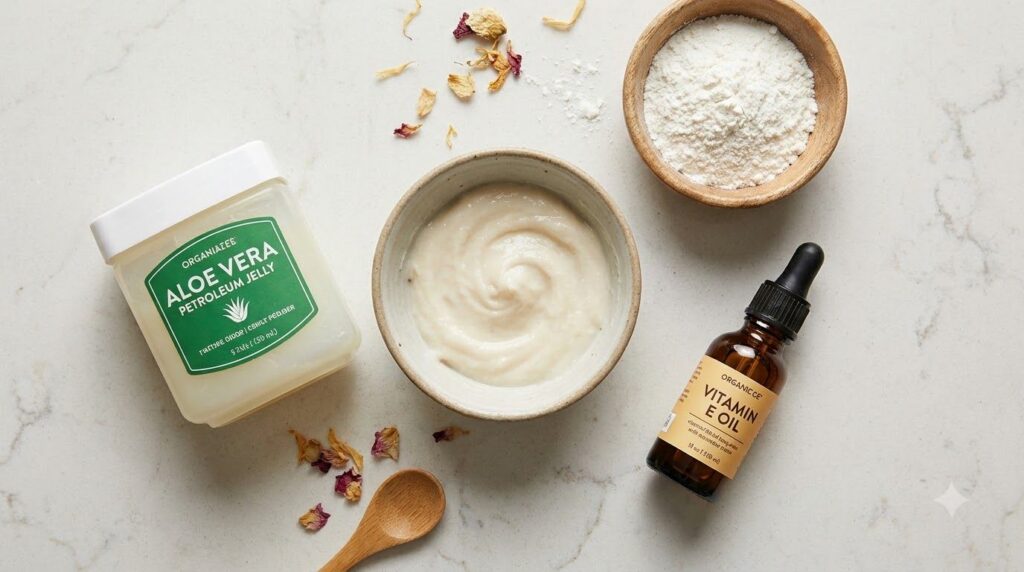
- 2 tablespoons Aloe Vera Petroleum Jelly (or regular petroleum jelly mixed with a few drops of pure aloe vera gel)
- 1 tablespoon Fine Rice Flour
- 5-7 drops Vitamin E Oil
How to Make It
- Prepare Your Base: Scoop the Aloe Vera Petroleum Jelly into a small, clean, and dry mixing bowl. If you’re using regular petroleum jelly, add a few drops of pure aloe vera gel now and mix well.
- Add the Powder: Gradually add the fine rice flour to the petroleum jelly. Mix thoroughly with a small spoon or spatula, ensuring there are no lumps. The mixture should become a smooth, slightly thicker cream.
- Infuse with Oil: Drop in the Vitamin E oil and mix again until all ingredients are well combined and the consistency is uniform.
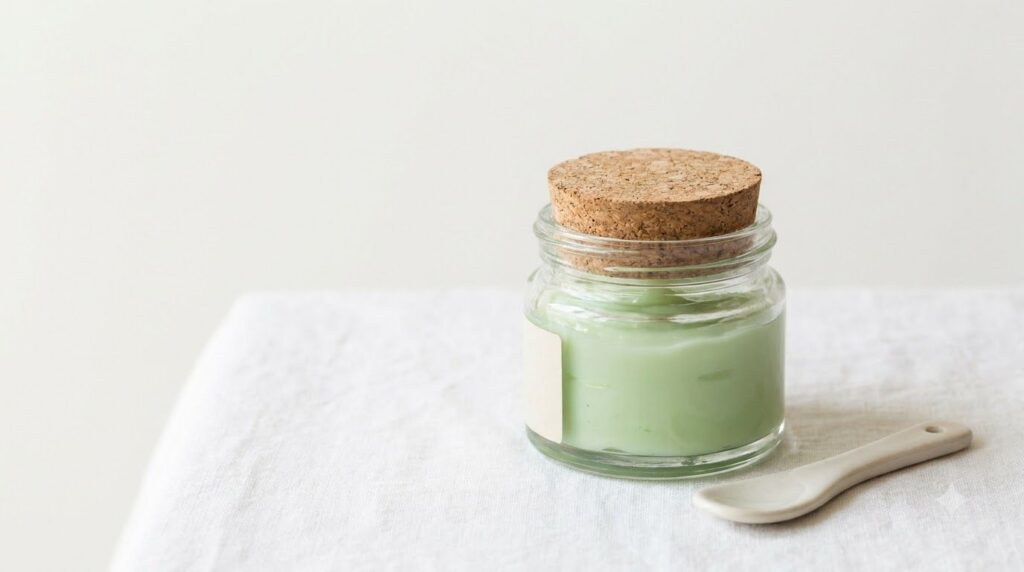
- Store: Transfer your freshly made glass skin blend into a small, clean, airtight container.
How to Use It
- Cleanse Your Skin: Start with a clean face. Gently wash your face with your regular cleanser and pat dry.
- Apply a Small Amount: Take a pea-sized amount of the homemade glass skin blend.
- Massage Gently: Warm the blend between your fingertips and gently massage it onto your face and neck using upward, circular motions. Focus on areas where you desire extra smoothness and radiance.
- Allow Absorption: Let the skin absorb the blend. It may feel a bit rich initially, so apply thinly, especially if using during the day. This blend is excellent as a final step in your nighttime routine.
How Often to Use It
For best results, incorporate this blend into your evening skincare routine 2-3 times a week. If your skin is particularly dry, you might use it more often, but always observe how your skin responds.
Why These Ingredients Are Used
Aloe Vera Petroleum Jelly
Petroleum jelly is a well-known occlusive, meaning it forms a protective barrier on the skin’s surface, helping to lock in moisture and prevent water loss. The aloe vera variant adds soothing and hydrating properties, traditionally known for supporting skin’s natural healing and reducing the appearance of redness. This helps create a smooth, supple base for that ‘glass skin’ effect.
Fine Rice Flour
Rice flour is a popular ingredient in traditional Asian beauty remedies. It’s often used for its gentle exfoliating properties, which can help buff away dead skin cells and promote a brighter-looking complexion. It also contains compounds that may help improve skin texture and contribute to a more even-toned, luminous appearance.
Vitamin E Oil
Vitamin E is a potent antioxidant that helps protect skin from environmental stressors. It’s widely used in skincare for its moisturizing and skin-nourishing benefits. Incorporating Vitamin E oil can support skin hydration, improve the appearance of fine lines, and contribute to a healthy, radiant glow, essential for achieving a ‘glass skin’ look.
What Results to Expect
With consistent use, this DIY blend may help your skin appear smoother, feel more hydrated, and develop a more radiant, luminous quality. It can support an even-looking complexion and contribute to that desirable ‘glass skin’ glow, making your skin look fresh and revitalized.
Safety Notes
- Patch Test First: Always perform a patch test on a small, inconspicuous area of your skin (like behind your ear or on your inner arm) 24 hours before applying the blend to your face to check for any irritation or allergic reaction.
- Use Gently: Apply the blend with light, gentle motions.
- Avoid Irritated or Broken Skin: Do not apply this remedy to areas with cuts, rashes, sunburn, or other skin irritations.
- Stop Using if Discomfort Occurs: If you experience any redness, itching, burning, or discomfort, discontinue use immediately and gently rinse off the product.
- Ingredient Specific Cautions: While generally mild, some individuals may be sensitive to petroleum jelly or rice.
- Consult a Professional: If you have specific skin conditions or concerns, it’s always best to consult with a dermatologist before trying new home remedies.
FAQ
Can I use this blend every day?
While gentle, it’s recommended to start with 2-3 times a week, especially if you have oily or combination skin. Observe how your skin responds, and if it feels balanced and happy, you may adjust the frequency.
What if I don’t have aloe vera petroleum jelly?
You can use regular petroleum jelly and add a few drops of pure, skin-grade aloe vera gel (ensure it’s not a heavily fragranced or alcohol-based variant) to the mix for similar benefits.
How long can I store this homemade cream?
When stored in a clean, airtight container in a cool, dry place, this blend should last for about 2-3 weeks. Always check for any changes in smell or texture before use.
Final Thoughts
Embrace the journey to a more luminous complexion with this easy and effective DIY ‘Korean glass skin’ remedy. By combining the hydrating power of petroleum jelly and aloe vera with the brightening touch of rice flour and the nourishing benefits of Vitamin E, you’re giving your skin a simple yet powerful boost. Give it a try and share your glowing results with us in the comments below!