The Ultimate DIY Floor Cleaner: Tackle Mud & Grime with Ease
Tired of stubborn muddy footprints and dull floors that just won’t shine? We’ve all been there. The secret to a truly sparkling clean floor often isn’t an expensive, chemical-laden cleaner, but rather a clever combination of everyday household items. Today, we’re diving into a simple yet incredibly effective homemade cleaning solution that will leave your floors pristine and your wallet happy.
This powerful DIY mix, using ingredients you likely already have, is perfect for cutting through dirt, grease, and even those notorious muddy tracks that get dragged into the house. Get ready to transform your cleaning routine and bring back the sparkle to your home!
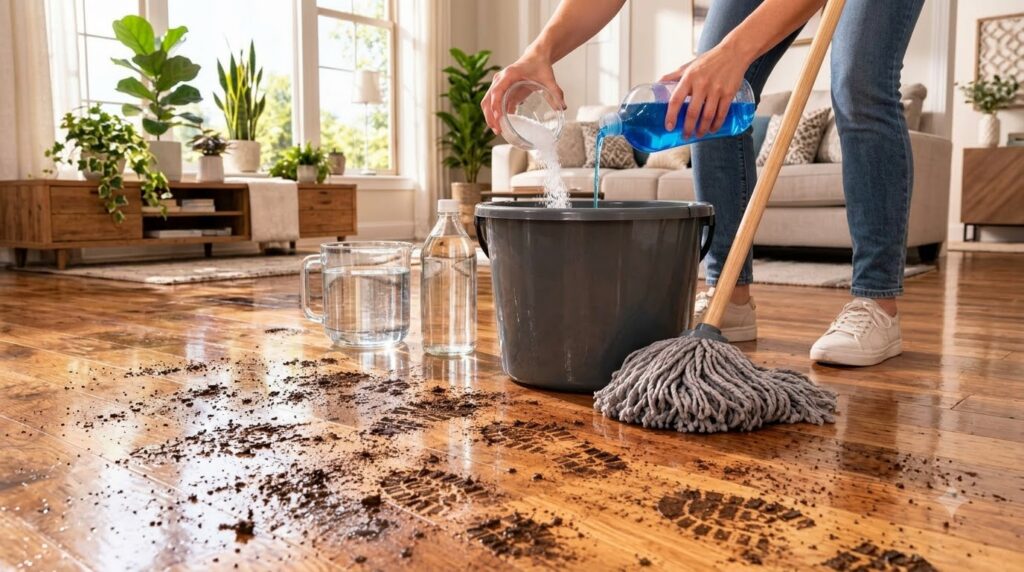
The Problem: Dirty Floors & Chemical Overload
Our floors endure a lot – from daily foot traffic to spills, pet mishaps, and those inevitable muddy prints. While many commercial cleaners promise a miracle, they often come with harsh chemicals, strong fumes, and a hefty price tag. Plus, sometimes they leave behind a sticky residue that attracts even more dirt. Finding an effective, safe, and budget-friendly solution can feel like a never-ending quest.
The DIY Solution: A Powerhouse Mix for Pristine Floors
The good news? The solution is simpler than you think. By combining water, salt, blue dish soap, and white vinegar, you create a dynamic cleaning agent that tackles various types of grime without the harsh chemicals. This mix leverages the strengths of each ingredient to deliver a superior clean.
Why This Mix Works Wonders
- Water: The universal solvent, water acts as the base for our cleaning solution, diluting the concentrated ingredients and allowing them to spread effectively across your floor.
- Salt: More than just a seasoning, salt acts as a mild abrasive, helping to gently scrub away stuck-on dirt and grime without scratching surfaces. It also has deodorizing properties, helping to neutralize unpleasant smells.
- Blue Dish Soap: Dish soap is a superb degreaser and surfactant. Its sudsy power breaks down greasy residue, lifts dirt, and helps suspend it in the water, making it easy to wipe away. Any color dish soap will work, but blue is a common household choice.
- White Vinegar: The unsung hero of natural cleaning! White vinegar’s acetic acid content is a natural disinfectant, deodorizer, and a powerful agent against soap scum, hard water stains, and streaks. It helps to sanitize surfaces and leaves floors sparkling without a dull film.
Your Recipe for Sparkling Floors (Ingredients & Tools)
Gather these simple items to create your ultimate floor cleaning solution:
Ingredients:
- 1 gallon (approx. 4 liters) warm water
- 1/4 cup table salt
- 1/2 cup blue liquid dish soap (any brand will do)
- 1/2 cup white vinegar
Tools:
- Large cleaning bucket
- Mop (sponge, string, or microfibre)
- Measuring cups
- Gloves (optional, but recommended for sensitive skin)
Step-by-Step Guide: Mixing & Mopping
Follow these easy steps to mix and apply your homemade floor cleaner:
-
Prepare Your Bucket
Start by filling your cleaning bucket with 1 gallon of warm water. Warm water helps to dissolve the salt and activate the cleaning power of the dish soap and vinegar more effectively.
-
Add the Salt
Carefully pour 1/4 cup of table salt into the warm water. Stir well until the salt is mostly dissolved. This might take a minute or two.
-
Introduce the Dish Soap
Next, add 1/2 cup of blue liquid dish soap to the mixture. Stir gently to avoid creating too many suds prematurely. The soap will begin to break down any grease and lift dirt.
-
Pour in the Vinegar
Finally, add 1/2 cup of white vinegar. You might notice a slight fizzing action when the vinegar reacts with the soap, which is normal. Stir the entire solution thoroughly to ensure all ingredients are well combined.
-
Mop Your Floors
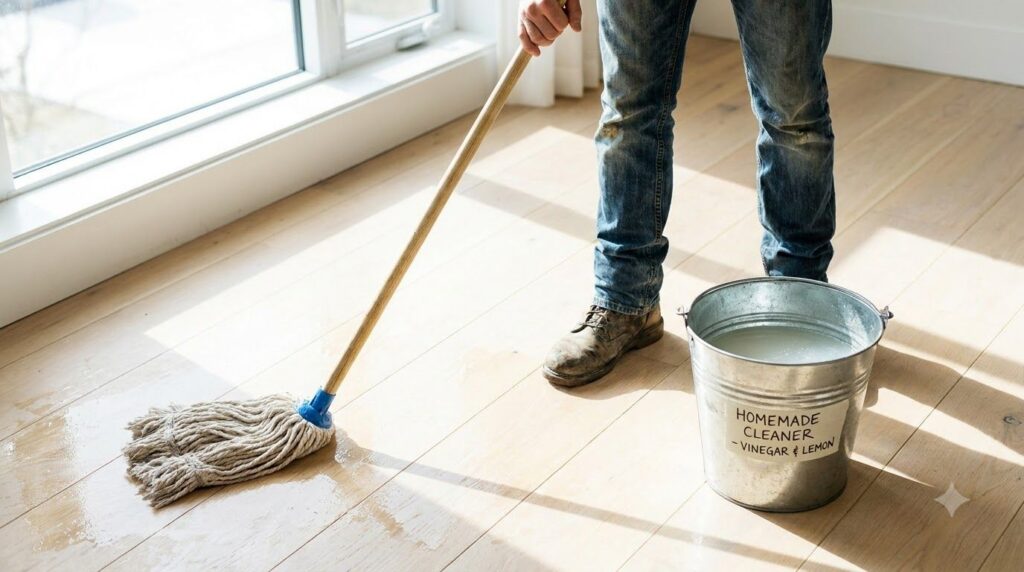
Dip your mop into the solution, wring out any excess water to ensure it’s damp but not soaking wet (this prevents over-wetting your floors). Mop your floors in sections, paying extra attention to high-traffic areas and muddy spots. For tougher stains, let the solution sit for a few minutes before scrubbing.
-
Rinse and Dry (Optional, but Recommended)
For a truly streak-free finish, especially on shiny surfaces, you may want to rinse your mop with clean water and then go over the floor again to remove any lingering soap residue. Allow your floors to air dry, or speed up the process with a clean, dry towel.
Tips for Best Results & Safety
- Test First: Always test the cleaning solution on an inconspicuous area of your floor first to ensure it doesn’t cause any discoloration or damage, especially on delicate or unsealed surfaces.
- Avoid on Certain Surfaces: While great for most sealed hard floors (tile, linoleum, vinyl, sealed wood), vinegar can be too acidic for unsealed natural stone (like marble or granite), cast iron, or unsealed grout. Always check your flooring manufacturer’s recommendations.
- Ventilate: Ensure good ventilation in the room while cleaning, especially when using vinegar.
- No Need to Overdo It: A little goes a long way. Don’t add more ingredients than specified, as this can lead to residue or potential damage.
- Storage: This solution is best made fresh for each cleaning session. If you have any leftover, store it in a clearly labeled container for a few days, but its effectiveness might diminish over time.
- Gloves: If you have sensitive skin, consider wearing gloves to protect your hands from prolonged exposure to the cleaning solution.
Embrace a Cleaner, Greener Home
With this simple, budget-friendly, and effective DIY floor cleaner, you’re not just tackling messes; you’re adopting a smarter, more sustainable approach to home maintenance. Say goodbye to muddy footprints and hello to beautifully clean, sparkling floors. Give this recipe a try and rediscover the joy of a truly pristine home!