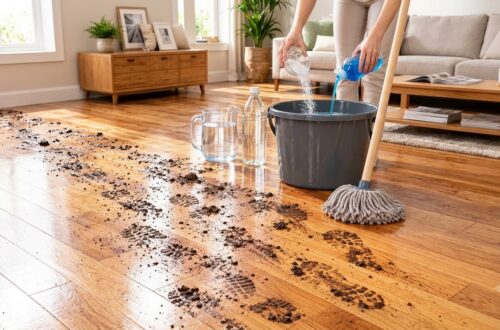
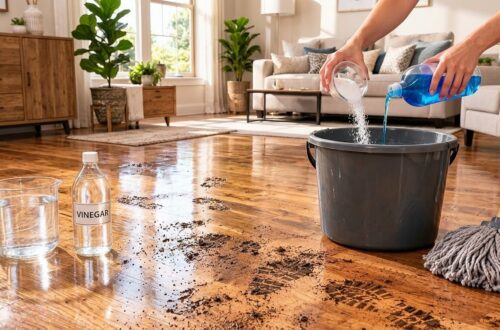
Our home’s floors take a constant beating, collecting everything from muddy footprints and pet paw prints to everyday dust and spills. While the mess can feel overwhelming, bringing your floors back to their sparkling, pristine best is incredibly satisfying and doesn’t require an arsenal of expensive commercial cleaners. What if we told you that some of the most powerful floor cleaning hacks are already in your pantry?
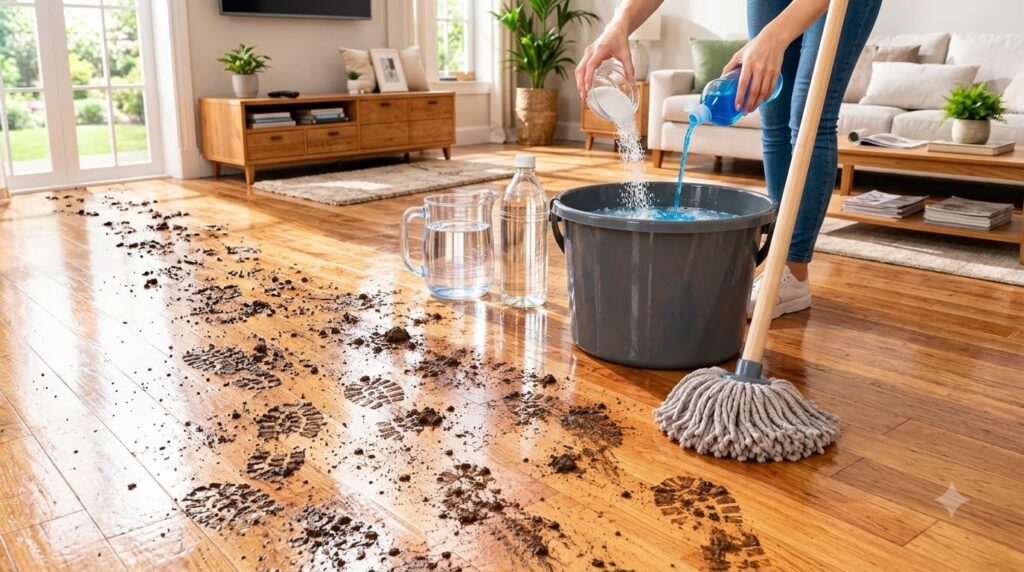
Today, we’re diving into a powerful, budget-friendly DIY floor cleaner that uses common household items to tackle even the toughest grime. Get ready to refresh your floors and enjoy that satisfying gleam!
The Power Duo: Vinegar and Dish Soap for Floors
This homemade concoction harnesses the cleaning might of everyday ingredients to cut through grease, lift dirt, and leave your floors fresh and clean. The simple combination of water, salt, blue dish soap, and white vinegar creates a potent cleaner that’s effective without harsh chemicals.
What You’ll Need:
- Warm Water
- White Vinegar
- Blue Dish Soap (any brand works, but blue adds a visual fresh cue!)
- Salt (table salt or Epsom salt)
- A Mop
- A Bucket
- A Broom or Vacuum Cleaner
Why These Ingredients Work Their Magic:
- Water: The universal solvent, warm water helps to dissolve dirt and grease more effectively.
- White Vinegar: This acidic powerhouse is fantastic for cutting through grease, dissolving grime, and naturally deodorizing. It also acts as a mild disinfectant and helps to leave streak-free results, especially on hard surfaces.
- Blue Dish Soap: Known for its degreasing properties, dish soap breaks down oily residues and lifts stubborn dirt, making it easy to wipe away. The suds help encapsulate dirt particles.
- Salt: While often overlooked in cleaning, salt acts as a gentle abrasive to help scrub away stuck-on dirt without scratching. It can also enhance the cleaning power of the solution.
Step-by-Step Guide to Sparkling Floors
Follow these simple steps to transform your dirty floors into gleaming surfaces:
-
Prepare Your Floors
Before introducing any liquid, make sure to sweep or vacuum your entire floor thoroughly. Removing loose dirt, dust, and debris will prevent you from just pushing mud around and will allow your cleaning solution to work more effectively on the stuck-on grime.
-
Mix Your DIY Cleaning Solution
In a large bucket, combine the following:
- 1 gallon (approx. 4 liters) of warm water
- 1/2 cup (approx. 120 ml) of white vinegar
- 1/4 cup (approx. 60 ml) of blue dish soap
- 2 tablespoons of salt
Stir the mixture gently until the salt is dissolved and the ingredients are well combined. Avoid creating excessive suds.
-
Mop Your Floors
Dip your mop into the cleaning solution, wring it out well so it’s damp, not dripping, and begin mopping your floors in small sections. For heavily soiled areas, you might need to apply a bit more pressure or let the solution sit for a minute or two to loosen the dirt before scrubbing.
-
Rinse (Optional but Recommended)
For a truly streak-free finish, especially on shiny surfaces, consider a quick rinse. Empty your bucket and refill it with clean, plain warm water. Mop the floor again with the clean water to remove any soapy residue. This step is particularly beneficial when using vinegar, as it helps remove any lingering scent as well.
-
Let Them Dry
Allow your floors to air dry completely. For faster drying, you can open windows or use a fan. Avoid walking on the wet floors to prevent new footprints and slipping hazards.
Benefits of This Homemade Floor Cleaner
- Cost-Effective: You’re likely to have these ingredients on hand, saving you money on specialized cleaning products.
- Effective Cleaning: This solution tackles dirt, grease, and grime with ease, leaving floors visibly cleaner.
- Natural Deodorizer: Vinegar helps eliminate odors, leaving a fresh, clean scent (which dissipates as it dries).
- Reduced Chemical Exposure: Ideal for homes with children, pets, or those sensitive to harsh chemicals.
Important Tips and Precautions
- Test First: Always test the solution on an inconspicuous area of your floor first to ensure it doesn’t cause discoloration or damage, especially on delicate or unfamiliar floor types.
- Avoid on Certain Surfaces: While excellent for many hard floors (tile, linoleum, sealed hardwood, laminate), this solution is NOT recommended for unsealed hardwood, marble, or granite, as the vinegar’s acidity can damage the finish or etch the stone.
- Ventilation: Ensure good ventilation by opening windows while cleaning.
- Storage: This solution is best made fresh for each cleaning session. If you have any leftover, store it in a clearly labeled container for a short period.
Say goodbye to dull, dirty floors and hello to a fresh, sparkling home! This simple, effective, and budget-friendly DIY floor cleaner proves that you don’t need fancy products to achieve amazing results. Give it a try and share your gleaming success!