Most people eagerly await the luscious grapes of late summer and early autumn, but they often overlook another valuable part of the vine: its leaves. While the fruit gets all the attention, the humble grape leaf holds a rich culinary tradition, one that has been prized for generations. Transforming these vibrant green leaves into a culinary delight is a ritual passed down through time, offering unique flavors and textures to a variety of dishes. It’s a classic example of making the most of every part of nature’s bounty.
Instead of letting this overlooked harvest go to waste, you can capture its essence and enjoy it all year round. The secret lies in proper selection and preservation.
What Are Grape Leaves?
Grape leaves are the leaves of the grapevine (Vitis vinifera), typically harvested when they are young, tender, and unblemished. While known globally for their use in various cuisines, especially Mediterranean and Middle Eastern, they are far more than just a wrap for rice and meat. These leaves offer a slightly tangy, earthy flavor that complements many savory fillings. Beyond their culinary appeal, they have also been traditionally valued for their mild astringent properties.
Gathering Your Grape Leaves
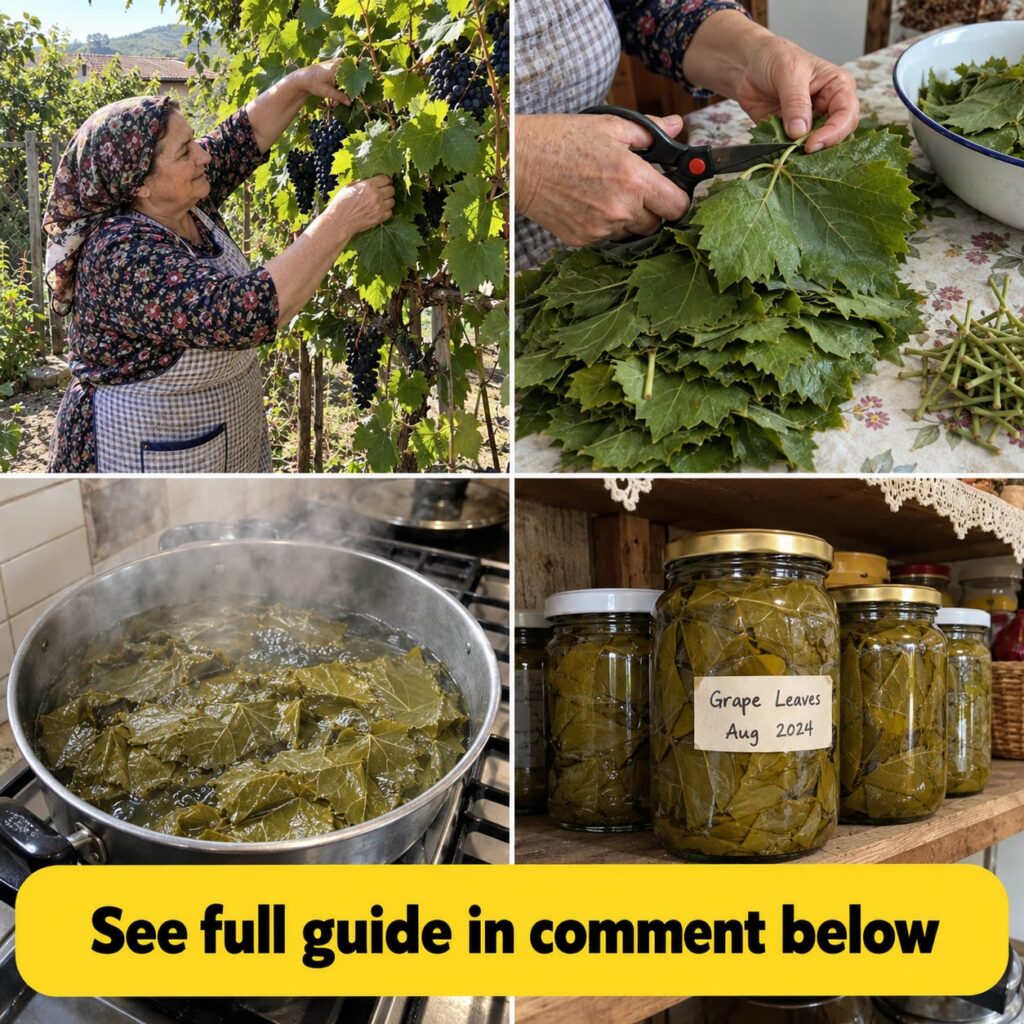
The success of any grape leaf preparation starts with the right leaves. You’ll need young, tender leaves, typically harvested in late spring to early summer before they become too tough or bitter. Look for leaves that are bright green, unblemished, and free from pesticides or chemical sprays. If you have your own grapevines, harvest from established plants; if buying, seek out fresh, organic options from farmers’ markets or specialty stores.
Approximate Measurements for Preservation
- 50-100 fresh, young grape leaves (enough to fill a 1-liter jar)
- 4 cups water
- 1/4 cup non-iodized salt (such as sea salt or pickling salt)
- 1/4 cup white vinegar (optional, for extra tang and preservation)
Formula / Recipe: Brined Grape Leaves
Brining is one of the most effective and traditional ways to preserve grape leaves, ensuring they remain pliable and flavorful for months. This method allows you to enjoy them long after the harvest season has passed.
Step-by-Step Preservation Method
- Inspect and Clean: Gently wash each grape leaf under cool running water. Carefully remove any dirt, insects, or damaged spots. Pat them dry with a clean cloth or paper towels.
- Trim Stems: Pinch or cut off any long, tough stems close to the base of the leaf. Keep the leaves whole.
- Stack and Roll: Stack 10-15 leaves neatly on top of each other. Roll them tightly into a cigar shape. Repeat with the remaining leaves. This compacts them for storage.
- Prepare Brine: In a saucepan, combine water and salt. Bring the mixture to a boil, stirring until the salt is fully dissolved. Remove from heat and let it cool completely. If using, add the vinegar once the brine has cooled.
- Pack Jars: Carefully place the rolled grape leaves vertically into sterilized glass jars. Pack them snugly, but do not crush them.
- Pour Brine: Pour the cooled brine over the grape leaves, ensuring they are completely submerged. You may need to use a fermentation weight or a small, clean stone to keep the leaves under the liquid.
- Seal and Store: Seal the jars tightly with lids. Store them in a cool, dark place, such as a pantry or cellar. The brined leaves will be ready to use in about 2-3 weeks, though they improve with time.
Quick Tip: Blanching for Short-Term Storage
If you plan to use grape leaves within a few weeks, blanching is a faster method. Simply dip the clean leaves in boiling water for 30 seconds, then immediately transfer to an ice bath to stop cooking. Drain thoroughly, stack, and store in an airtight container in the refrigerator for up to 2-3 weeks.
How to Use Brined Grape Leaves
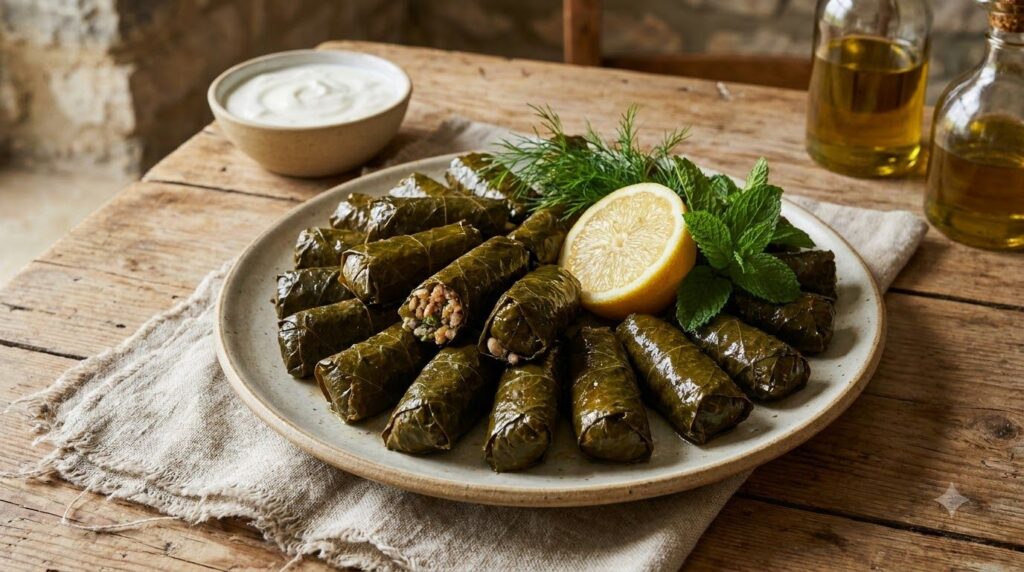
Once preserved, these leaves are ready for a myriad of culinary applications. The most common use is for making dolmades, a traditional dish where the leaves are stuffed with a mixture of rice, herbs, and sometimes ground meat, then simmered until tender. However, their use isn’t limited to just stuffing. They can also be finely chopped and added to salads for a tangy bite, used as a bed for grilling fish or poultry to infuse flavor, or even deep-fried for a crispy snack.
How Often to Use
For culinary purposes, you can use preserved grape leaves as often as you like, whenever a recipe calls for them. There are no strict limits on consumption for most healthy individuals when consumed as part of a balanced diet.
How to Buy / How to Choose Ingredients
If you don’t have access to fresh grapevines, you can purchase jarred grape leaves. When buying, look for leaves preserved in brine, not oil, as brine offers a more authentic flavor and texture for most traditional recipes. Check the ingredient list to ensure it’s simple: grape leaves, water, salt, and possibly citric acid or vinegar. Avoid jars with discoloration, torn leaves, or excessive additives. Fresh leaves should be bright green, supple, and free of holes or damage.
Storage
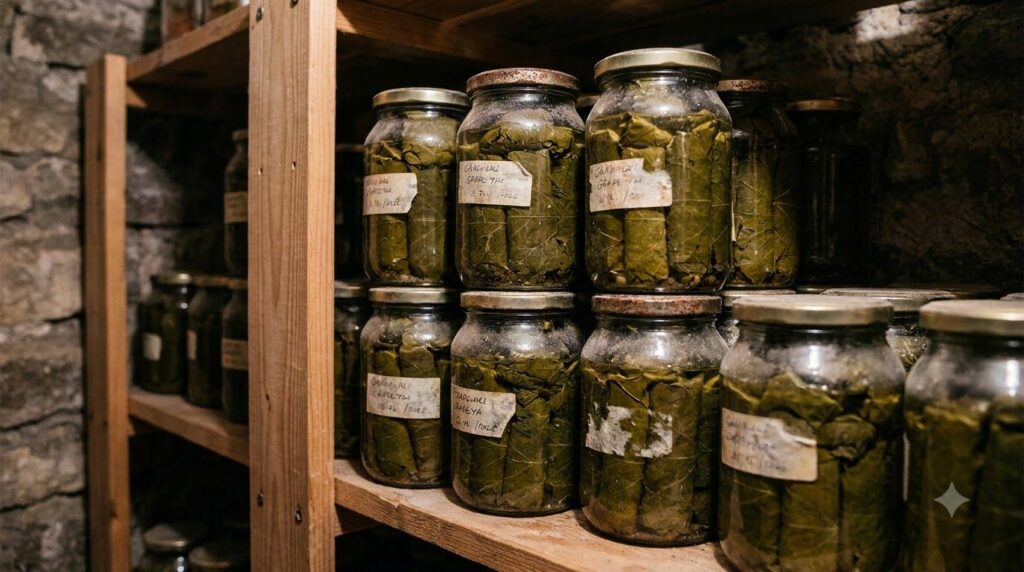
Brined grape leaves, stored in sealed jars in a cool, dark pantry, can last for 1-2 years. Once opened, refrigerate the jar and consume within 2-3 weeks. Ensure the leaves remain submerged in the brine to prevent spoilage. If they are not fully covered, they can mold.
Practical Tips for Best Results
- Harvest Early: For the best texture, harvest leaves in late spring or early summer when they are young and tender. Older leaves can be tough and fibrous.
- Test for Tenderness: Before preserving a large batch, gently tear a small piece of a leaf. If it tears easily without resistance, it’s a good candidate.
- Desalinate Properly: Brined leaves are quite salty. Always rinse them thoroughly under cold water and soak them in fresh water for at least 30 minutes (changing the water once or twice) before using them in recipes.
- Experiment with Fillings: While rice and meat are traditional, don’t be afraid to try vegetarian fillings with bulgur, lentils, or other grains and herbs.
Here’s the part most people skip…
Many home cooks rush the desalination process, leading to overly salty dishes. Properly rinsing and soaking your brined grape leaves is not just a suggestion; it’s a critical step that ensures your final dish is balanced and delicious, not overwhelmingly salty.
Common Mistakes
- Using Mature Leaves: Older, tougher leaves won’t soften properly during cooking and can result in a chewy, unpleasant texture.
- Skipping Desalination: As mentioned, not rinsing and soaking brined leaves is the quickest way to ruin a dish.
- Overfilling Stuffed Leaves: When making dolmades, overfilling can cause the leaves to burst during cooking, or the filling to remain undercooked. Leave a little room for the rice to expand.
- Boiling Too Vigorously: When cooking stuffed grape leaves, a gentle simmer is key to prevent them from unraveling or tearing.
- Using Pesticide-Treated Leaves: Always ensure your leaves come from an unsprayed source.
Comparison: Fresh vs. Brined Grape Leaves
| Feature | Fresh Grape Leaves | Brined Grape Leaves |
|---|---|---|
| Availability | Seasonal (late spring/early summer) | Year-round |
| Preparation | Wash, blanch (optional), use immediately | Rinse, soak to desalinate, then use |
| Texture | More delicate, slightly firmer | Softer, more pliable due to brining |
| Flavor | Slightly more herbaceous, mild tang | Distinct tangy, salty flavor from brine |
| Storage | Short-term refrigeration (a few weeks) | Long-term pantry storage (1-2 years) |
| Best Use | Ideal for fresh, light dishes; blanching for stuffing | Perfect for traditional stuffed dishes (dolmades) |
Cautions / Who Should Avoid It
Grape leaves are generally safe for consumption for most individuals. However, due to their high vitamin K content, individuals on blood-thinning medications (like Warfarin) should consume them in moderation and consult with their healthcare provider, as vitamin K can interfere with these medications. As with any food, those with grape allergies should avoid grape leaves.
Quick Summary
Grape leaves are a versatile culinary ingredient, best harvested young and tender. Brining is the optimal method for long-term preservation, allowing you to enjoy them year-round. Remember to thoroughly desalinate brined leaves before use. They are perfect for stuffing, adding tang to salads, or acting as a flavorful bed for cooking. Avoid tough leaves and always ensure they are from an unsprayed source.
FAQ
- Can I use wild grape leaves? Yes, but ensure you correctly identify the plant as true grape (Vitis vinifera or native North American species) and that it hasn’t been sprayed with pesticides.
- How long do brined grape leaves last? Unopened jars can last 1-2 years in a cool, dark pantry. Once opened, refrigerate and use within 2-3 weeks.
- Can I freeze fresh grape leaves? Yes, after blanching and drying thoroughly, you can stack them, wrap them tightly, and freeze them for up to 6 months. They may lose some texture but will still be usable for stuffing.
- Do I need to blanch fresh grape leaves before stuffing? It’s recommended to blanch them briefly to make them more pliable and easier to roll, though very young and tender leaves can sometimes be used fresh.
- What part of the grape leaf is best to use? The entire leaf is used, but the tough stem should be trimmed off.
- Can I reuse the brine? No, it’s best to use fresh brine for each batch of preservation to ensure safety and quality.
- Are grape leaves healthy? Yes, they are low in calories and a good source of vitamins (especially K and A) and minerals.
Embrace this forgotten fall harvest and bring a touch of ancestral wisdom to your kitchen. The satisfaction of preserving and then transforming these humble leaves into treasured dishes is truly rewarding.
Read more: DIY Pickling: Your Guide to Preserving the Harvest
You may also like: Herbal Teas for Digestive Health
See the full guide: From Garden to Kitchen: Essential Herbs for Every Cook