We’ve all been there: a moment of distraction, a forgotten pot on the stove, and suddenly, your once pristine cookware is a scorched disaster. That sickening smell of burnt food and the sight of a blackened bottom can make even the most seasoned home cook sigh in resignation. But before you banish that pot to the trash bin or spend a fortune on harsh chemical cleaners, consider this: an amazing transformation is within reach, using simple, everyday kitchen staples you likely already have!
At DIY Tips, we believe in practical, budget-friendly solutions for common household dilemmas. Cleaning a seriously burnt pot is a perfect example of how a little know-how and natural ingredients can save your cookware and your wallet. Say goodbye to stubborn stains and hello to sparkling clean pots and pans!
Understanding the Burn: Why Pots Get So Damaged
Whether it’s forgotten rice, an overcooked sauce, or a stray piece of food left on high heat, burnt residues can bond tenaciously to the surface of your pots. This isn’t just a simple stain; it’s often a carbonized layer that feels impossible to scrub away. The intense heat causes food particles to break down and fuse with the metal, creating a tough, resilient mess. While alarming, most burnt pots can indeed be salvaged with the right approach.
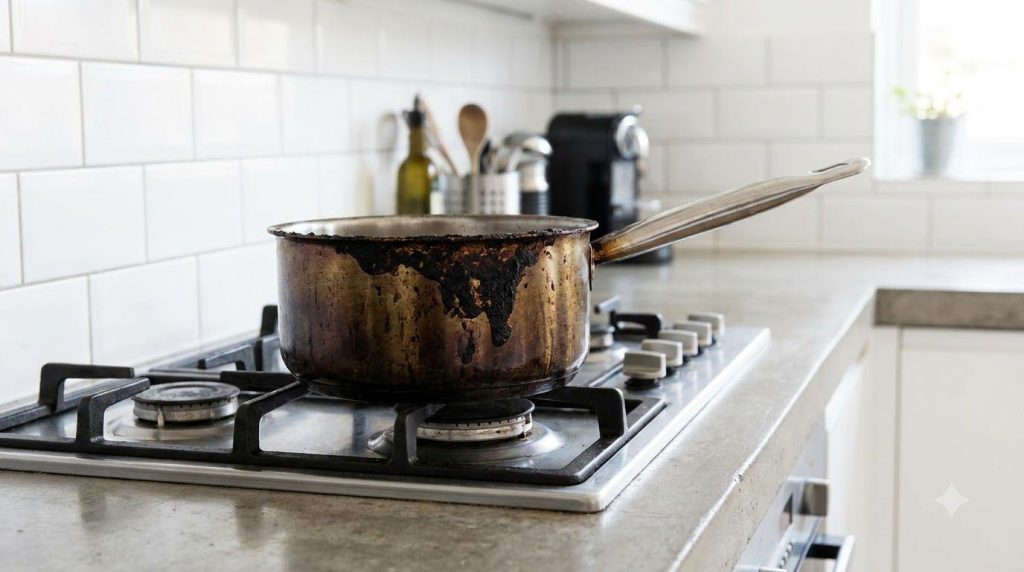 Don’t despair! Even the most stubborn burnt-on food can often be removed.
The Power Duo: White Vinegar and Baking Soda
This classic combination isn’t just for volcano science projects; it’s a formidable foe against burnt-on grime. White vinegar, an acetic acid, helps to loosen tough residues, while baking soda, a mild abrasive and base, works to lift and scrub away the loosened bits. Together with a little dish soap for degreasing, they form an effective, non-toxic cleaning army.
What You’ll Need:
- Burnt pot or pan
- White vinegar
- Baking soda
- Dish soap
- Water
- Scrub brush or non-abrasive sponge
- Plastic or wooden scraper (optional, for very stubborn spots)
Step-by-Step Guide to Burnt Pot Rescue:
Step 1: Initial Rinse and Scrape
First, allow the pot to cool completely. Never try to clean a hot pot. Once cool, remove any loose, unburnt food particles. If there are large, hardened chunks, you can try to gently scrape them off with a wooden or plastic spatula to avoid scratching the pot’s surface. Don’t force anything; the goal here is just to get rid of the easily removable bits.
Step 2: Fill with Water and Vinegar
Pour about an inch or two of water into the bottom of the burnt pot, just enough to cover the burnt area. Add 1/2 to 1 cup of white vinegar to the water. Bring this mixture to a boil on your stovetop. As it heats, you’ll often notice some of the burnt residue beginning to loosen and lift from the bottom. Let it boil for 5-10 minutes, or until you see significant lifting.
Step 3: Add Baking Soda
Carefully remove the pot from the heat. Drain the vinegar-water mixture, leaving a small amount of liquid, or simply wipe it out leaving the pot still warm and damp. Now, generously sprinkle a thick layer of baking soda over the entire burnt area. If the pot is still damp, the baking soda will form a paste. Add a few drops of dish soap on top of the baking soda. The reaction between the residual vinegar (if any) and the baking soda will create a fizzing action, which helps to break down the carbonized food.
Step 4: Let It Sit (The Magic Happens Here!)
Once you’ve applied the baking soda and dish soap, let the mixture sit in the pot. For moderately burnt pots, 15-30 minutes might be enough. For severely burnt pots, you might need to let it sit for several hours, or even overnight. This soaking time is crucial as it allows the ingredients to penetrate and soften the stubborn grime.
Step 5: Scrub Away
After soaking, it’s time to scrub! Use a non-abrasive scrub brush, a sturdy sponge, or a specialized pot scrubber. The burnt residue should now be significantly softer and easier to remove. For any particularly stubborn spots, you can apply a little more baking soda directly to your brush and scrub with circular motions. If needed, re-wet the area with a splash of water and a dash more vinegar to reactivate the fizzing action.
Step 6: Rinse and Repeat (If Necessary)
Rinse the pot thoroughly with warm water. If there are still traces of burnt food, don’t be discouraged! Repeat the baking soda and vinegar treatment, focusing on the remaining problem areas. Sometimes, a second or third round is needed for truly tough burns. For extremely stubborn spots, you can make a thicker paste of baking soda and a tiny bit of water, apply it, let it sit, and then scrub.
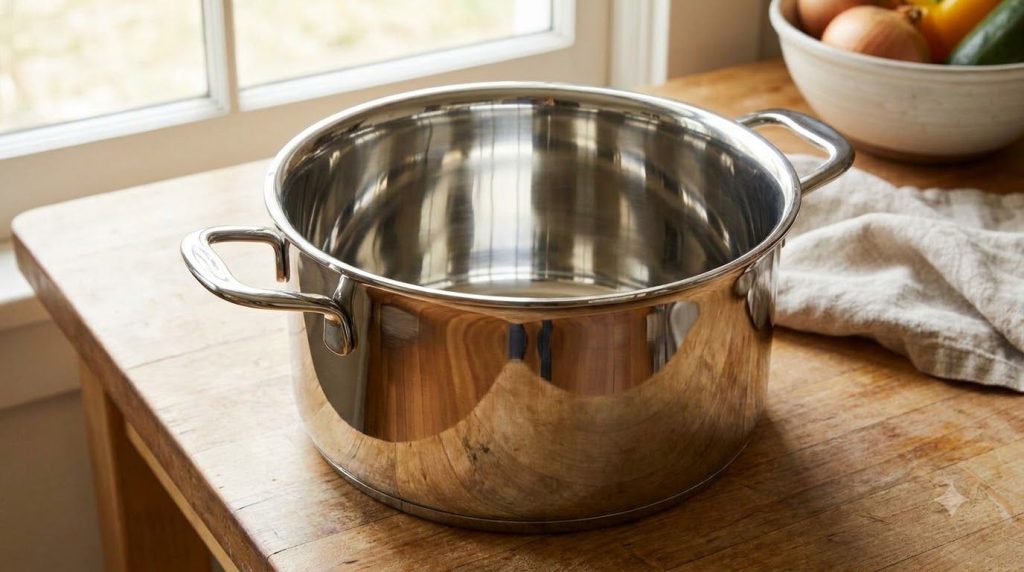 With a little effort, your pot can look good as new!
Other DIY Tricks for Stubborn Pots
While vinegar and baking soda are often all you need, here are a few other methods you can try for different types of burns or if the previous method needs a boost:
- Salt and Lemon: For lighter burns, especially on stainless steel, cut a lemon in half, dip it in coarse salt, and use it to scrub the burnt area. The acid in the lemon and the abrasive salt work together.
- Dishwasher Detergent Tab: Fill the pot with water, drop in a dishwasher detergent tab, and bring to a boil. Let it simmer for 10-15 minutes, then let it cool before scrubbing.
- Dryer Sheet: Place a dryer sheet in the bottom of the pot, fill with warm water and a drop of dish soap, and let it sit overnight. The fabric softeners help loosen baked-on food.
- Cream of Tartar: For discolored or lightly burnt stainless steel, mix cream of tartar with water to form a paste, apply, let sit, and then scrub.
Preventative Measures: Avoiding Future Burnt Pot Disasters
Of course, the best cleaning hack is prevention! Here are some tips to keep your pots pristine:
- Stay Attentive: Never leave cooking food unattended, especially when simmering or frying.
- Use the Right Heat: Match the burner size to your pot size and use appropriate heat levels. High heat isn’t always faster; it can lead to scorching.
- Stir Frequently: Especially with thick sauces, rice, or anything prone to sticking, stir regularly to prevent food from settling and burning on the bottom.
- Add Liquids: Ensure there’s always enough liquid in your pot, particularly when cooking grains or reducing sauces.
- Deglaze Immediately: After cooking, if you have fond (browned bits) at the bottom, deglaze the pan with a little liquid while it’s still warm to prevent it from hardening into a burn.
Conclusion
A burnt pot doesn’t have to spell the end for your cookware. With a little patience and the power of everyday kitchen staples like white vinegar, baking soda, and dish soap, you can transform a kitchen catastrophe into a clean canvas. Not only are these methods effective, but they’re also budget-friendly and gentler on the environment than harsh chemical cleaners.
Have you tried these methods, or do you have a secret trick for cleaning burnt pots? We’d love to hear your wisdom and experiences! Share your go-to solutions in the comments below!