Get ready to delight your taste buds! We’re sharing six amazing chocolate mint dessert recipes that are perfect for any special occasion or simply to satisfy your sweet cravings. From creamy cheesecakes to refreshing treats, these desserts combine the rich decadence of chocolate with the cool, invigorating flavor of mint. Elevate your dessert game and discover your new favorite indulgence.
Whether you’re hosting a party, looking for a comforting treat, or simply love the classic combination of chocolate and mint, this collection has something for everyone. Dive in and find your next irresistible dessert!
Quick Overview
- Main topic: Chocolate Mint Desserts
- Best for: Special occasions, sweet cravings, everyday treats
- Number of recipes: 6
- Prep style: Mix of baking and no-bake
- Reader benefit: Delicious, easy-to-follow chocolate mint recipes
Recipe 1: Decadent Chocolate Mint Mini Cheesecakes

These individual cheesecakes are rich, creamy, and boast the perfect balance of chocolate and refreshing mint. They’re ideal for parties as they are easy to serve.
Servings: 12 mini cheesecakes
Prep time: 25 minutes
Cook / chill / rest time: 20 minutes bake time, 2 hours chill time
Ingredients:
For the Crust:
- 1 ½ cups Oreo cookie crumbs (about 15 cookies)
- ¼ cup melted unsalted butter
For the Cheesecake Filling:
- 2 (8-ounce) packages cream cheese, softened
- ½ cup granulated sugar
- 2 large eggs
- 1 teaspoon vanilla extract
- ¼ cup unsweetened cocoa powder
For the Mint Topping:
- 1 cup heavy cream
- ¼ cup powdered sugar
- ½ teaspoon peppermint extract
- 2-3 drops green food coloring (optional)
- Chocolate shavings or mini chocolate chips, for garnish
Instructions:
- Preheat oven to 325°F (160°C). Line a 12-cup muffin pan with paper liners.
- Prepare the Crust: In a small bowl, combine Oreo crumbs and melted butter. Press about 1 tablespoon of the mixture into the bottom of each muffin liner.
- Prepare the Filling: In a large bowl, beat cream cheese and granulated sugar until smooth. Beat in eggs one at a time, then stir in vanilla extract and cocoa powder until just combined.
- Divide the cheesecake batter evenly among the crusts in the muffin pan.
- Bake for 18-20 minutes, or until the centers are almost set. Let cool completely in the pan, then transfer to the refrigerator to chill for at least 2 hours.
- Prepare the Topping: In a medium bowl, beat heavy cream, powdered sugar, and peppermint extract (and food coloring, if using) until stiff peaks form.
- Pipe or spoon the mint topping onto each chilled cheesecake. Garnish with chocolate shavings or mini chocolate chips before serving.
Storage / Serving / Usage Note: Store leftover cheesecakes in an airtight container in the refrigerator for up to 3-4 days. Best served chilled.
Recipe 2: Creamy Chocolate Mint Fudge
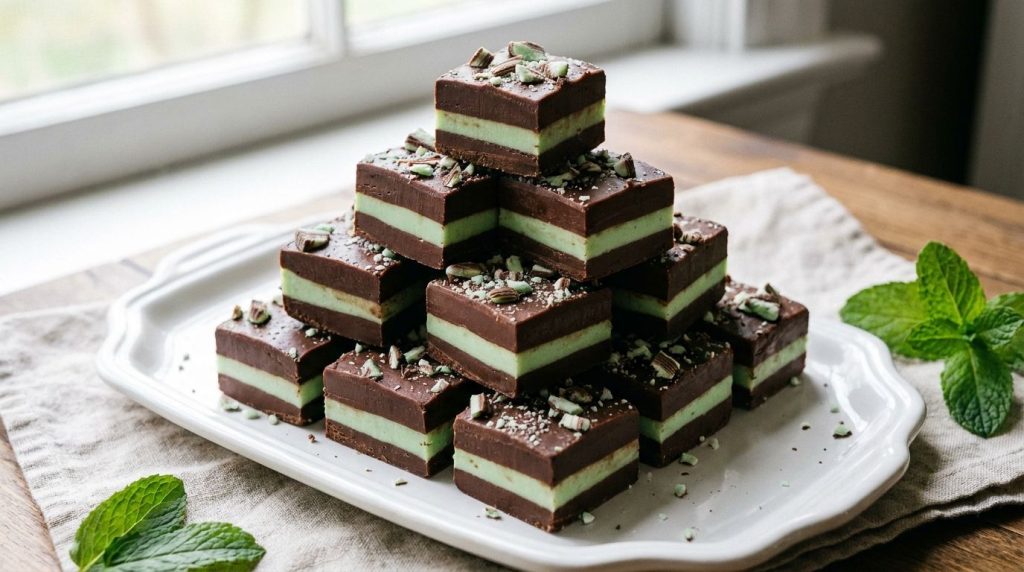
This creamy fudge is surprisingly simple to make and packed with intense chocolate and cool mint flavors. It’s perfect for gifting or sharing.
Servings: 36 squares
Prep time: 15 minutes
Cook / chill / rest time: 10 minutes cook time, 2 hours chill time
Ingredients:
- 1 (14-ounce) can sweetened condensed milk
- 2 cups semi-sweet chocolate chips
- 1 tablespoon butter
- ½ teaspoon peppermint extract
- 6-8 Andes mints, chopped (optional, for topping)
Instructions:
- Line an 8×8 inch baking pan with parchment paper, leaving an overhang on the sides.
- In a medium saucepan over low heat, combine sweetened condensed milk, chocolate chips, and butter. Stir constantly until chocolate is melted and the mixture is smooth.
- Remove from heat and stir in the peppermint extract.
- Pour the fudge mixture into the prepared pan and spread evenly.
- If using, sprinkle the chopped Andes mints over the top and gently press them into the fudge.
- Refrigerate for at least 2 hours, or until firm.
- Once firm, use the parchment paper overhang to lift the fudge from the pan. Cut into 1-inch squares.
Storage / Serving / Usage Note: Store fudge in an airtight container at room temperature for up to 1 week, or in the refrigerator for longer freshness.
Recipe 3: Fudgy Chocolate Mint Brownies
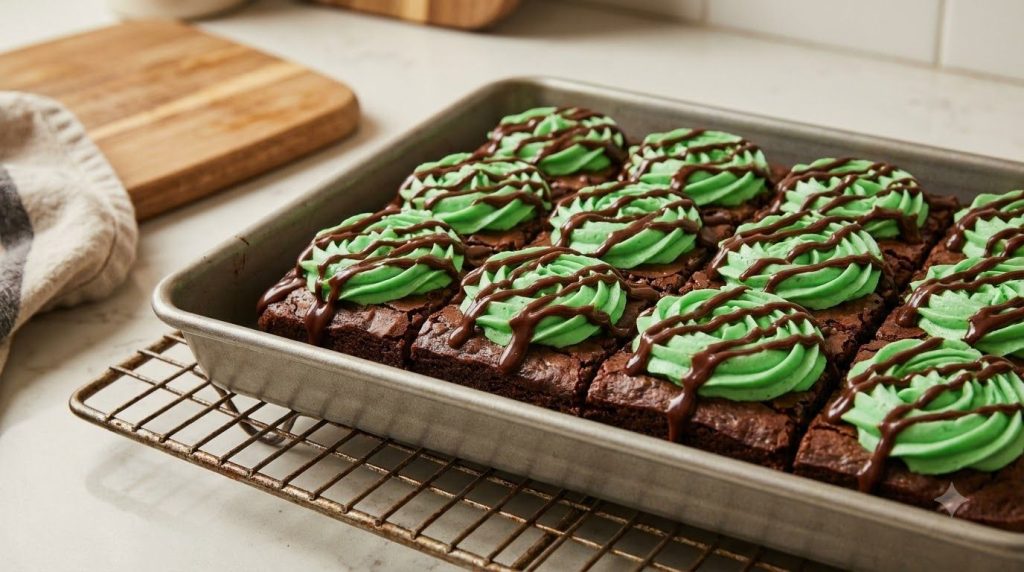
These brownies are dense, fudgy, and crowned with a luscious mint buttercream frosting. They’re a crowd-pleaser that combines two favorite dessert flavors.
Servings: 12-16 brownies
Prep time: 20 minutes
Cook / chill / rest time: 25-30 minutes bake time, 30 minutes chill time
Ingredients:
For the Brownies:
- ½ cup (1 stick) unsalted butter, melted
- 1 cup granulated sugar
- 2 large eggs
- 1 teaspoon vanilla extract
- ½ cup all-purpose flour
- ⅓ cup unsweetened cocoa powder
- ¼ teaspoon baking powder
- ⅛ teaspoon salt
For the Mint Frosting:
- ½ cup (1 stick) unsalted butter, softened
- 2 cups powdered sugar
- 1-2 tablespoons milk
- ½ teaspoon peppermint extract
- 2-3 drops green food coloring (optional)
For the Chocolate Drizzle (optional):
- ¼ cup semi-sweet chocolate chips
- 1 teaspoon coconut oil or butter
Instructions:
- Preheat oven to 350°F (175°C). Grease and flour an 8×8 inch baking pan.
- Prepare the Brownies: In a large bowl, whisk together melted butter and granulated sugar until combined. Beat in eggs one at a time, then stir in vanilla extract.
- In a separate bowl, whisk together flour, cocoa powder, baking powder, and salt. Gradually add the dry ingredients to the wet ingredients, mixing until just combined. Do not overmix.
- Pour the batter into the prepared pan and spread evenly. Bake for 25-30 minutes, or until a toothpick inserted into the center comes out with moist crumbs. Let cool completely.
- Prepare the Mint Frosting: In a medium bowl, beat softened butter until creamy. Gradually add powdered sugar, milk, peppermint extract, and food coloring (if using), beating until light and fluffy.
- Spread the mint frosting evenly over the cooled brownies.
- Prepare the Drizzle (optional): In a microwave-safe bowl, melt chocolate chips and coconut oil (or butter) in 30-second intervals, stirring until smooth. Drizzle over the frosted brownies.
- Chill in the refrigerator for at least 30 minutes to set the frosting before cutting into squares and serving.
Storage / Serving / Usage Note: Store frosted brownies in an airtight container at room temperature for up to 3 days, or in the refrigerator for up to 5 days.
Recipe 4: Chewy Chocolate Mint Cookies
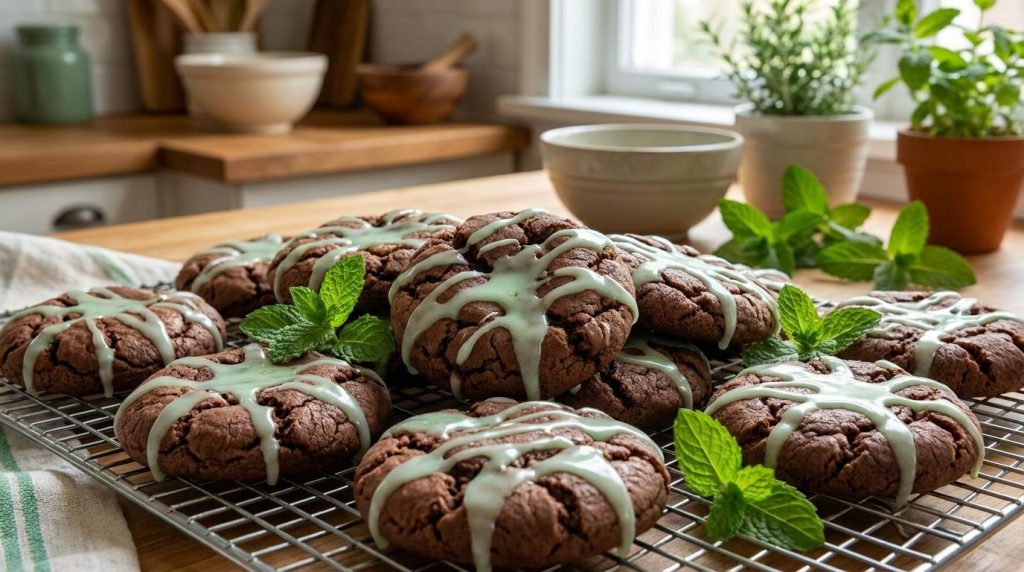
These soft and chewy chocolate cookies are elevated with a refreshing mint glaze, making them a unique and flavorful treat.
Servings: 24 cookies
Prep time: 20 minutes
Cook / chill / rest time: 10-12 minutes bake time
Ingredients:
For the Cookies:
- ½ cup (1 stick) unsalted butter, softened
- ¾ cup granulated sugar
- 1 large egg
- 1 teaspoon vanilla extract
- 1 ¼ cups all-purpose flour
- ⅓ cup unsweetened cocoa powder
- ½ teaspoon baking soda
- ¼ teaspoon salt
- ½ cup chocolate chips or chopped Andes mints
For the Mint Glaze:
- 1 cup powdered sugar
- 2-3 tablespoons milk
- ½ teaspoon peppermint extract
- 1-2 drops green food coloring (optional)
Instructions:
- Preheat oven to 350°F (175°C). Line baking sheets with parchment paper.
- Prepare the Cookies: In a large bowl, cream together softened butter and granulated sugar until light and fluffy. Beat in the egg and vanilla extract until well combined.
- In a separate bowl, whisk together flour, cocoa powder, baking soda, and salt. Gradually add the dry ingredients to the wet ingredients, mixing until just combined. Stir in chocolate chips or chopped Andes mints.
- Drop rounded tablespoons of dough onto the prepared baking sheets, about 2 inches apart.
- Bake for 10-12 minutes, or until edges are set but centers are still slightly soft. Let cool on the baking sheets for a few minutes before transferring to a wire rack to cool completely.
- Prepare the Mint Glaze: In a small bowl, whisk together powdered sugar, milk, peppermint extract, and food coloring (if using) until smooth.
- Once cookies are completely cool, drizzle or spread the mint glaze over them. Let the glaze set before serving.
Storage / Serving / Usage Note: Store cookies in an airtight container at room temperature for up to 5 days. Ensure glaze is set before stacking.
Recipe 5: Easy Chocolate Mint Bark
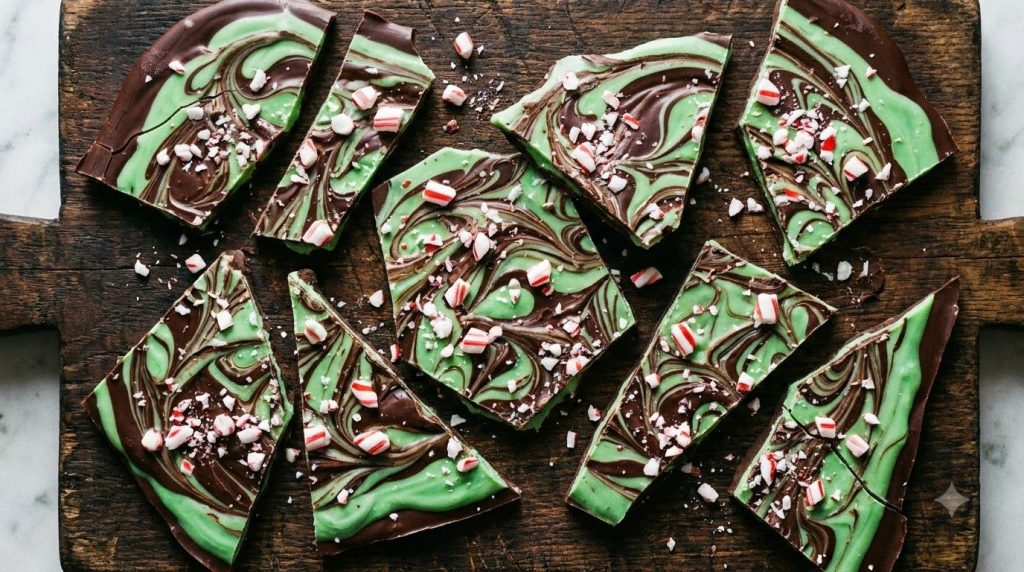
This chocolate mint bark is incredibly easy to make and looks impressive. It’s a fantastic last-minute dessert or a lovely edible gift.
Servings: 12-16 pieces
Prep time: 15 minutes
Cook / chill / rest time: 1 hour chill time
Ingredients:
- 1 ½ cups good quality dark chocolate chips or chopped dark chocolate
- 1 cup white chocolate chips
- ½ teaspoon peppermint extract, divided
- 2-3 drops green food coloring (optional, for mint layer)
- ¼ cup crushed peppermint candies or chopped Andes mints, for garnish (optional)
Instructions:
- Line a baking sheet with parchment paper.
- Melt Dark Chocolate: In a microwave-safe bowl, melt dark chocolate chips in 30-second intervals, stirring until smooth. Spread the melted dark chocolate evenly over the prepared parchment paper to about ¼-inch thickness.
- Melt White Chocolate: In another microwave-safe bowl, melt white chocolate chips in 30-second intervals, stirring until smooth. Stir in ½ teaspoon of peppermint extract and green food coloring (if using) until evenly colored.
- Spoon dollops of the green mint white chocolate over the dark chocolate layer. Use a toothpick or knife to swirl the two chocolates together to create a marbled effect.
- If using, sprinkle crushed peppermint candies or chopped Andes mints over the swirled chocolate.
- Refrigerate for at least 1 hour, or until completely firm.
- Once firm, break the bark into irregular pieces.
Storage / Serving / Usage Note: Store bark in an airtight container at room temperature for up to 2 weeks, or in the refrigerator to prevent melting in warmer climates.
Recipe 6: Refreshing Chocolate Mint Milkshake

This milkshake is a delightful blend of cool mint and rich chocolate, offering a refreshing escape on a warm day or a satisfying sweet treat anytime.
Servings: 2
Prep time: 5 minutes
Cook / chill / rest time: None
Ingredients:
- 2 cups good quality vanilla ice cream
- ½ cup milk (dairy or non-dairy)
- ¼ cup chocolate syrup or melted chocolate
- ½ teaspoon peppermint extract
- 2-3 drops green food coloring (optional)
- Whipped cream, for topping (optional)
- Chocolate shavings or mini chocolate chips, for topping (optional)
Instructions:
- In a blender, combine vanilla ice cream, milk, chocolate syrup (or melted chocolate), peppermint extract, and green food coloring (if using).
- Blend until smooth and creamy. If the milkshake is too thick, add a little more milk; if too thin, add a scoop of ice cream.
- Pour into two tall glasses.
- If desired, top with a generous swirl of whipped cream and chocolate shavings or mini chocolate chips.
- Serve immediately.
Storage / Serving / Usage Note: Best enjoyed immediately. Not suitable for storage.
Simple Tips for Best Results
- Quality Ingredients: Use good quality chocolate and fresh mint extract for the best flavor.
- Chill Thoroughly: For cheesecakes and fudge, ensure ample chilling time for proper setting and texture.
- Don’t Overmix: When making brownies or cookies, mix ingredients until just combined to prevent tough textures.
- Adjust Mint to Taste: Peppermint extract can be potent. Start with a smaller amount and add more if you prefer a stronger mint flavor.
FAQ
Can I make these desserts ahead of time?
Many of these desserts, like the cheesecakes, fudge, and brownies, can be prepared 1-3 days in advance. Milkshakes are best made fresh.
What’s the best way to store leftover chocolate mint desserts?
Most baked goods and no-bake treats should be stored in an airtight container at room temperature or in the refrigerator, depending on the ingredients and your climate. Refer to each recipe’s storage notes.
Can I use natural food coloring instead of artificial?
Yes, you can use natural green food coloring from spinach or matcha powder, though the color may be more subtle and might impart a slight flavor. Beetroot powder can be used for a reddish hue if you’re experimenting with different colors.
Final Thoughts
The timeless combination of chocolate and mint truly shines in these diverse and delightful desserts. Whether you’re a seasoned baker or new to the kitchen, these chocolate mint dessert recipes offer a fun and delicious way to treat yourself, your family, or your guests. Experiment, enjoy the process, and savor every irresistible bite!