Tired of shelves overflowing with a different cleaner for every surface? Wish you could cut down on harsh chemicals and save some money while still keeping your home sparkling clean? You’re in luck! Keeping your home impeccable is easier than you think, especially when you harness the power of simple, everyday ingredients.
This simple trick will help you maintain a spotless home without so much effort. It’s perfect for those days when you need a quick and effective solution for daily grime and spills, or when you just want a healthier alternative to store-bought products. This guide is for anyone looking to simplify their cleaning routine, reduce their environmental footprint, and create a safer home environment for their family and pets.
In this comprehensive guide, you’ll learn how to whip up your very own homemade all-purpose cleaner using common household items. We’ll cover everything from the ingredients and equipment you’ll need to step-by-step instructions, best uses, and crucial safety tips. Get ready to transform your cleaning habits with this versatile and powerful DIY solution!
Quick Summary
- Preparation Time: 5 minutes
- Application Time: Varies depending on the task
- Difficulty Level: Easy
- Best Uses: Daily wiping of countertops, sinks, appliances, and general non-porous surfaces.
- Suitable Surfaces: Sealed countertops (laminate, sealed stone, tile), stainless steel, glass (with adjustments), linoleum, porcelain.
- Storage Time: 1-2 weeks for optimal effectiveness.
Why You’ll Love This DIY Solution
There are countless reasons to fall in love with making your own all-purpose cleaner. Here are just a few:
- Easy to Make: With just a few basic ingredients, you can mix up a fresh batch in minutes.
- Budget-Friendly: Save money by using inexpensive household staples instead of costly commercial cleaners.
- Uses Common Household Ingredients: No need for special trips to specialty stores; you likely have everything you need already.
- Beginner-Friendly: This recipe is straightforward, making it perfect for DIY cleaning novices.
- Multipurpose: Tackle a variety of cleaning tasks with just one bottle, simplifying your cleaning arsenal.
- Quick to Prepare: A new batch is ready whenever you need it, ensuring you always have a fresh cleaner on hand.
- Reduces Exposure to Harsh Chemicals: Enjoy peace of mind knowing you’re using gentler, more natural ingredients around your home.
- Environmentally Friendly: Reduce plastic waste by refilling your own spray bottle and using biodegradable ingredients.
Ingredients / Materials
Gather these simple items before you begin:
- 1 cup white vinegar
- 1 cup distilled water (or filtered water)
- 1 tablespoon liquid castile soap (unscented or a light, natural scent like citrus)
- 10-15 drops essential oil (optional, for scent and added antibacterial properties; lemon, tea tree, or lavender are excellent choices)
Equipment Needed
Make sure you have the following tools ready:
- One 16 oz (approximately 500ml) empty spray bottle (clean and clearly labeled)
- Measuring cups
- Funnel (optional, but highly recommended to avoid spills)
- Mixing bowl (optional, for pre-mixing before pouring into the spray bottle)
- Microfiber cloths (for applying and wiping surfaces)
- Gloves (if you have sensitive skin, though generally not needed for this solution)
Step-by-Step Instructions
Follow these easy steps to create your powerful homemade all-purpose cleaner:
- Gather Your Supplies (1 minute): Start by collecting all your ingredients and equipment. A clean, empty spray bottle is essential.
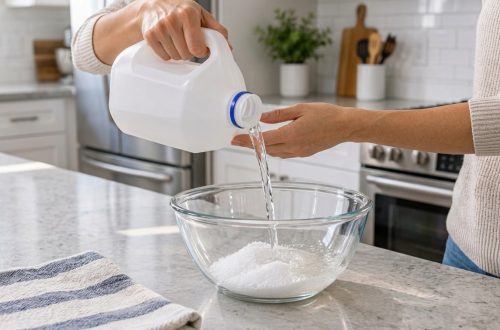
- Add Water to the Bottle (1 minute): Carefully pour 1 cup of distilled or filtered water into your spray bottle. Using a funnel can help prevent splashes and spills. This forms the base of your cleaner.
-
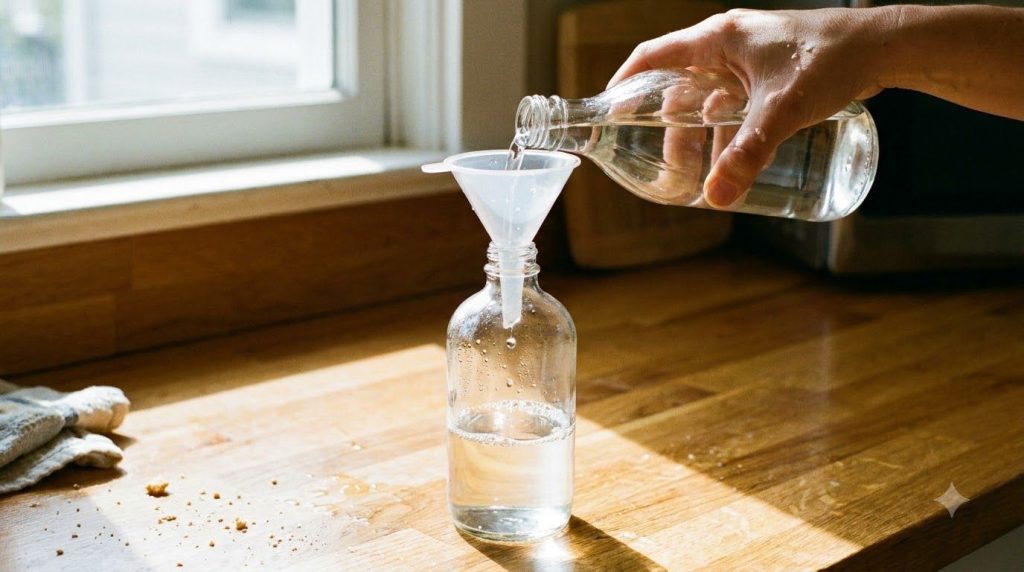
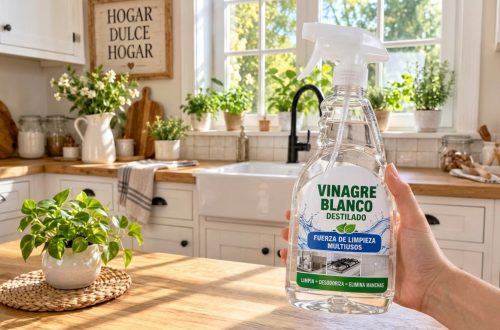
Carefully add the vinegar to the water in your spray bottle. Introduce the Vinegar (1 minute): Next, add 1 cup of white vinegar to the bottle. Vinegar is a natural disinfectant and deodorizer, making it a fantastic cleaning agent. Be mindful of its strong scent, which will dissipate as it dries.
- Incorporate the Castile Soap (30 seconds): Now, gently add 1 tablespoon of liquid castile soap. Castile soap is a gentle, vegetable-based soap that helps break down grease and lift dirt. Avoid shaking vigorously at this stage to prevent excessive suds.
- Add Essential Oils (Optional, 30 seconds): If you’re using essential oils, add 10-15 drops now. Lemon essential oil is great for degreasing and a fresh scent, while tea tree oil adds antibacterial properties, and lavender provides a calming aroma. These oils not only smell wonderful but can also enhance the cleaning power.
- Combine and Label (30 seconds): Screw the spray top firmly onto the bottle. Gently swirl or slowly invert the bottle a few times to mix the ingredients without creating too many suds. Finally, clearly label your bottle to avoid confusion.
- Your Cleaner is Ready! (Instant): Congratulations, your homemade all-purpose cleaner is now ready for use!
Best Uses
This versatile cleaner is ideal for a multitude of tasks around your home. Here are some of its best applications:
- Kitchen Countertops: Safely clean and disinfect sealed kitchen counters made of laminate, quartz, or sealed tile. Simply spray and wipe with a microfiber cloth.
- Bathroom Sinks and Fixtures: Perfect for everyday cleaning of porcelain sinks, chrome faucets, and shower walls, removing soap scum and water spots.
- Stovetops and Appliance Exteriors: Tackle greasy stovetops, refrigerator doors, and microwave exteriors. Wipe down stainless steel appliances for a streak-free shine (see expert tips).
- Glass and Mirrors: For a streak-free finish on glass and mirrors, you might prefer a separate solution without soap. However, for a quick clean, you can use this, ensuring you wipe thoroughly with a clean, dry microfiber cloth.
- Tile and Linoleum Floors: Excellent for spot cleaning or light mopping of these surfaces. Dilute further if using in a mop bucket.
- Stainless Steel: Spray directly onto stainless steel appliances and wipe immediately with a clean, dry microfiber cloth, buffing in the direction of the grain to prevent streaks.
- High-Touch Surfaces: Use it to wipe down doorknobs, light switches, and remote controls, helping to reduce germs.
Surface Limitations: Always remember to avoid using vinegar-based solutions on unsealed natural stone surfaces like granite, marble, or travertine, as the acidity can etch and damage the stone over time. Also, be cautious on waxed surfaces or certain types of hardwood floors, as vinegar can strip the finish.
Safety Notes
While this DIY cleaner is much milder than many commercial products, safety should always be your top priority. Please keep the following in mind:
- Test on an Inconspicuous Area: Before applying the cleaner to a large or visible surface, always test it on a small, hidden spot to ensure there’s no discoloration or damage.
- Avoid Unsealed Stone: Never use vinegar-based cleaners on unsealed natural stone (like granite, marble, or travertine), cast iron, or aluminum, as the acid can cause etching or damage.
- Do NOT Mix with Bleach: This is crucial. Never, under any circumstances, mix vinegar with bleach. Combining them creates toxic chlorine gas, which is extremely dangerous and can be fatal.
- Keep Away from Children and Pets: Although made with natural ingredients, cleaning solutions should always be stored out of reach of curious children and pets to prevent accidental ingestion or irritation.
- Ensure Good Ventilation: When cleaning, especially in enclosed spaces, ensure adequate ventilation by opening windows or using a fan to disperse any strong odors.
- Wear Gloves (Optional): If you have sensitive skin or are cleaning for an extended period, wearing rubber gloves can help protect your hands.
- Eye Protection: If there’s a risk of splashing, consider wearing eye protection. If contact with eyes occurs, rinse immediately with plenty of water.
Expert Tips
Maximize the effectiveness and longevity of your homemade all-purpose cleaner with these expert tips:
- Use Distilled Water: For the best results and to prevent mineral buildup and white residue, especially on dark surfaces, opt for distilled water. It also helps extend the shelf life of your cleaner by reducing bacterial growth.
- Boost Degreasing Power: For extra stubborn grease, add a teaspoon of rubbing alcohol to the solution. It helps to cut through oils and speeds up drying time, reducing streaks.
- For Streak-Free Glass: If you’re primarily cleaning glass or mirrors, create a separate 50/50 solution of just white vinegar and distilled water, omitting the castile soap. Soap can leave streaks on glass.
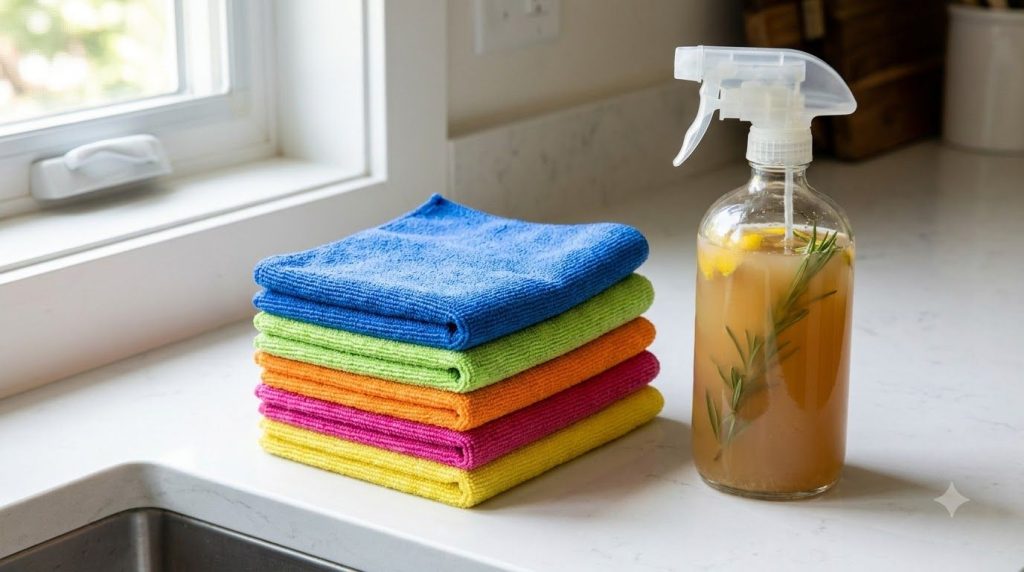
- Quality Microfiber is Key: Invest in high-quality microfiber cloths. They are super absorbent, lint-free, and grab dirt effectively, enhancing the cleaning power of your DIY solution.
- Wipe Dry Immediately: To prevent water spots and achieve a streak-free shine, especially on stainless steel or shiny surfaces, always wipe the cleaned area dry with a separate, clean microfiber cloth immediately after spraying and scrubbing.
- Freshen the Air: If the vinegar smell is too strong for your liking, adding more essential oils can help. Citrus oils like lemon or orange are excellent for neutralizing odors.
- Pre-Treat Tough Spots: For particularly tough stains or dried-on grime, spray the cleaner and let it sit for 5-10 minutes before wiping. This allows the solution to penetrate and loosen the dirt.
- Don’t Over-Saturate: A light mist is usually sufficient. Over-saturating surfaces, especially wood or laminate, can lead to damage.
- Rotate Cloths: Use multiple clean cloths during your cleaning session. A dirty cloth will just spread grime around. Wash cloths regularly.
Storage Instructions
Proper storage ensures your homemade all-purpose cleaner remains effective and safe to use.
- Best Storage Container: Always store your cleaner in a clean, clearly labeled spray bottle. Dark-colored bottles can help prolong the life of essential oils if you’ve added them, protecting them from light degradation.
- Storage Location: Keep the bottle in a cool, dark place, away from direct sunlight or extreme temperature fluctuations. A pantry, under the sink cabinet, or a utility closet are ideal spots.
- Shelf Life: This homemade solution is best used within 1 to 2 weeks. Because it contains water and natural ingredients, it doesn’t have the same preservatives as commercial cleaners and can develop bacterial growth over time.
- Signs the Solution Should Be Discarded: Pay attention to any changes in your cleaner. If you notice a cloudy appearance, an off-putting smell (beyond the initial vinegar scent), mold growth, or unusual separation that doesn’t recombine with a gentle shake, it’s time to discard the batch and make a fresh one.
- Regular Replenishment: Make it a habit to mix a new batch every week or two to ensure maximum cleaning power and hygiene.
Frequently Asked Questions
Q: Is this homemade all-purpose cleaner safe for all surfaces?
A: It’s safe for most non-porous surfaces like sealed countertops, tile, laminate, and stainless steel. However, avoid unsealed natural stone (like granite or marble), cast iron, and aluminum due to the vinegar’s acidity, which can cause etching or damage.
Q: Can I skip the essential oils?
A: Absolutely! Essential oils are completely optional. They primarily add a pleasant scent and some can offer minor antimicrobial benefits, but the cleaner is effective without them. You can use lemon peels steeped in the vinegar beforehand for a natural scent boost.
Q: Why use distilled water instead of tap water?
A: Distilled water helps prevent mineral deposits and hard water spots, especially on shiny surfaces. It also reduces the introduction of microbes found in tap water, potentially extending the cleaner’s shelf life slightly.
Q: Can I use dish soap instead of castile soap?
A: While dish soap can work in a pinch for its degreasing properties, castile soap is generally preferred for all-purpose cleaners because it’s milder, more natural, and less prone to leaving residue or streaks. Dish soap can sometimes create excessive suds or stickiness.
Q: How often should I make a new batch?
A: For best results and to prevent bacterial growth, it’s recommended to make a fresh batch every 1-2 weeks. It’s quick and easy to do!
Q: Is this cleaner safe around pets?
A: Generally, yes, as it uses common, non-toxic household ingredients. However, it’s always wise to ensure surfaces are dry before pets walk on them, and keep the spray bottle stored out of their reach to prevent accidental ingestion or contact.
Q: Will my house smell like vinegar?
A: The initial spray might have a noticeable vinegar smell, but it dissipates quickly as the surface dries. Essential oils can also help mask the scent, leaving behind a fresh aroma.
Conclusion
Congratulations! You’ve just unlocked the secret to a cleaner, greener, and more budget-friendly home with your very own homemade all-purpose cleaner. This simple yet powerful DIY solution proves that you don’t need an arsenal of harsh chemicals to keep your living space sparkling.
By following these easy steps and keeping our safety notes and expert tips in mind, you’re now equipped to tackle daily messes with confidence. Embrace the simplicity, enjoy the fresh scent, and feel good about reducing your environmental impact. Give this DIY cleaner a try—your home (and your wallet!) will thank you for it. Happy cleaning!