Are you searching for an anti-aging secret that’s both easy to make and gentle on your skin? We all love finding affordable ways to nurture our skin, and today, we’re diving into a popular beauty trend that’s capturing hearts: a DIY clove-based toner! People are trying this simple, homemade solution to help achieve a smoother, more radiant look.
Natural ingredients often hold wonderful properties for our skin, and cloves are no exception. This fragrant spice, often found in our spice racks, is commonly used in DIY beauty routines for its potential benefits. Let’s explore how you can harness the power of cloves to create your very own anti-aging toner right at home!
Why Cloves for Your Skin?
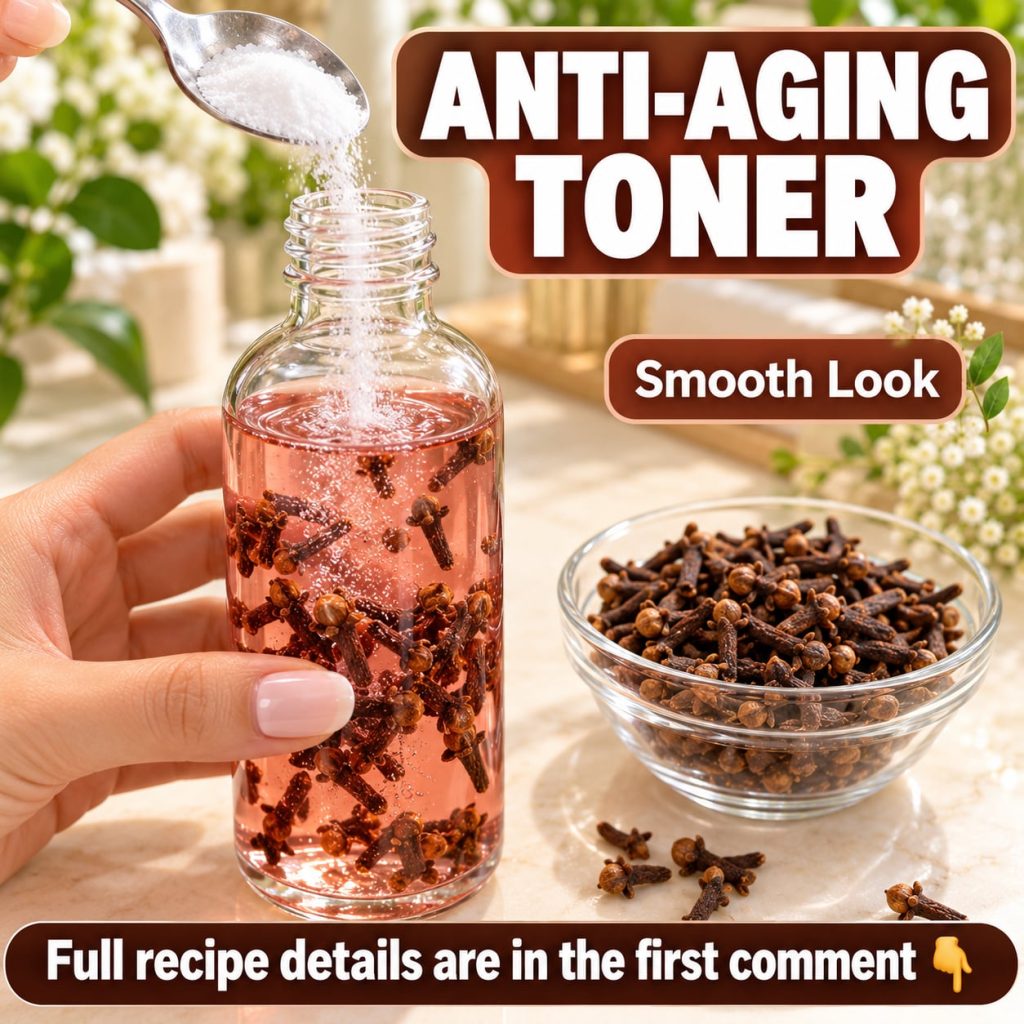
Cloves are more than just a culinary spice; they are also well-regarded in traditional beauty practices. They contain compounds that are believed to have soothing properties, making them a valuable addition to natural skincare. For those looking for a youthful glow, incorporating ingredients like cloves into your routine can be a wonderful way to support your skin’s natural radiance and achieve a smoother-looking texture.
Benefits of this DIY Clove Toner:
- Promotes Smoother-Looking Skin: Many people use clove in DIY remedies to help achieve a more even and refined skin texture.
- Adds a Natural Radiance: Regular use can contribute to a healthy, luminous glow.
- Cost-Effective: Ditch expensive store-bought toners for an affordable homemade alternative.
- Simple Ingredients: Uses items you might already have in your pantry!
Your Easy DIY Clove Anti-Aging Toner Recipe
Ready to give this popular toner a try? Here’s how you can make it:
What You’ll Need:
- 1 tablespoon whole cloves (not ground)
- 1 cup distilled water or rose water
- Small saucepan
- Fine-mesh sieve or cheesecloth
- Clean, airtight spray bottle or glass jar
Step-by-Step Instructions:
- Combine Ingredients: In your small saucepan, combine the whole cloves with 1 cup of distilled water (or rose water for added benefits and a lovely scent).
- Simmer Gently: Bring the mixture to a gentle simmer over low heat. Do not boil vigorously, as this can degrade some of the beneficial compounds.
- Steep: Once it reaches a simmer, remove the saucepan from the heat, cover it, and let the cloves steep for at least 30 minutes. For a stronger infusion, you can let it steep for a few hours, or even overnight once cooled.
- Strain: After steeping, strain the mixture through a fine-mesh sieve or cheesecloth into a clean bowl. Make sure to press the cloves gently to extract all the liquid. Discard the cloves.
- Cool: Allow the liquid to cool completely to room temperature.
- Transfer: Pour the cooled clove toner into your clean, airtight spray bottle or glass jar.
How to Use Your Clove Toner
Incorporating this toner into your daily skincare routine is wonderfully simple:
- Cleanse: Start with a freshly cleansed face.
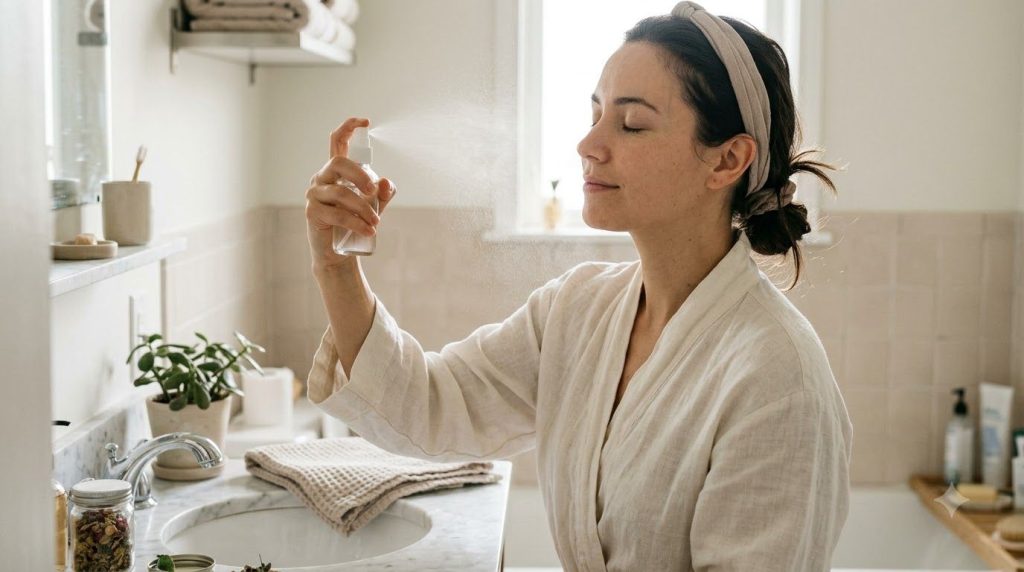
- Apply Toner: Gently mist the toner onto your face (with eyes closed) or apply it with a cotton pad.
- Pat Dry: Lightly pat your skin until it feels slightly damp, not soaking wet.
- Moisturize: Follow up immediately with your favorite serum and moisturizer to lock in hydration.
Use this toner once or twice a day, depending on your skin’s needs and how it responds.
Tips for Best Results and Storage
- Patch Test: Before applying the toner to your entire face, always do a patch test on a small area of your skin to ensure you don’t have any sensitivities.
- Consistency is Key: Like with any skincare routine, consistent use is important to see the best results.
- Storage: Store your DIY clove toner in the refrigerator. This helps preserve its freshness and provides a refreshing cooling sensation upon application.
- Shelf Life: Homemade toners typically last about 1-2 weeks when stored properly in the refrigerator. If you notice any changes in smell or appearance, it’s best to discard it and make a fresh batch.
Embracing natural beauty solutions can be a rewarding journey, and this DIY clove anti-aging toner is a fantastic step. It’s an affordable, simple way to help support your skin’s health and achieve that radiant, smoother-looking complexion you desire. Give it a try and let us know how your skin glows!