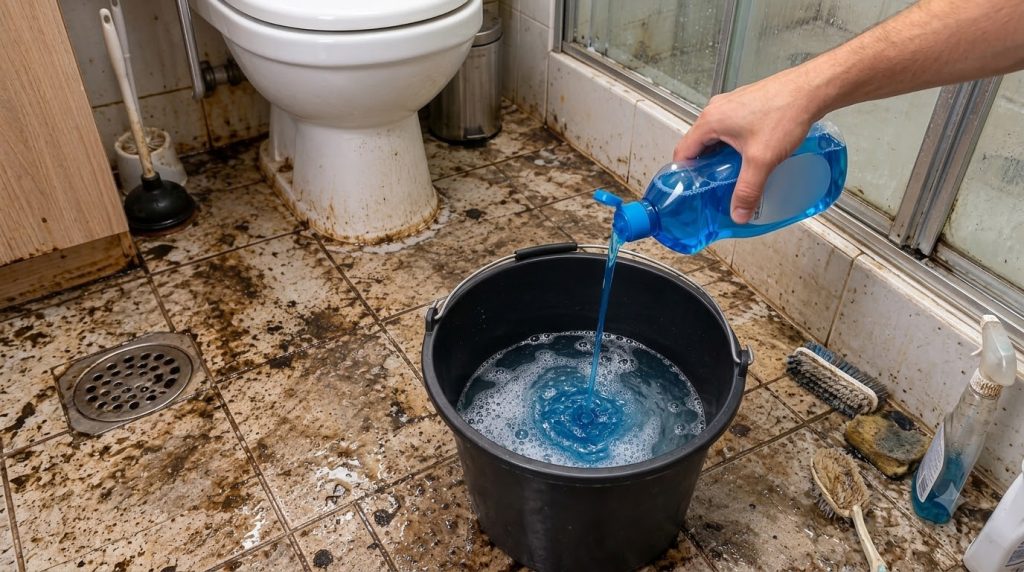
Every truly satisfying home clean-up begins with one crucial step: mixing the perfect solution! There’s an undeniable pleasure in that initial pour, watching the cleaning liquid swirl into the water, knowing you’re just moments away from tackling grime and restoring freshness to your living space. It’s more than just a task; it’s the strategic beginning of a clean transformation.
Why the Right Mix Matters for a Deep Clean
You might think mixing cleaning solutions is straightforward, but getting the proportions right is key to both effectiveness and safety. Too little cleaner, and you’re just spreading dirt around. Too much, and you could leave behind sticky residue, damage surfaces, or even create fumes that are unpleasant or harmful. Following the product’s instructions is always the best practice.
- Efficiency: Correctly diluted cleaners work better and cover more area without waste.
- Safety: Over-concentrated chemicals can be harsh on skin, surfaces, and respiratory systems.
- Cost-Effectiveness: Using the right amount extends the life of your cleaning products.
- Eco-Friendliness: Proper dilution reduces the amount of chemicals released into the environment.
Choosing Your Cleaning Arsenal: Beyond the Blue Bottle
While an all-purpose cleaner is a staple, a truly sparkling home often requires a diverse set of tools and solutions. Understanding different types of cleaners and their applications can revolutionize your cleaning routine.
All-Purpose Cleaners
Great for daily maintenance, spills, and general wiping down of surfaces. They come in various scents and formulations, some even plant-based for a greener approach. Always check if they are safe for the specific surfaces you plan to clean, especially stone or wood.
Specialized Cleaners
For tougher jobs, specialized cleaners are your best friend. Think bathroom cleaners with descaling agents for soap scum and hard water stains, oven cleaners for baked-on grease, or wood cleaners designed to nourish and protect timber surfaces. Using the right tool for the job saves time and effort.
Natural & DIY Cleaning Solutions
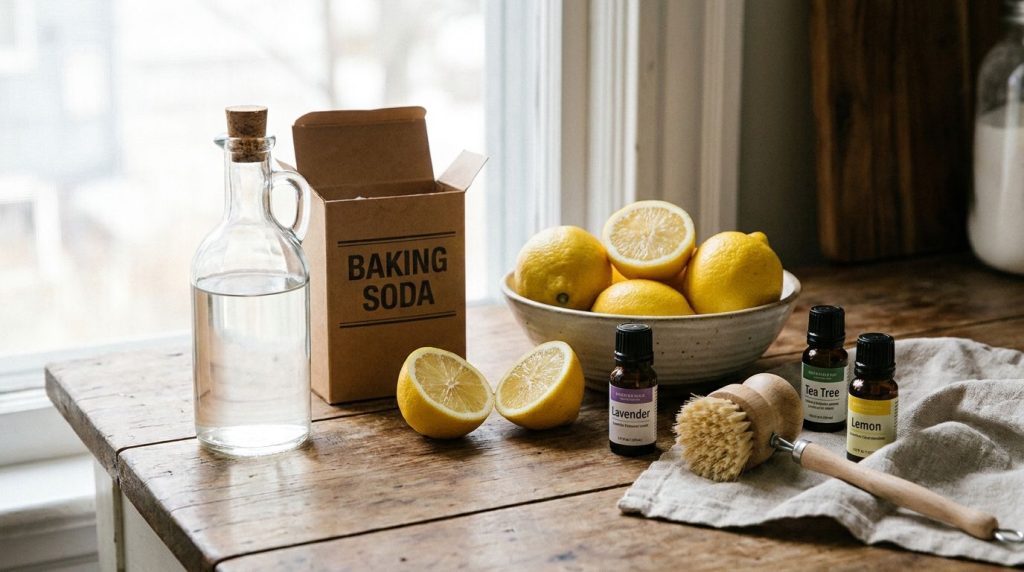
Many homeowners are turning to natural ingredients for effective and eco-friendly cleaning. Common household items like white vinegar, baking soda, lemon juice, and essential oils can form the basis of powerful DIY cleaning solutions. Not only are they often more affordable, but they also reduce exposure to harsh chemicals.
Easy DIY Cleaning Solutions You Can Mix Today
Ready to try your hand at mixing your own solutions? Here are a couple of popular and effective recipes:
All-Purpose Vinegar Spray
Mix equal parts white vinegar and water in a spray bottle. Add a few drops of your favorite essential oil (like lemon or tea tree) for a pleasant scent and added antimicrobial properties. This is excellent for wiping counters, cleaning glass, and general surface sanitizing. Avoid using it on natural stone (like marble or granite) as the acid can etch the surface.
Baking Soda Scouring Paste
Combine baking soda with just enough water to form a thick paste. Apply it to stubborn stains in sinks, bathtubs, or oven interiors. Let it sit for 10-15 minutes, then scrub with a sponge or brush and rinse thoroughly. Baking soda is a gentle abrasive that can lift grime without scratching.
Lemon & Salt Scrubber
For tough stains on cutting boards or even tarnished copper, cut a lemon in half, sprinkle it with salt, and use it as a scrubber. The acidity of the lemon combined with the abrasive salt works wonders on many surfaces. Rinse well afterwards.
Tips for an Effective and Enjoyable Cleaning Session
- Gather Your Supplies: Before you start, make sure you have all your cleaners, cloths, sponges, and buckets ready. This prevents interruptions.
- Work Top-Down: Start cleaning from the highest points (e.g., dusting shelves) and work your way down to the floor. This ensures any falling dust or debris gets cleaned up last.
- Let Solutions Work: For tough grime, allow your cleaning solution to sit for a few minutes. This “dwell time” gives the chemicals (or natural ingredients) time to break down dirt, making scrubbing much easier.
- Ventilate: Always ensure good ventilation when cleaning, especially when using chemical cleaners. Open windows and doors.
- Protect Your Hands: Wear gloves to protect your skin from harsh chemicals and keep your hands clean.
Transform Your Home, One Mix at a Time
The journey to a cleaner, fresher home is incredibly rewarding, and it all begins with that first, perfectly mixed solution. Whether you’re reaching for a store-bought favorite or whipping up a DIY concoction, the act of preparing your tools sets the stage for success. What’s your secret weapon for sparkling results? Share your favorite cleaning tips and go-to solutions in the comments below! We love hearing from our DIY community.