Transform your hair with a simple, homemade coconut oil blend designed to support healthy growth, add thickness, and boost shine. This DIY treatment uses easily accessible ingredients to nourish your scalp and strands.
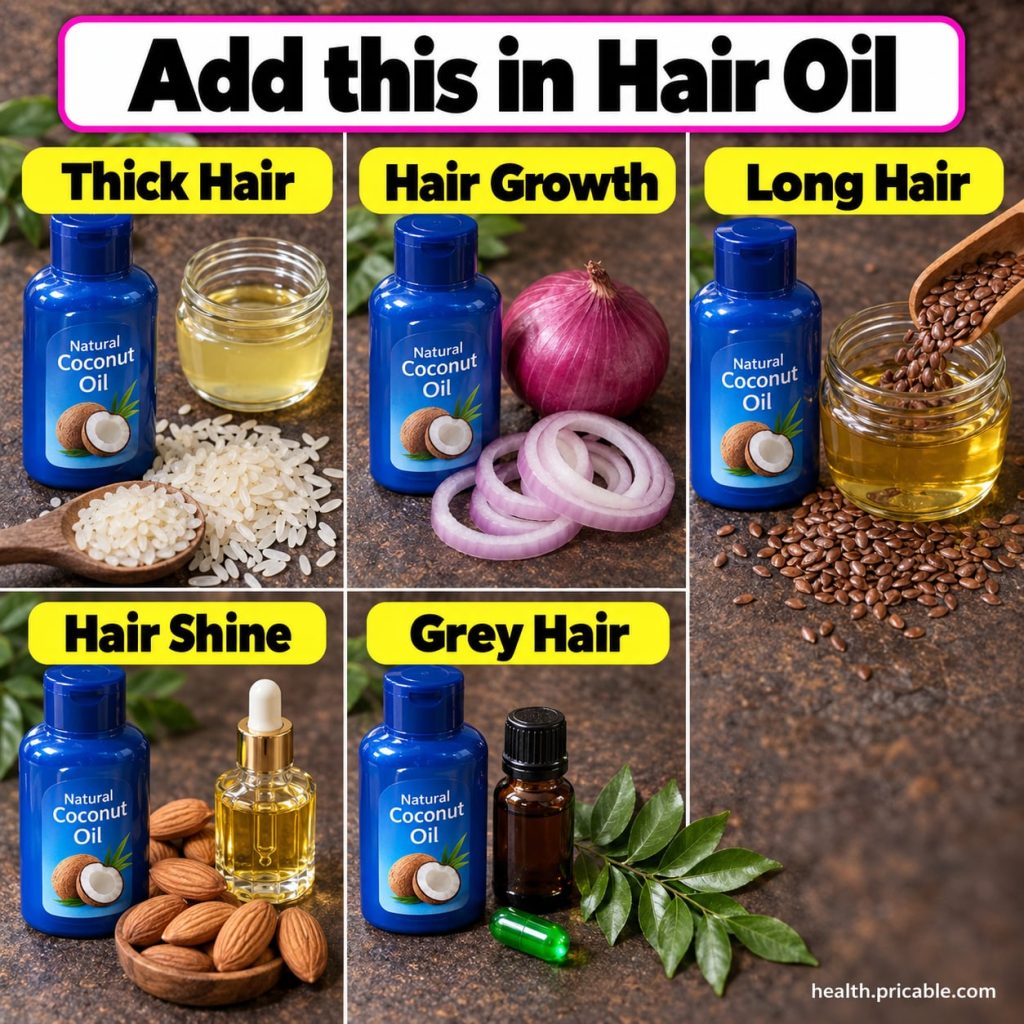
Quick Recipe
Prep time: 10 minutes
Best for: Supporting hair growth, adding perceived thickness, enhancing shine
Use type: Oil
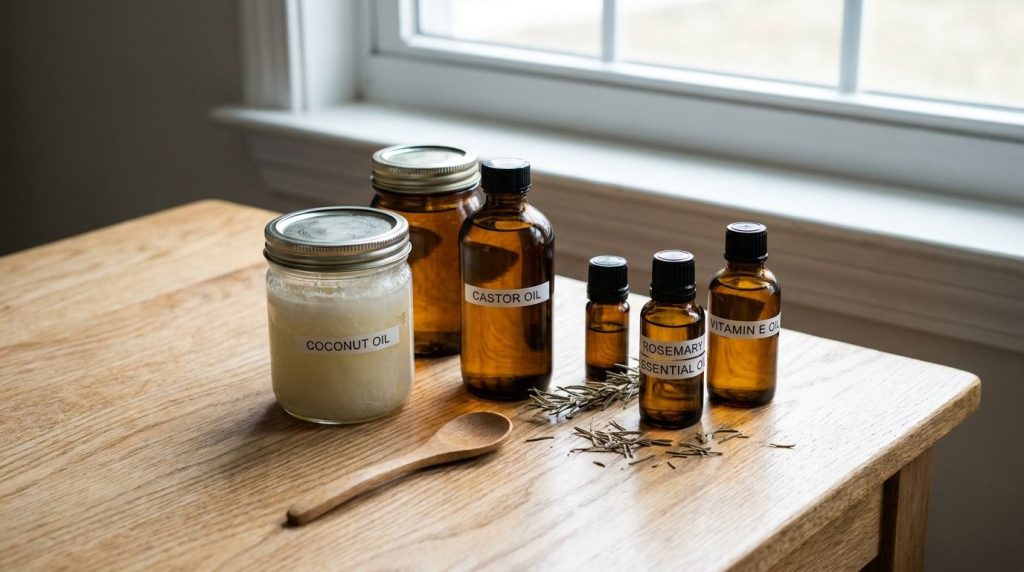
Main ingredients:
- Coconut Oil
- Castor Oil
- Rosemary Essential Oil
- Vitamin E Oil
Ingredients
- ½ cup Virgin Coconut Oil (solid or melted)
- 2 tablespoons Castor Oil
- 10-15 drops Rosemary Essential Oil
- 1 teaspoon Vitamin E Oil (from capsules or liquid form)
How to Make It
- Prepare Coconut Oil: If your coconut oil is solid, gently melt it in a microwave-safe bowl for 15-30 seconds or in a double boiler until it becomes liquid. Allow it to cool slightly so it’s warm, not hot.
- Combine Oils: Pour the liquid coconut oil into a clean, airtight glass bottle or jar.
- Add Remaining Ingredients: Add the castor oil, rosemary essential oil, and vitamin E oil to the coconut oil.
- Mix Well: Secure the lid and shake the bottle vigorously for about a minute to ensure all ingredients are thoroughly combined.
- Store: Store the oil in a cool, dark place. The oil may solidify in cooler temperatures, which is normal. Simply warm the bottle in your hands or in a bowl of warm water before use if it solidifies.
How to Use It
- Section Hair: Start with dry or slightly damp hair. Divide your hair into several sections for easier application.
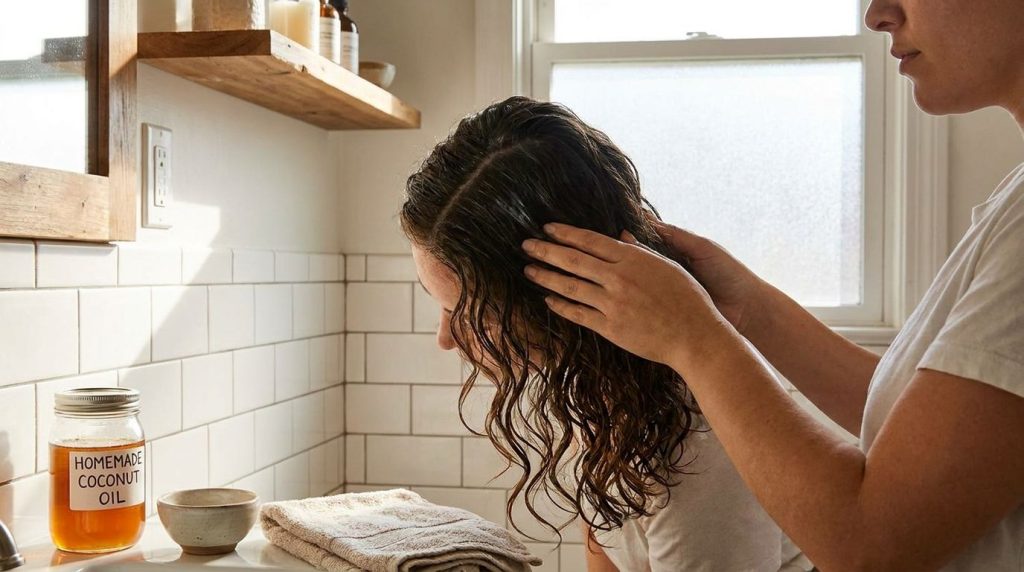
- Apply to Scalp: Take a small amount of the oil blend into your fingertips. Gently massage it into your scalp using circular motions for 5-10 minutes. This helps stimulate blood circulation and distribute the oil.
- Coat Strands: Work any remaining oil through the lengths of your hair, focusing on the ends, which tend to be drier.
- Leave In: Leave the oil treatment on for at least 30 minutes. For a more intensive treatment, you can leave it on overnight (cover your pillow with a towel to protect it).
- Rinse and Shampoo: Rinse your hair thoroughly with warm water, then shampoo and condition as usual. You may need to shampoo twice to ensure all the oil is removed.
How Often to Use It
For best results, use this coconut oil hair growth treatment 1-2 times per week. Consistency is key when it comes to supporting hair health and appearance.
Why These Ingredients Are Used
Coconut Oil
Coconut oil is a popular choice for hair care due to its ability to penetrate the hair shaft, helping to reduce protein loss and keep hair moisturized. It’s often used to help hair feel softer and appear shinier.
Castor Oil
Known for its thick consistency, castor oil is traditionally used to support the appearance of thicker hair. It’s rich in ricinoleic acid, which is believed to help nourish the scalp and hair follicles.
Rosemary Essential Oil
Rosemary essential oil is widely celebrated in natural hair care. It is often used to stimulate the scalp and may support healthy hair growth by improving circulation to the hair follicles.
Vitamin E Oil
Vitamin E is an antioxidant that can help support a healthy scalp environment. It may contribute to improving hair’s shine and overall appearance by providing a nourishing boost to the strands.
What Results to Expect
Consistent use of this DIY coconut oil blend may help your hair feel softer, look shinier, and appear thicker over time. Many users find it supports a healthier-looking scalp and encourages stronger-feeling hair. Remember that individual results can vary, and natural remedies often work best with regular application.
Safety Notes
- Patch Test First: Always perform a patch test on a small area of your skin (e.g., behind your ear or inner forearm) at least 24 hours before applying the oil to your entire scalp to check for any allergic reactions or sensitivities, especially with essential oils.
- Use Gently: Apply and massage the oil gently. Avoid vigorous rubbing that could damage hair strands or irritate the scalp.
- Avoid Irritated Skin: Do not apply the oil to an irritated, broken, or sensitive scalp.
- Stop Use if Discomfort: If you experience any redness, itching, burning, or discomfort, discontinue use immediately and rinse thoroughly.
- Essential Oil Dilution: Ensure essential oils are properly diluted in a carrier oil (like coconut oil and castor oil) before applying to the skin. Do not use essential oils neat.
- Eye Contact: Avoid getting the oil blend into your eyes. If contact occurs, rinse thoroughly with water.
FAQ
Can I use different essential oils?
Yes, you can. Lavender, peppermint, or cedarwood essential oils are also popular choices for hair health and can be used in similar quantities. Always research the specific benefits and safety guidelines for any essential oil you choose.
How long does this homemade hair oil last?
Stored in a cool, dark place in an airtight container, this oil blend should last for about 3-6 months. Always check for any changes in smell or appearance before use.
Will this oil make my hair greasy?
If not rinsed thoroughly, it can leave a greasy feeling. Ensure you shampoo your hair well after the treatment, possibly twice, to remove all excess oil. Using a smaller amount of oil on fine hair can also help prevent greasiness.
Final Thoughts
Embracing natural ingredients like coconut oil, castor oil, rosemary, and vitamin E can be a wonderful way to support your hair’s health and appearance. This easy-to-make DIY treatment offers a practical approach to achieving a softer, shinier, and fuller-looking mane. Give it a try and see how these simple add-ins can enhance your hair care routine. Share your experiences in the comments below!