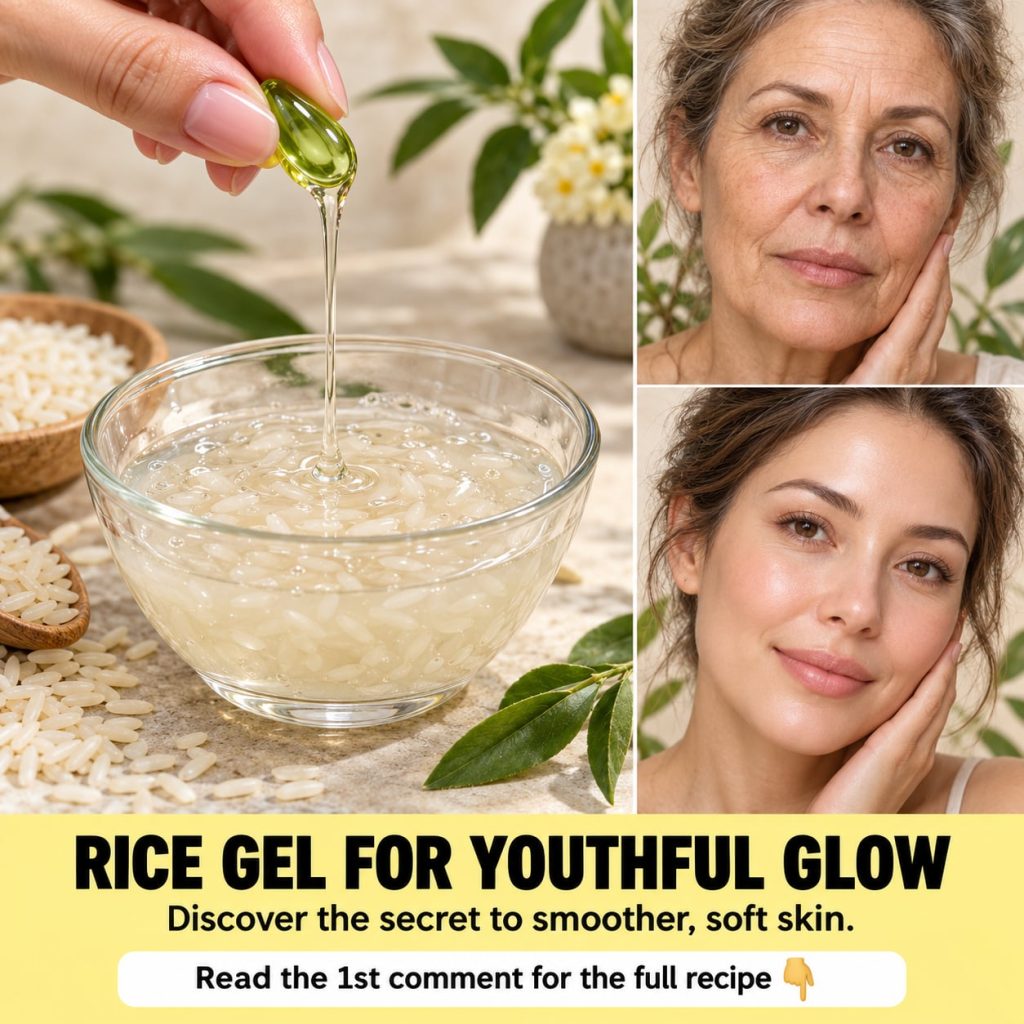
Have you been hearing the buzz about rice and its potential to transform your skin? It seems like everyone is talking about the incredible benefits of incorporating rice into their beauty routine for that sought-after smooth, fresh, and youthful glow. For centuries, rice has been a staple in traditional Asian beauty practices, revered for its nourishing properties. Now, this age-old secret is making a comeback, especially in the world of DIY beauty!
Many people are turning to simple, natural ingredients like rice to create their own skincare solutions. Among the most popular is DIY rice gel, a homemade concoction that proponents say can help improve skin texture, add a natural radiance, and even contribute to a smoother, younger-looking complexion. But what exactly is rice gel, and how can you make it part of your self-care ritual? Let’s dive in!
Why People Are Loving Rice for Skincare
Rice isn’t just a delicious food; it’s packed with compounds that can be wonderful for your skin. Here’s why so many are exploring its benefits:
- Gentle Exfoliation: Rice contains phytic acid, a natural alpha hydroxy acid (AHA) that can help gently exfoliate the skin, promoting a smoother texture.
- Antioxidant Power: It’s rich in antioxidants like ferulic acid and allantoins, which help combat free radicals and protect skin from environmental stressors.
- Soothing & Calming: Rice water and extracts are known for their soothing properties, making them popular for calming irritated skin.
- Hydration Boost: The starches in rice can help retain moisture, contributing to hydrated and plump-looking skin.
- Brightening Effect: Regular use is believed by many to help reduce the appearance of dark spots and promote a more even, radiant skin tone.
What is DIY Rice Gel?
DIY rice gel is essentially a concentrated form of rice water, often thickened to a gel-like consistency for easier application and enhanced benefits. It’s typically made by boiling rice until it’s very soft, then straining and sometimes blending it to create a smooth, milky, and slightly viscous mixture. This gel can then be used as a face mask, serum, or even a spot treatment.
How to Make Your Own DIY Rice Gel at Home
Creating your own rice gel is surprisingly simple! Here’s a popular method people are using:
What You’ll Need:
- 1/4 cup organic white rice (e.g., jasmine, short-grain)
- 1 cup filtered water
- A small saucepan
- A fine-mesh strainer or cheesecloth
- An airtight container (a small jar or bottle)
Step-by-Step Instructions:
- Rinse the Rice: Place the rice in a bowl and rinse it thoroughly under cold running water. Swirl it around with your fingers until the water runs mostly clear. This helps remove any impurities or excess starch.
- Soak the Rice: After rinsing, place the clean rice in the saucepan and add 1 cup of filtered water. Let it soak for about 30 minutes. This helps the rice soften and releases beneficial compounds.
- Boil and Simmer: Bring the rice and water to a boil over medium heat. Once boiling, reduce the heat to low, cover the saucepan, and let it simmer for about 15-20 minutes, or until the rice is very soft and has absorbed most of the water. You should see a thick, milky liquid.
- Cool Down: Remove the saucepan from the heat and let the rice mixture cool down completely.
- Strain the Gel: Once cooled, pour the mixture through a fine-mesh strainer or cheesecloth into a clean bowl. Press down on the rice grains to extract as much of the milky, gel-like liquid as possible. If you want a super smooth gel, you can also blend the cooked rice with a little of the liquid until smooth, then strain.
- Store: Transfer your homemade rice gel into an airtight container.
How to Use Rice Gel in Your Beauty Routine
Once you’ve made your rice gel, incorporating it into your routine is easy:
- As a Face Mask: Apply a generous layer of the rice gel to your clean face and neck. Leave it on for 15-20 minutes, then rinse off with lukewarm water. Your skin may feel incredibly soft and refreshed!
- As a Serum/Treatment: For a lighter application, apply a thin layer of the gel to your face after cleansing and toning, before your moisturizer. Gently pat it into your skin until absorbed.
- For Spot Treatment: Dab a small amount onto specific areas you wish to soothe or brighten.
Important Tips Before You Try This
- Patch Test: Always perform a patch test on a small area of your skin (like behind your ear or on your inner arm) before applying the gel to your entire face, especially if you have sensitive skin.
- Storage: Since it’s a natural, homemade product without preservatives, store your rice gel in the refrigerator. It typically lasts for about 5-7 days. Discard if you notice any changes in smell or consistency.
- Consistency: The consistency of your gel might vary. If it’s too thick, you can add a tiny bit of distilled water to thin it out. If it’s too watery, you might need to cook the rice longer next time or add less water.
- No Medical Claims: While many people report fantastic results, remember that DIY rice gel is a beauty routine enhancement, not a medical treatment. It’s designed to support healthy-looking skin, not cure conditions or reverse aging.
Trying out a DIY rice gel routine can be a fun and affordable way to explore natural skincare. Many individuals find that it contributes to a visibly smoother, more radiant, and refreshed complexion. Why not give this popular beauty hack a try and see if it becomes your new favorite secret for glowing skin?