Craft Your Own Love Garden: DIY Heart-Shaped Concrete Planter
Gardening is an act of love, and what better way to express that affection than by creating a beautiful heart-shaped planter for your outdoor space? This DIY project is not only rewarding but also adds a unique, charming touch to your garden, patio, or balcony. Imagine a vibrant burst of flowers blossoming from a planter you crafted with your own hands! It’s a fantastic way to personalize your green sanctuary and show off your creative side.
Why Choose a Concrete Planter?
Concrete planters are incredibly durable, long-lasting, and offer a rustic, modern aesthetic that complements almost any garden style. They are heavy, which means they won’t easily tip over in windy conditions, and they provide excellent insulation for plant roots. Plus, working with concrete allows for endless possibilities in terms of shape and size, making it perfect for custom projects like our heart-shaped design.
What You’ll Need (General Guide)
Before diving into the steps, gather your basic materials. For a concrete planter, you’ll generally need:
- Concrete Mix: A high-strength, quick-setting concrete mix is often recommended for DIY projects.
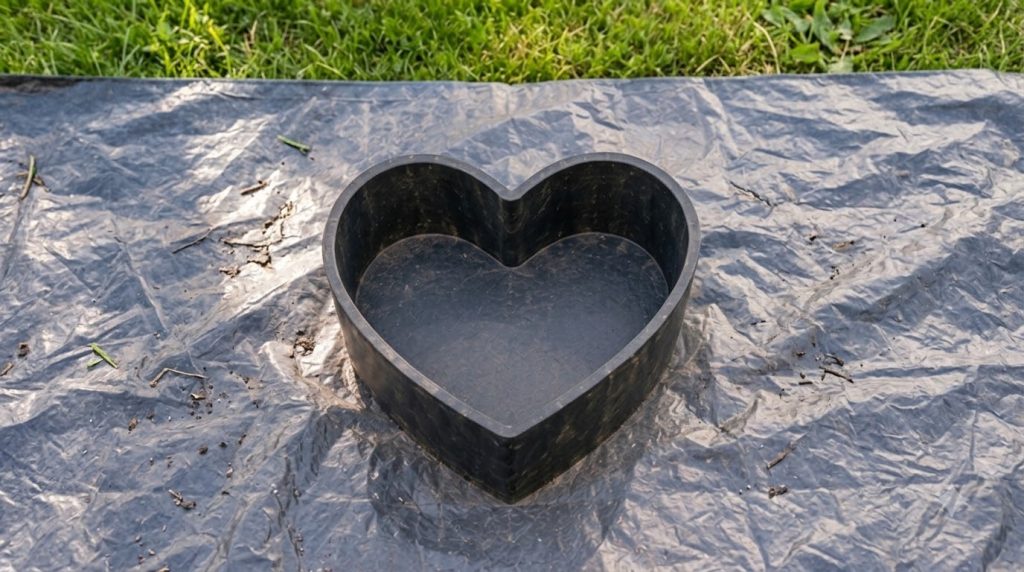
- Molds: This is where the heart shape comes in! You can use pre-made heart-shaped molds, or get creative by making your own from sturdy cardboard, plastic containers, or even old buckets that you can cut and tape into the desired shape. Remember to create an inner and outer mold to form the walls of the planter.
- Release Agent: Cooking oil, petroleum jelly, or a commercial mold release agent to prevent concrete from sticking to the molds.
- Mixing Tools: A large bucket or wheelbarrow, a trowel or shovel for mixing, and water.
- Safety Gear: Gloves, safety glasses, and a dust mask are crucial when working with concrete.
- Drainage Materials: Small plastic bottle caps or PVC pipe pieces for creating drainage holes.
Crafting Your Heart-Shaped Planter: The Simplified Process
Step 1: Prepare Your Molds
The key to a perfect heart shape lies in your molds. You’ll need two heart shapes – one slightly smaller than the other to create the cavity for your plants. If crafting your own, ensure they are sturdy and sealed to prevent concrete leaks. Apply a generous layer of release agent to all surfaces that will come into contact with the concrete, both inside the outer mold and outside the inner mold. This will make demolding much easier.
Step 2: Mix the Concrete
Follow the instructions on your concrete mix packaging carefully. Typically, you’ll add water gradually to the dry mix, stirring thoroughly until you achieve a consistency similar to thick oatmeal or peanut butter. It should be workable but not too runny.
Step 3: Pour and Form
Pour a layer of concrete into the bottom of your outer heart mold, about 1-2 inches thick. This will form the base of your planter. Gently place your smaller, inner heart mold on top of this base, centering it to ensure even wall thickness. Push it down slightly into the wet concrete. You can use rocks or weights inside the inner mold to hold it in place. Immediately after, fill the space between the inner and outer molds with more concrete, tapping the sides of the outer mold gently to release any air bubbles and ensure the concrete settles evenly. Remember to insert your drainage hole materials (like bottle caps) into the bottom concrete layer before it sets.
Step 4: Cure and Demold
Curing is essential for strong concrete. Cover your planter with plastic sheeting or a damp cloth to keep it moist for at least 24-48 hours, or as recommended by your concrete mix. This slow drying process helps prevent cracks. Once cured, carefully remove the inner mold, then the outer mold. If you used a good release agent, this should be relatively easy.
Step 5: Finish and Plant!
After demolding, your planter might have rough edges. You can gently sand these down with sandpaper or a concrete grinding tool. For a personalized touch, you could paint your planter or seal it for extra protection. Once fully dry and finished, it’s ready for planting! Fill it with good quality potting soil and your favorite flowers, herbs, or small plants. Trailing plants like petunias or nasturtiums look particularly lovely cascading over the edges of a heart-shaped planter.
Care for Your Concrete Planter
Concrete can absorb moisture, so ensure your plants are getting adequate water. Over time, concrete can develop a beautiful patina, but if you prefer a clean look, occasional scrubbing with a mild soap and water solution will help. Always ensure drainage holes remain clear to prevent root rot.
Creating a heart-shaped concrete planter is a wonderful project that combines craft and gardening. It’s a symbol of your passion for plants and a unique piece of decor that will bring joy to your garden. So roll up your sleeves, get creative, and let your love for gardening shine through!