Ditch the Store-Bought: Why Homemade Almond Milk is Better
Are you ready to say goodbye to store-bought almond milk and embrace a fresher, more flavorful alternative? Making your own almond milk at home is surprisingly simple, incredibly rewarding, and allows you complete control over the ingredients. No more artificial additives, thickeners, or added sugars you don’t want – just pure, wholesome goodness.
Homemade almond milk tastes significantly better, with a richer, creamier texture and a naturally sweet, nutty flavor that commercial versions often lack. Plus, it’s a fun and creative way to experiment with different nuts and flavors right in your own kitchen.
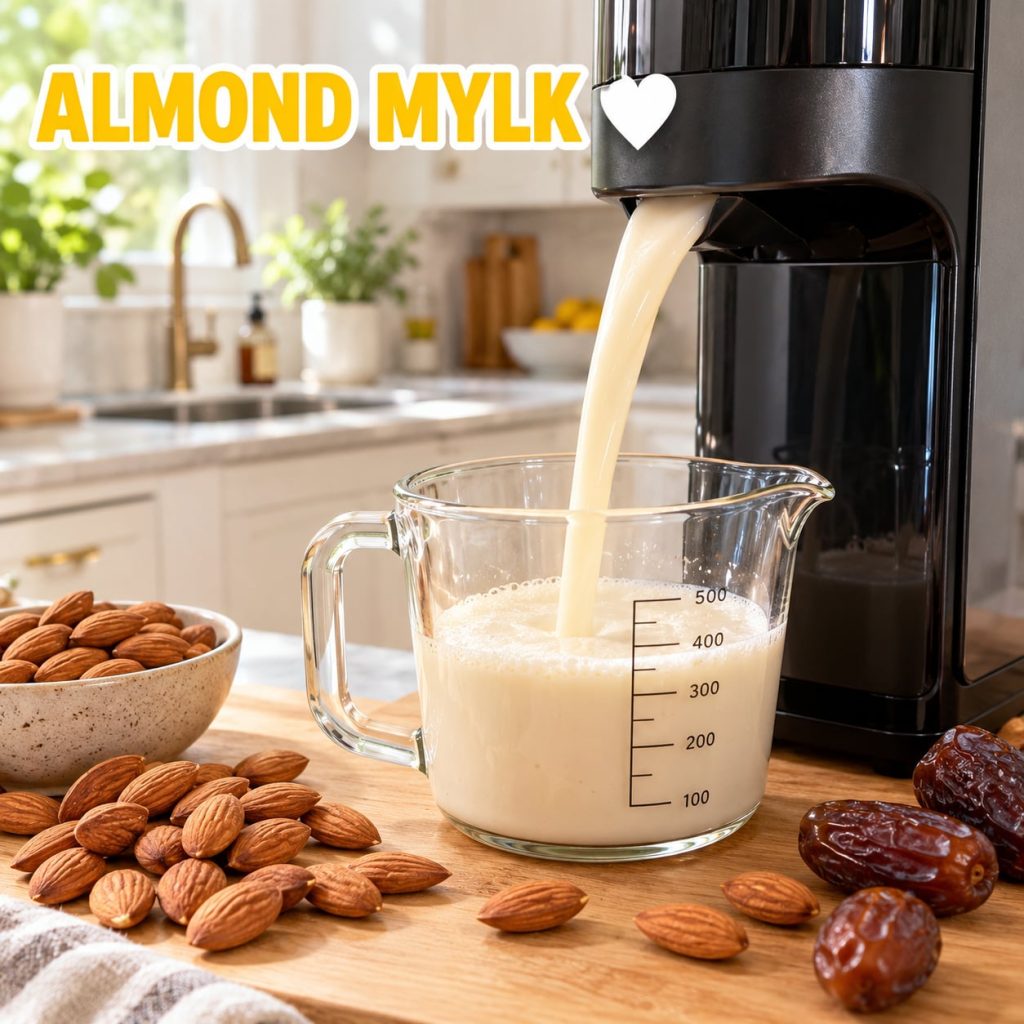
Benefits of Making Your Own Nut Milk
- Ingredient Control: You choose exactly what goes in, avoiding unwanted additives, preservatives, and excessive sugars.
- Fresher Taste: Homemade milk has a distinctively fresh, creamy, and more pronounced nutty flavor.
- Cost-Effective: Over time, making your own can be more economical than buying cartons regularly.
- Customizable: Adjust the sweetness, creaminess, and flavorings to suit your preferences.
- Environmentally Friendly: Reduce packaging waste by reusing bottles or jars for storage.
Simple DIY Almond Milk Recipe
This basic recipe is a fantastic starting point. Feel free to adjust the ingredients to match your taste buds!
Ingredients:
- 1 cup raw almonds
- 3-4 cups filtered water (for soaking + blending)
- Pinch of sea salt (optional, enhances flavor)
- 1-2 dates, pitted, or 1 tablespoon maple syrup (optional, for sweetness)
- 1/2 teaspoon vanilla extract (optional, for flavor)
Equipment:
- Large bowl
- Fine-mesh sieve or nut milk bag
- High-speed blender
- Airtight container or jar for storage
Instructions:
- Soak the Almonds: Place the raw almonds in a bowl and cover them with at least an inch of filtered water. Let them soak for at least 8 hours or overnight. Soaking helps soften the almonds, making them easier to blend, and can improve digestibility.
- Rinse: After soaking, drain the almonds and rinse them thoroughly under cold running water. You’ll notice they’ve plumped up and might have shed some skins (it’s okay if they don’t all peel off).
- Blend: Transfer the rinsed almonds to your high-speed blender. Add 3 cups of fresh filtered water. If using, add the pinch of sea salt, dates, or maple syrup, and vanilla extract.
- Blend Until Smooth: Blend on high for 1-2 minutes, or until the mixture is creamy and appears smooth. The longer you blend, the creamier your milk will be.
- Strain: Place a nut milk bag or a fine-mesh sieve lined with cheesecloth over a large bowl. Pour the blended almond mixture into the bag/sieve.
- Squeeze (if using a bag): If using a nut milk bag, gather the top and gently squeeze to extract all the liquid. Be patient, as this might take a few minutes. If using a sieve and cheesecloth, let it drain, then gently press the pulp with a spoon to extract more liquid.
- Store: Pour your fresh almond milk into an airtight container or jar. Store it in the refrigerator for up to 3-5 days. The milk may separate, which is natural; just give it a good shake before each use.
Creative Ways to Enjoy Your Homemade Almond Milk
Now that you’ve got a batch of delicious homemade almond milk, how will you enjoy it?
- Coffee and Tea: A perfect dairy-free creamer for your morning brew.
- Smoothies: The base for a creamy, nutritious smoothie.
- Cereal and Oatmeal: A wholesome addition to your breakfast bowl.
- Baking: Use it in recipes as a dairy milk substitute.
- Soups and Sauces: Add a touch of creaminess to savory dishes.
- Just Plain: Enjoy a refreshing glass on its own!
Experiment with different flavor additions during blending, such as a dash of cinnamon, a pinch of cardamom, or even a tablespoon of cocoa powder for a chocolatey treat. Making your own almond milk is a simple step towards a healthier, more mindful lifestyle. Enjoy the process and the delicious results!