Unlock the secret to a radiant complexion with this simple 4-ingredient DIY glow gel, a beauty pantry staple often praised for its skin-softening and hydrating benefits.
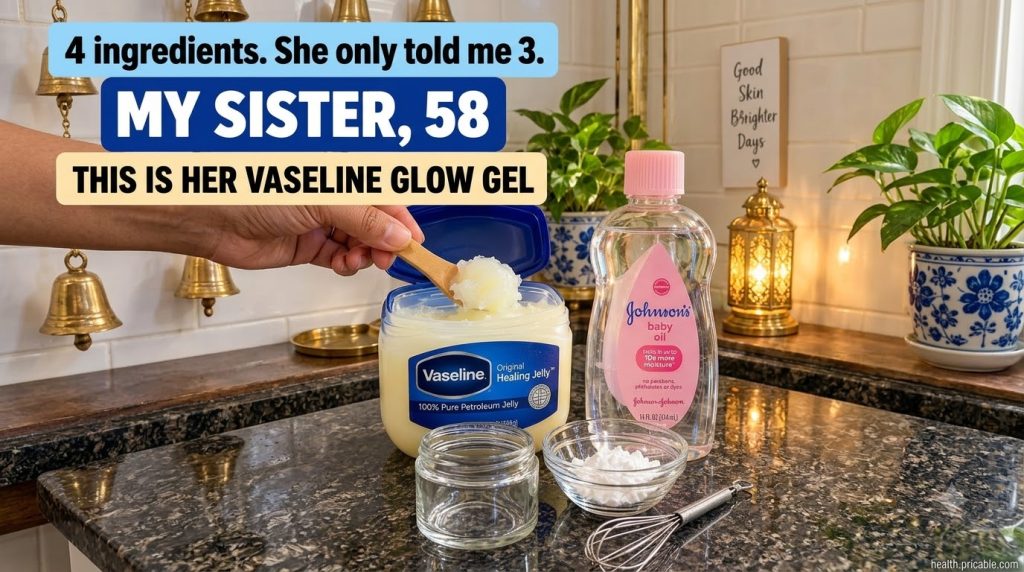
Quick Recipe
Prep time: 10 minutes
Best for: Dryness, dullness, supporting a smoother and more radiant complexion.
Use type: Gel/Creamy Balm
Main ingredients:
- Vaseline (Petroleum Jelly)
- Baby Oil
- White Beauty Powder (e.g., Rice Flour or Cornstarch)
- Rose Water
Ingredients
- 2 tablespoons Vaseline (Petroleum Jelly)
- 1 tablespoon Baby Oil (mineral oil based)
- 1 teaspoon finely milled White Beauty Powder (such as rice flour or cornstarch)
- 1-2 tablespoons Rose Water (or distilled water)
How to Make It
- Melt Vaseline: Place the 2 tablespoons of Vaseline into a small, heat-safe bowl. You can gently melt it using a double boiler method or by microwaving it in short 10-second bursts until it’s softened but not fully liquid.
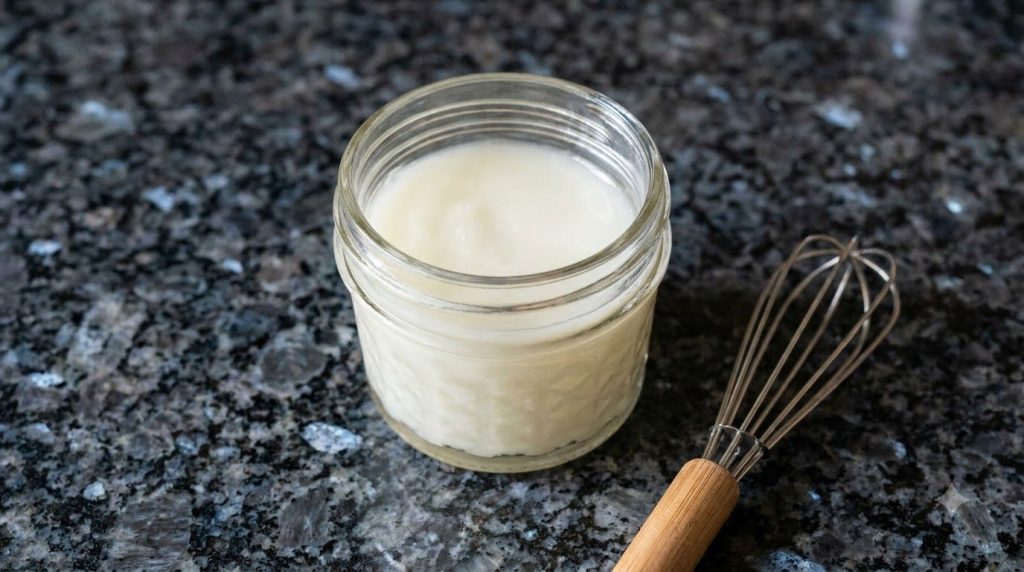
- Combine Oils: Once the Vaseline is softened, add the 1 tablespoon of Baby Oil to the bowl. Stir well with your mini whisk or a spoon until both are thoroughly combined into a smooth, shiny mixture.
- Add Powder: Gradually sprinkle in the 1 teaspoon of white beauty powder, whisking continuously to prevent clumps. Mix until the powder is fully incorporated and the mixture is smooth.
- Form the Gel: Slowly add the Rose Water, starting with 1 tablespoon, while whisking vigorously. Continue mixing until you achieve a light, creamy gel-like consistency. If you prefer a thinner gel, add the remaining tablespoon of rose water, one teaspoon at a time, until your desired texture is reached.
- Transfer to Jar: Carefully transfer your freshly made glow gel into a clean, airtight jar. Allow it to cool completely and set at room temperature for a few hours before first use.
How to Use It
- Cleanse Skin: Start with freshly cleansed and toned skin.
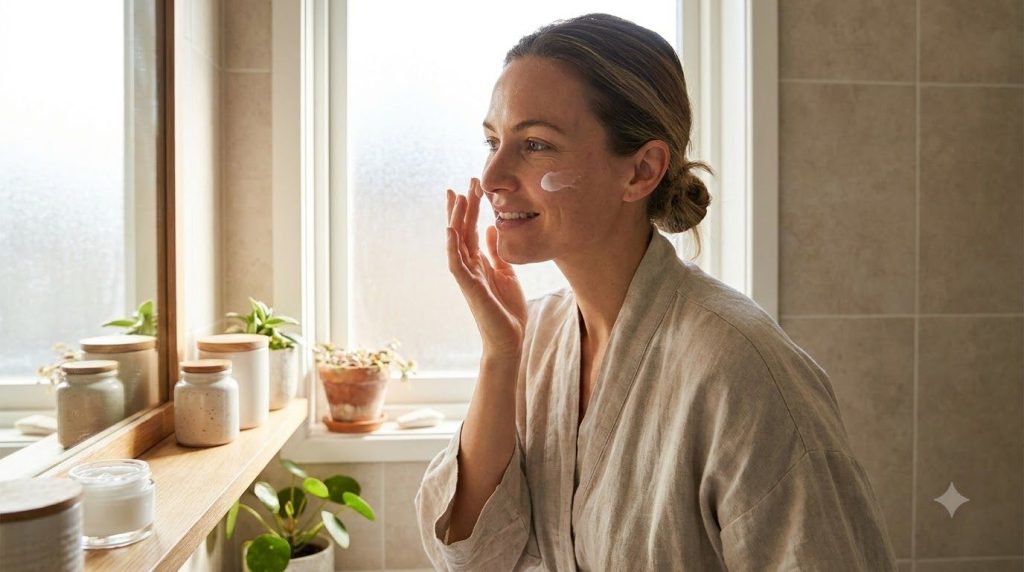
- Apply a Small Amount: Scoop out a pea-sized amount of the glow gel using clean fingertips.
- Gently Massage: Gently massage the gel onto your face, neck, or any dry areas of your body in upward, circular motions until absorbed. A little goes a long way.
- Evening Routine: This gel can be a wonderful addition to your evening skincare routine to lock in moisture overnight.
How Often to Use It
You can use this glow gel 2-3 times a week, preferably in the evening, or as needed for extra hydration and a dewy finish. If you have oily skin, you might want to use it less frequently or apply a very thin layer.
Why These Ingredients Are Used
Vaseline (Petroleum Jelly)
Vaseline is a highly effective occlusive, meaning it forms a protective barrier on the skin’s surface. This barrier helps to prevent moisture loss, keeping the skin hydrated and supple, which can reduce the appearance of dryness and fine lines.
Baby Oil
Often a blend of mineral oil and fragrance, baby oil is known for its moisturizing properties. It helps to soften the skin, leaving it feeling smooth and silky. It complements Vaseline by adding a glide to the texture and enhancing the overall emollient effect.
White Beauty Powder (e.g., Rice Flour or Cornstarch)
Ingredients like finely milled rice flour or cornstarch are often used in DIY beauty for their ability to absorb excess oil and provide a smooth, soft texture to formulations. Rice flour, in particular, is traditionally used in Asian beauty for its skin-brightening and soothing properties, contributing to a more even-looking complexion.
Rose Water
Rose water is revered for its gentle, hydrating, and soothing properties. It helps to balance the skin’s pH, calm irritation, and impart a subtle, refreshing fragrance. It also helps to achieve the desired gel-like consistency in this recipe while adding beneficial hydration.
What Results to Expect
With regular use, this DIY glow gel may help your skin feel intensely moisturized and look visibly smoother and more radiant. The combination of ingredients works to support a hydrated barrier, which can help diminish the appearance of dry patches and contribute to a more youthful-looking glow. While it won’t reverse aging, it can certainly help improve the overall texture and luminosity of your complexion, leaving it feeling soft and supple.
Safety Notes
- Patch Test First: Always perform a patch test on a small, inconspicuous area of your skin (like behind your ear or on your inner arm) at least 24 hours before applying the gel to your face or larger areas to check for any adverse reactions.
- Use Gently: Apply the gel with clean hands and gentle motions. Avoid harsh rubbing.
- Avoid Irritated or Broken Skin: Do not apply the gel to skin that is irritated, broken, or has active breakouts, as it may exacerbate conditions or cause discomfort.
- Stop Using If Discomfort Occurs: If you experience any redness, itching, burning, or irritation, discontinue use immediately and rinse the area with cool water.
- Pore Clogging: While generally non-comedogenic for many, Vaseline and mineral oil can be heavy. If you are prone to clogged pores or acne, use sparingly or consult with a dermatologist.
- Storage: Store your homemade gel in a clean, airtight container in a cool, dry place to maintain its freshness. Discard if you notice any changes in color, smell, or texture.
FAQ
Can I use a different oil instead of baby oil?
Yes, you could experiment with other lightweight, non-comedogenic oils like almond oil or jojoba oil, but ensure you do a patch test first. Keep in mind that baby oil is chosen for its specific feel and broad availability.
How long does this DIY glow gel last?
Because it contains water, this homemade gel typically lasts for about 1-2 weeks when stored in a cool, dark place. Always use clean utensils when scooping out the product to prevent contamination and extend its shelf life.
Is this suitable for all skin types?
While generally good for dry and normal skin, individuals with very oily or acne-prone skin should use this gel sparingly or perform a careful patch test, as the rich emollients might feel heavy or potentially contribute to congestion for some.
Final Thoughts
Embrace the simplicity of this 4-ingredient DIY glow gel and give your skin the hydration and radiance it deserves. It’s an accessible way to support a smoother, more luminous complexion with ingredients you might already have on hand. Give it a try and share your glowing results with us!