Hey beauty besties! Are you dreaming of silky, smooth skin that just glows? We all know that achieving that radiant complexion doesn’t always have to come with a hefty price tag or complicated routines. Sometimes, the best secrets are hiding right in your medicine cabinet and beauty stash!
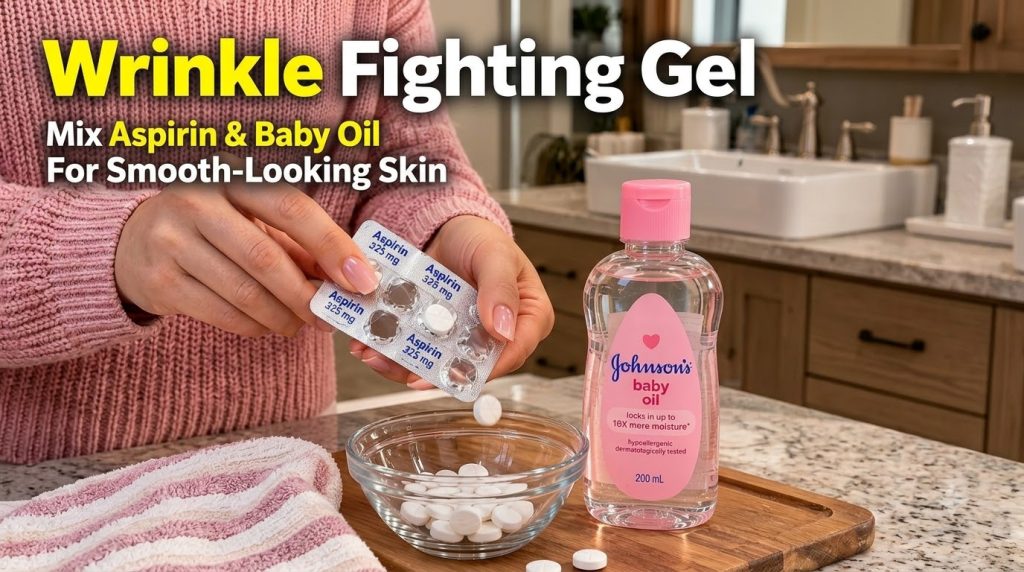
Today, we’re diving into a super simple, yet surprisingly effective, DIY beauty hack that’s been making waves for its ability to leave your skin feeling incredibly soft and looking refreshed: an Aspirin and Baby Oil Gel. Yes, you read that right! These two common household items can be transformed into a fantastic treatment for exfoliating and moisturizing your skin.
Why Aspirin and Baby Oil? The Power Duo for Your Skin
Before we jump into the ‘how-to,’ let’s talk about why these two humble ingredients are gaining popularity in the DIY beauty world.
The Magic of Aspirin (Salicylic Acid)
Aspirin, or acetylsalicylic acid, is a form of salicylic acid. In skincare, salicylic acid is a star ingredient known for its exfoliating properties. It’s a beta-hydroxy acid (BHA), which means it’s oil-soluble and can penetrate into your pores, helping to:
- Gently Exfoliate: It sloughs off dead skin cells from the surface, revealing fresher, smoother skin underneath.
- Unclog Pores: By dissolving the gunk (oil and dead skin) inside pores, it can help prevent breakouts and minimize their appearance.
- Reduce Inflammation: Aspirin also has anti-inflammatory properties, which can help calm redness and soothe irritated skin.
The Soothing Touch of Baby Oil
Baby oil is primarily mineral oil, often combined with a light fragrance. While it might seem like just for babies, it’s a fantastic, affordable moisturizer for adults too!
- Deep Hydration: It forms a protective barrier on the skin’s surface, locking in moisture and preventing water loss. This leaves your skin feeling incredibly soft and supple.
- Smooths and Softens: Its emollient properties help to smooth rough patches and give your skin a velvety texture.
- Great Carrier: It’s an excellent base to mix with other ingredients, ensuring they are delivered gently to your skin.
Your DIY Aspirin and Baby Oil Gel Recipe
Ready to create this skin-smoothing marvel? Here’s what you’ll need and how to make it.
What You’ll Need:
- 5-6 uncoated aspirin tablets (make sure they are plain aspirin, not coated or combined with other medications)
- 1-2 tablespoons of baby oil (any brand you prefer)
- A small, clean bowl
- A spoon or non-metallic spatula for mixing
- A small, airtight container for storage
Step-by-Step Instructions:
- Crush the Aspirin: Place the aspirin tablets in your small, clean bowl. Using the back of a spoon, carefully crush them into a fine powder. You can also place them between two spoons or use a mortar and pestle for a finer consistency. The smoother the powder, the better the gel will be.
- Add Baby Oil: Gradually add the baby oil to the aspirin powder. Start with one tablespoon and mix well.
- Form the Gel: Continue mixing until you achieve a smooth, gel-like consistency. It should be thick enough to apply without dripping but spreadable. If it’s too thick, add a few more drops of baby oil. If it’s too runny, you can try adding one more crushed aspirin tablet.
- Transfer & Store: Once your gel is ready, transfer it to your clean, airtight container.
How to Use Your DIY Smooth Skin Gel
Now that you’ve got your magic potion, let’s talk about how to use it for the best results!
- Patch Test First: This is crucial! Before applying the gel all over your face or body, apply a tiny amount to a small, inconspicuous area of your skin (like behind your ear or on your inner arm). Wait 24 hours to check for any irritation or allergic reaction.
- Cleanse Your Skin: Start with clean, dry skin.
- Apply Gently: Using your fingertips, gently apply a thin layer of the gel to your face or other areas you wish to treat (like elbows or knees). Avoid the delicate eye area and any broken skin.
- Leave On: Let the gel sit on your skin for about 10-15 minutes. You might feel a slight tingling sensation, which is usually normal, but if you experience any burning or intense discomfort, rinse it off immediately.
- Rinse Off: Rinse thoroughly with lukewarm water, gently massaging your skin as you do to aid in exfoliation.
- Moisturize: Pat your skin dry and follow up with your favorite moisturizer to lock in hydration.
Frequency:
For most skin types, using this DIY gel 1-2 times a week is sufficient. Over-exfoliation can lead to irritation, so listen to your skin!
Important Considerations and Safety Tips
While DIY remedies can be wonderful, it’s essential to use them wisely and safely.
- Sun Sensitivity: Salicylic acid can increase your skin’s sensitivity to the sun. Always use a broad-spectrum sunscreen with SPF 30 or higher during the day, especially when using this treatment.
- Avoid If Allergic: If you have an allergy to aspirin or salicylates, DO NOT use this recipe.
- Sensitive Skin: If you have very sensitive skin, rosacea, or eczema, proceed with extreme caution or consult with a dermatologist before trying this.
- Pregnancy & Breastfeeding: It’s best to avoid salicylic acid products (including aspirin) if you are pregnant or breastfeeding.
- Storage: Store your DIY gel in an airtight container in a cool, dark place. It’s best to make small batches and use them within a week or two, as homemade products lack preservatives and can spoil.
Embrace Your Natural Glow
This DIY Aspirin and Baby Oil Gel is a fantastic way to introduce gentle exfoliation and deep hydration into your routine using ingredients you likely already have. It’s a testament to the fact that effective skincare doesn’t always have to be complicated or expensive.
Give it a try and discover the difference for yourself! Remember, consistency is key, and always pay attention to how your skin responds. We can’t wait to hear about your smooth skin journey!