Easy Apple-Oat Loaf Bread: Your New Go-To Healthy Quick Bread
Looking for a wholesome, comforting, and incredibly simple bread recipe that’s perfect for any time of day? Look no further than this Easy Apple-Oat Loaf Bread! This delightful quick bread is packed with the goodness of oats and fresh apples, offering a naturally sweet flavor and a wonderfully moist texture. It’s the ideal treat to enjoy with your morning coffee, as a satisfying afternoon snack, or even a light dessert.
Forget complicated baking techniques. This apple-oat loaf bread is designed for ease, utilizing a blender to mix most of the ingredients. The result is a rustic, hearty bread that tastes like it took hours to make, but only requires minimal effort. Get ready to fill your kitchen with the irresistible aroma of baked apples and cinnamon!
Why You’ll Love This Easy Apple-Oat Loaf Bread Recipe
- Effortlessly Easy: Most of the batter comes together right in your blender, making prep a breeze.
- Wholesome Ingredients: Made with rolled oats and fresh apples, it’s a healthier alternative to many quick breads.
- Deliciously Moist: The combination of apples and oats creates a wonderfully tender and moist crumb.
- Versatile & Adaptable: Enjoy it plain, toasted, or with your favorite spreads; easily customizable with add-ins.
- Family-Friendly: A crowd-pleasing flavor that even picky eaters will enjoy.
- Perfect for Any Occasion: Great for breakfast, snack time, lunchboxes, or a light dessert.
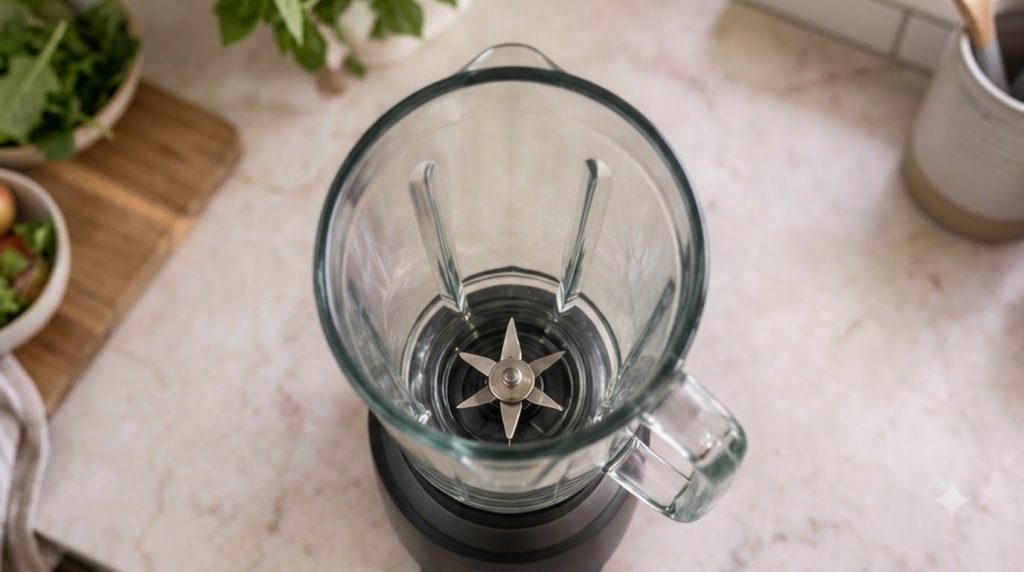
Ingredients for Apple-Oat Loaf Bread
Gather these simple ingredients to create your delicious apple-oat loaf bread:
- 2 cups (180 g) old-fashioned rolled oats (not instant)
- 2 medium apples (about 1.5 cups / 225 g chopped), peeled, cored, and roughly chopped
- 2 large eggs
- 1/2 cup (120 ml) milk (dairy or non-dairy, such as almond milk)
- 1/3 cup (80 ml) vegetable oil or melted coconut oil
- 1/2 cup (120 ml) honey or maple syrup
- 1 tsp vanilla extract
- 1 tbsp baking powder
- 1/2 tsp baking soda
- 1 tsp ground cinnamon
- 1/4 tsp salt
Ingredient Notes
- Rolled Oats: Old-fashioned rolled oats are essential here as they blend into a flour-like consistency, providing structure and a nutty flavor. Instant oats are too finely processed and won’t yield the same texture.
- Apples: Choose firm, slightly tart apples like Gala, Fuji, Honeycrisp, or Granny Smith. Peeling them ensures a smoother texture in the finished bread, but if you prefer, you can leave the peel on.
- Sweetener: Honey or maple syrup adds natural sweetness and moisture. Feel free to adjust the amount slightly to your taste.
- Fat: Vegetable oil keeps the bread moist without adding a strong flavor. Melted coconut oil can also be used for a slightly different richness.
- Leavening Agents: Both baking powder and baking soda are used to ensure a good rise and light texture.
Equipment You’ll Need
- Blender or food processor
- 9×5 inch (23×13 cm) loaf pan
- Mixing bowl (optional, if stirring in apples)
- Measuring cups and spoons
- Spatula
- Parchment paper (optional, for easy removal)
How to Make Easy Apple-Oat Loaf Bread
Follow these simple steps to bake your perfect apple-oat loaf:
Step 1: Prepare Your Pan and Oven
Preheat your oven to 350°F (175°C). Lightly grease a 9×5 inch (23×13 cm) loaf pan. For easy removal, you can line the bottom and sides with parchment paper, leaving an overhang.
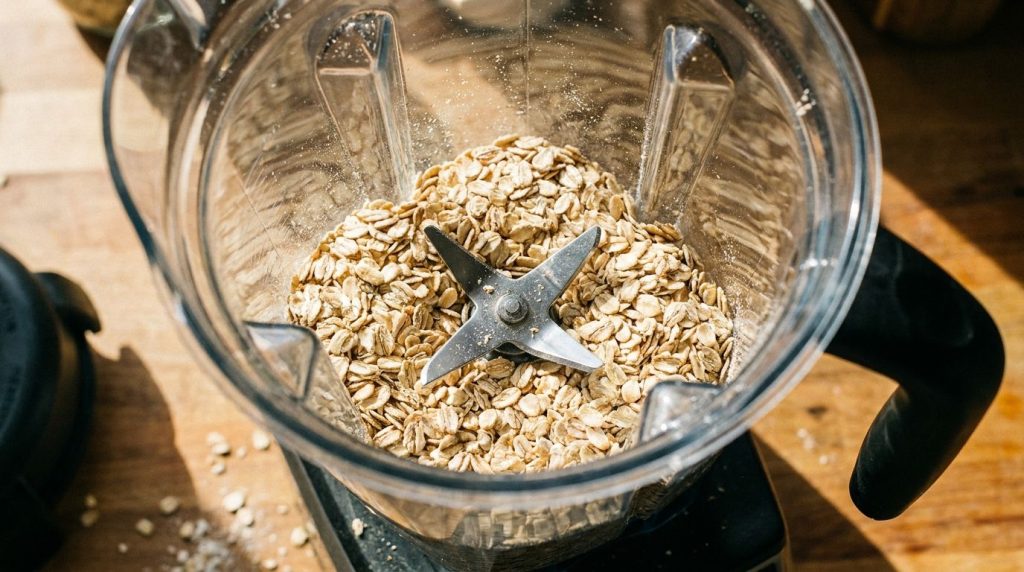
Step 2: Make Oat Flour
Add the old-fashioned rolled oats to your blender or food processor. Blend on high until the oats are ground into a fine flour-like consistency. This usually takes about 30-60 seconds. Set aside.
Step 3: Blend Wet Ingredients
To the blender (no need to clean it), add the eggs, milk, vegetable oil (or melted coconut oil), honey (or maple syrup), and vanilla extract. Blend until smooth and well combined, about 20-30 seconds. The mixture should be uniform in color.
Step 4: Combine Wet and Dry
Add the oat flour, baking powder, baking soda, ground cinnamon, and salt to the wet ingredients in the blender. Blend again until just combined and smooth, about 30 seconds. Be careful not to overmix; stop once no streaks of dry ingredients remain.
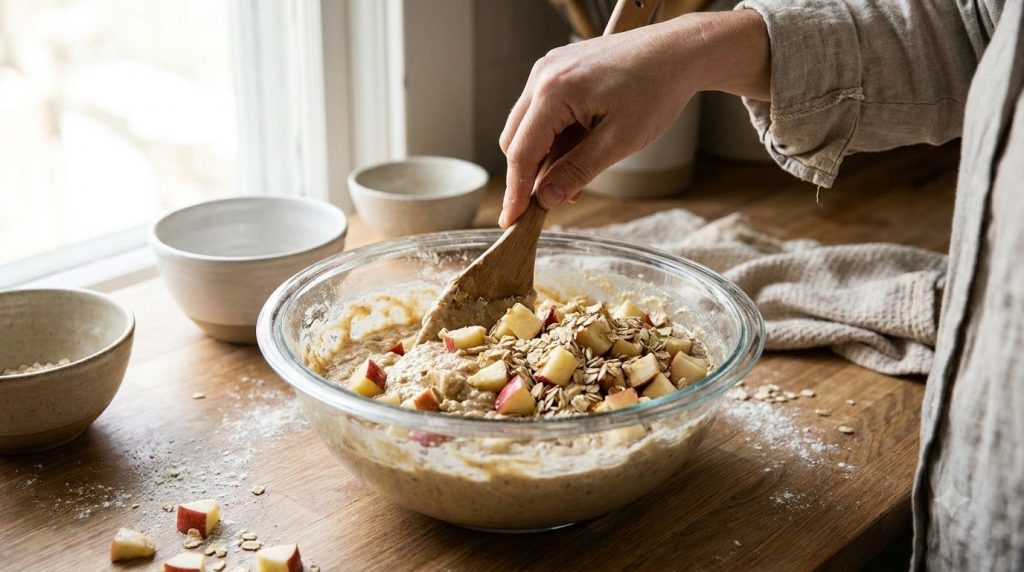
Step 5: Add the Apples
Remove the blender jar from the base. Add the roughly chopped apples to the batter. You can pulse a few times to roughly incorporate them or, for a chunkier texture, gently stir them into the batter with a spatula until evenly distributed. Avoid over-blending at this stage, as you want small pieces of apple, not apple sauce.
Step 6: Bake the Loaf
Pour the batter into your prepared loaf pan, spreading it evenly. Place the pan in the preheated oven and bake for 50-60 minutes, or until a wooden skewer or toothpick inserted into the center comes out clean or with moist crumbs attached, but no wet batter. The top should be golden brown.
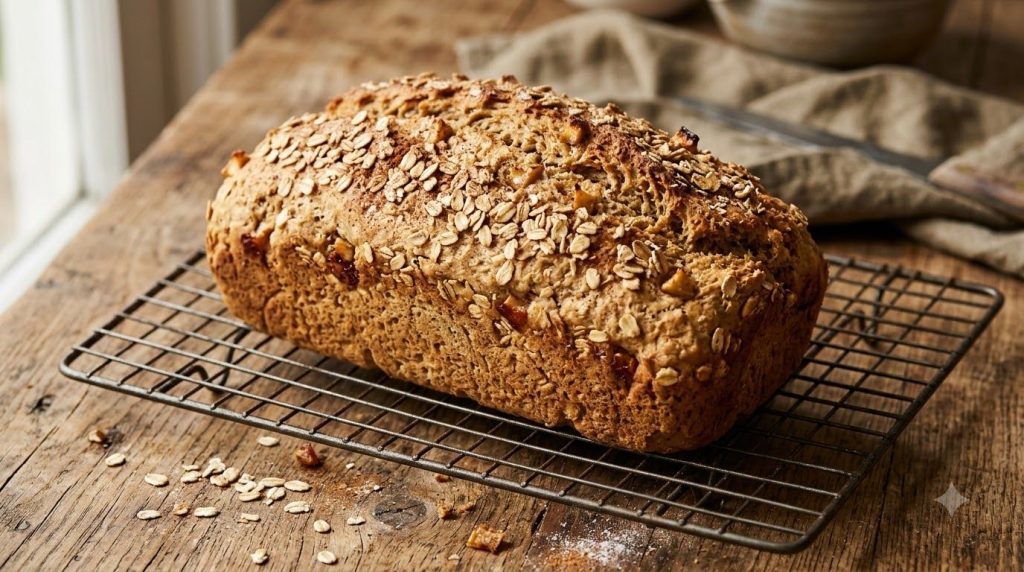
Step 7: Cool and Serve
Once baked, remove the loaf from the oven and let it cool in the pan for about 10-15 minutes before carefully transferring it to a wire rack to cool completely. Slicing too early can cause the bread to crumble. Enjoy once fully cooled!
Pro Tips for the Best Results
- Don’t Overmix: After adding the dry ingredients, blend just until combined. Overmixing can develop gluten too much, leading to a tougher bread.
- Measure Oats Accurately: While measuring cups work, weighing your oats (180g) will give the most consistent results for converting them into flour.
- Adjust Sweetness: Taste the batter before adding the apples (if you feel comfortable). If your apples are very tart, you might want to add a tablespoon or two more honey.
- Room Temperature Eggs: Room temperature eggs incorporate better into the batter, leading to a smoother, more uniform mixture.
- Check for Doneness: Use the toothpick test! If it comes out with wet batter, continue baking in 5-minute increments. If it’s clean or has moist crumbs, it’s done.
- Cool Completely: Resist the urge to slice into the warm bread. Cooling allows the crumb to set and prevents a gummy texture.
Common Mistakes to Avoid
- Using Instant Oats: Instant oats are pre-cooked and too fine, which will change the texture and absorbency of the batter, leading to a dense or gummy loaf. Stick to old-fashioned rolled oats.
- Over-Blenderizing Apples: If blending the apples with the batter, only pulse a few times. You want small apple pieces for texture, not an apple puree.
- Forgetting to Grease the Pan: While parchment paper helps, greasing ensures your bread doesn’t stick, especially if you opt out of the paper.
- Underbaking: An underbaked quick bread will be gummy and unpleasant. Always perform the toothpick test to ensure it’s cooked through.
Variations & Substitutions
- Different Fruits: Try swapping half of the apples for grated zucchini, carrots, or even mashed banana for different flavor profiles.
- Nutty Addition: Fold in 1/2 cup (60 g) of chopped walnuts or pecans with the apples for added crunch.
- Dried Fruit: Add 1/4 cup (40 g) of raisins, dried cranberries, or chopped dates for extra sweetness and chewiness.
- Spice It Up: Enhance the spice profile with a pinch of nutmeg, ginger, or allspice alongside the cinnamon.
- Glaze Topping: For a sweeter finish, drizzle a simple glaze made from powdered sugar and a splash of milk or lemon juice over the cooled loaf.
- Dairy-Free: Use your favorite non-dairy milk (almond, soy, oat) and ensure your oil is plant-based.
Serving Suggestions
This Easy Apple-Oat Loaf Bread is incredibly versatile! Enjoy it:
- Warm or Toasted: A lightly toasted slice with a pat of butter, cream cheese, or a drizzle of honey is heavenly.
- Breakfast Pairing: Serve alongside a yogurt parfait, fresh fruit, or a fried egg for a complete breakfast.
- Snack Time: It’s a satisfying grab-and-go snack that keeps you feeling full.
- With Coffee or Tea: The perfect companion for your favorite hot beverage.
- Dessert: A slice with a scoop of vanilla ice cream or a dollop of whipped cream makes for a comforting treat.
Storage & Reheating
- Room Temperature: Store leftover apple-oat loaf bread in an airtight container at room temperature for up to 3-4 days.
- Refrigerator: For longer storage, keep it in an airtight container in the refrigerator for up to 1 week.
- Freezing: This bread freezes beautifully! Once completely cooled, wrap the entire loaf or individual slices tightly in plastic wrap, then place in a freezer-safe bag or container. It can be frozen for up to 3 months.
- Reheating: Thaw frozen slices at room temperature or in the refrigerator overnight. You can warm individual slices in the microwave for 15-30 seconds, or toast them in a toaster oven until warmed through.
FAQ
Can I use quick oats instead of old-fashioned rolled oats?
It’s highly recommended to use old-fashioned rolled oats. Quick oats are more processed and will absorb liquids differently, potentially leading to a gummier or denser texture in the final bread.
Do I have to peel the apples?
Peeling the apples results in a smoother texture for the bread. However, if you prefer, you can leave the peels on for added fiber and a more rustic look. Just ensure they are thoroughly washed.
My bread is too dense, what went wrong?
Density can result from overmixing the batter, which develops too much gluten, or from not enough leavening. Ensure you measure baking powder and soda accurately and blend only until just combined.
How can I tell if the bread is fully baked?
The best way is the toothpick test. Insert a wooden skewer or toothpick into the center of the loaf. If it comes out clean or with a few moist crumbs attached (no wet batter), the bread is done.
Can I make this recipe gluten-free?
Yes, oats are naturally gluten-free, but always check the label to ensure you’re using certified gluten-free rolled oats if catering to a strict gluten-free diet, as cross-contamination can occur during processing.
What kind of apples are best for baking?
Firm apples that hold their shape well, like Gala, Fuji, Honeycrisp, Granny Smith, or Pink Lady, are excellent choices. They provide a good balance of sweetness and tartness.
Can I reduce the amount of sweetener?
Yes, you can slightly reduce the honey or maple syrup if your apples are very sweet or if you prefer a less sweet bread. However, reducing it too much might affect the moisture and browning.
Recipe Card
Recipe Name: Easy Apple-Oat Loaf Bread
Short Description: A wholesome and incredibly easy quick bread packed with oats and fresh apples, perfect for breakfast or a healthy snack.
Prep Time: 15 minutes
Cook Time: 55 minutes
Total Time: 1 hour 10 minutes
Servings: 10-12 slices
Course: Breakfast, Snack
Cuisine: American
Cooking Method: Baking
Ingredients:
- 2 cups (180 g) old-fashioned rolled oats (not instant)
- 2 medium apples (about 1.5 cups / 225 g chopped), peeled, cored, and roughly chopped
- 2 large eggs
- 1/2 cup (120 ml) milk (dairy or non-dairy)
- 1/3 cup (80 ml) vegetable oil or melted coconut oil
- 1/2 cup (120 ml) honey or maple syrup
- 1 tsp vanilla extract
- 1 tbsp baking powder
- 1/2 tsp baking soda
- 1 tsp ground cinnamon
- 1/4 tsp salt
Instructions:
- Prepare Your Pan and Oven: Preheat your oven to 350°F (175°C). Lightly grease a 9×5 inch (23×13 cm) loaf pan. Line with parchment paper if desired.
- Make Oat Flour: Add rolled oats to your blender or food processor. Blend on high until ground into a fine flour.
- Blend Wet Ingredients: Add eggs, milk, oil, honey (or maple syrup), and vanilla extract to the blender. Blend until smooth.
- Combine Wet and Dry: Add the oat flour, baking powder, baking soda, cinnamon, and salt to the wet ingredients in the blender. Blend until just combined and smooth, taking care not to overmix.
- Add the Apples: Remove the blender jar. Add the chopped apples to the batter. Gently stir in with a spatula until evenly distributed, or pulse a few times to incorporate.
- Bake the Loaf: Pour batter into the prepared loaf pan, spreading evenly. Bake for 50-60 minutes, or until a toothpick inserted into the center comes out clean.
- Cool and Serve: Let cool in the pan for 10-15 minutes, then transfer to a wire rack to cool completely before slicing and serving.
Notes:
For best texture, ensure your oats are old-fashioned rolled oats, not instant. Cooling the bread completely before slicing helps it maintain its structure and prevents crumbling. Adjust sweetener to your preference.
Storage:
Store in an airtight container at room temperature for up to 3-4 days, or in the refrigerator for up to 1 week. Freeze for up to 3 months, wrapped tightly.
Nutrition:
Nutrition information is an estimate and may vary depending on the ingredients and brands used.