Dreaming of transforming your backyard into a personal oasis? Imagine stepping out into your own private retreat, complete with the soothing sound of water and a refreshing dip just steps away. Many of us think such luxury is out of reach, especially with smaller yards or tight budgets. But what if we told you that with a little creativity and effort, you could build your very own elevated swimming pool, turning that dream into a stunning reality?
Here at Garden – L. Quyên, we believe in empowering you to create the garden and outdoor space you’ve always desired. Today, we’re diving into the exciting world of DIY elevated pools. This project isn’t just about adding a water feature; it’s about crafting a unique focal point that brings charm, functionality, and endless enjoyment to your home.
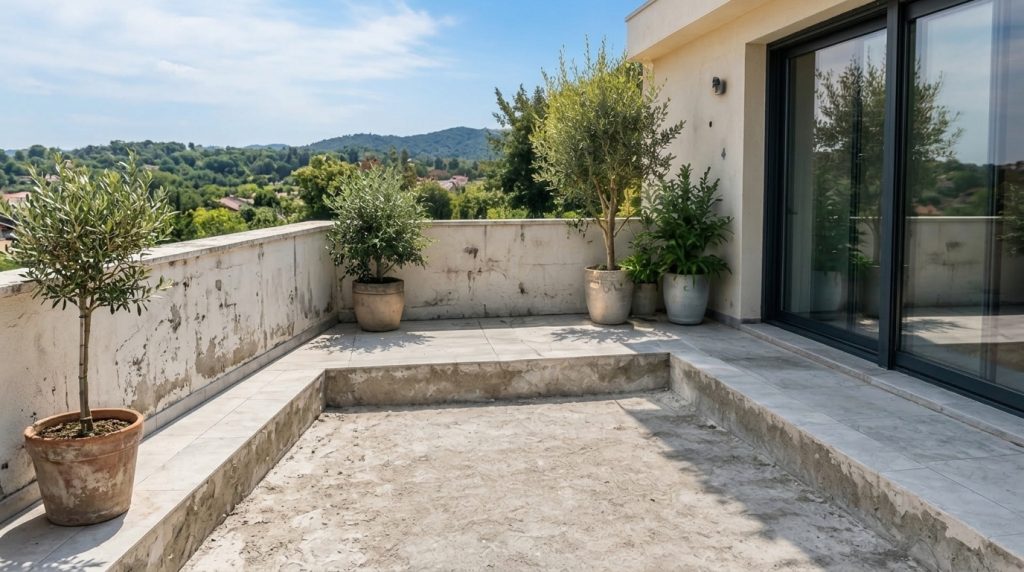
Why Choose an Elevated Pool for Your Backyard?
Elevated pools, sometimes called above-ground pools with a twist, offer a multitude of benefits that make them an ideal choice for many homeowners:
- Space-Saving Solution: Perfect for smaller backyards or awkward spaces where a traditional in-ground pool might not fit.
- Unique Aesthetic: They offer a distinctive, modern look that can become a stunning architectural feature in your garden design.
- Easier Installation: Often simpler and less invasive to install than in-ground pools, reducing excavation and construction time.
- Accessibility and Safety: The raised edge can provide a natural barrier for small children and pets, and elegant steps can be incorporated for easy access.
- Versatility: Elevated designs allow for creative landscaping, decking, and integrated seating around the pool, enhancing the overall outdoor living experience.
Planning Your Elevated Pool Oasis
Before you dive into construction, thoughtful planning is key to a successful DIY project. This isn’t just about digging a hole; it’s about building a solid, safe, and beautiful structure.
1. Design and Location
Consider the size, shape, and depth that best suits your needs and space. Think about where the pool will get the most sun, how it integrates with your existing landscape, and how it will be accessed. Sketch out your ideas!
2. Local Regulations and Permits
This is crucial! Check with your local municipality for any building codes, zoning laws, or permit requirements for elevated structures and swimming pools. Safety barriers and electrical considerations are common requirements.
3. Material Selection
Elevated pools can be built using various materials, each with its pros and cons. Common choices include:
- Concrete Blocks/Poured Concrete: Offers durability and design flexibility.
- Wood: Can provide a natural, warm aesthetic, often used for decking and cladding around a pre-fabricated pool liner.
- Steel Panels: Used for structural integrity, often in conjunction with liners.
4. Budgeting and Tools
Estimate costs for materials, tools, filtration systems, pumps, and any professional help you might need (e.g., for electrical work). Having a clear budget prevents surprises down the line.
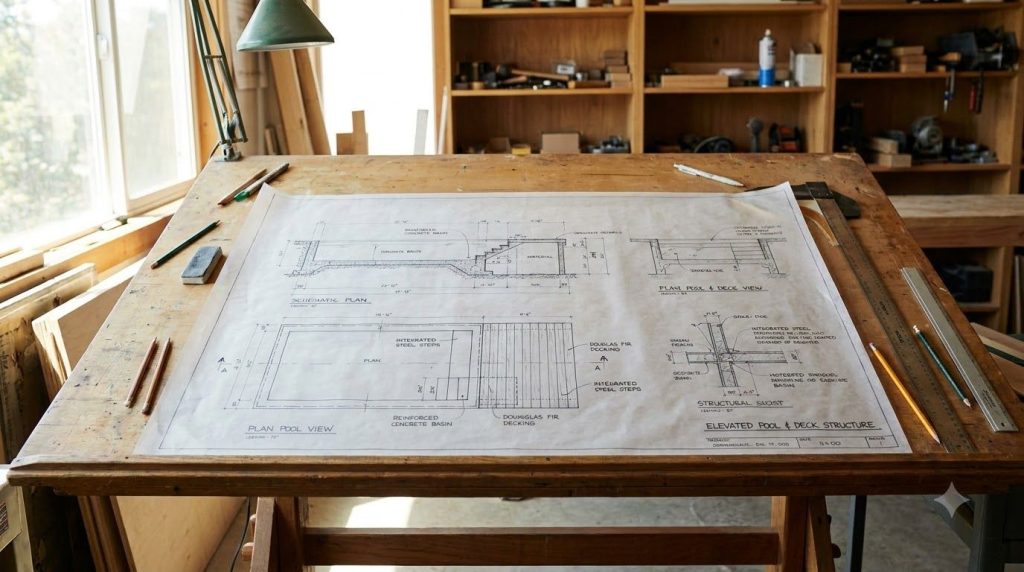
A Simplified Look at the Building Process
While specific steps will vary based on your design and materials, here’s a general overview of what building an elevated pool might entail:
- Foundation: A strong, level foundation (often a concrete slab) is paramount to support the weight of the pool and water.
- Wall Construction: Build the retaining walls of your elevated pool using your chosen materials, ensuring they are reinforced and structurally sound.
- Waterproofing: Apply appropriate waterproofing membranes or install a durable pool liner to contain the water.
- Plumbing and Filtration: Install the necessary plumbing for the filtration system, skimmer, and returns. This might be a job for a professional.
- Decking and Access: Construct surrounding decking and elegant steps to provide safe and easy access to the pool.
- Finishing Touches: Add coping around the pool edge, install lighting, and integrate any desired water features.
Creating the Ultimate Backyard Oasis
Once the structural work is complete, it’s time to infuse your personal style and transform the area into a true oasis:
- Landscaping: Surround your elevated pool with lush, low-maintenance plants. Consider potted plants or raised garden beds to complement the pool’s height.
- Lighting: Strategically placed LED lighting around the pool, steps, and landscaping can create a magical ambiance for evening swims.
- Water Features: Add small waterfalls, bubblers, or jets for a soothing soundscape and visual interest.
- Comfortable Seating: Integrate built-in benches, loungers, or dining areas on your new deck to encourage relaxation and enjoyment.
- Outdoor Decor: Pillows, outdoor rugs, and decorative accents can tie the whole space together, reflecting your personal taste.
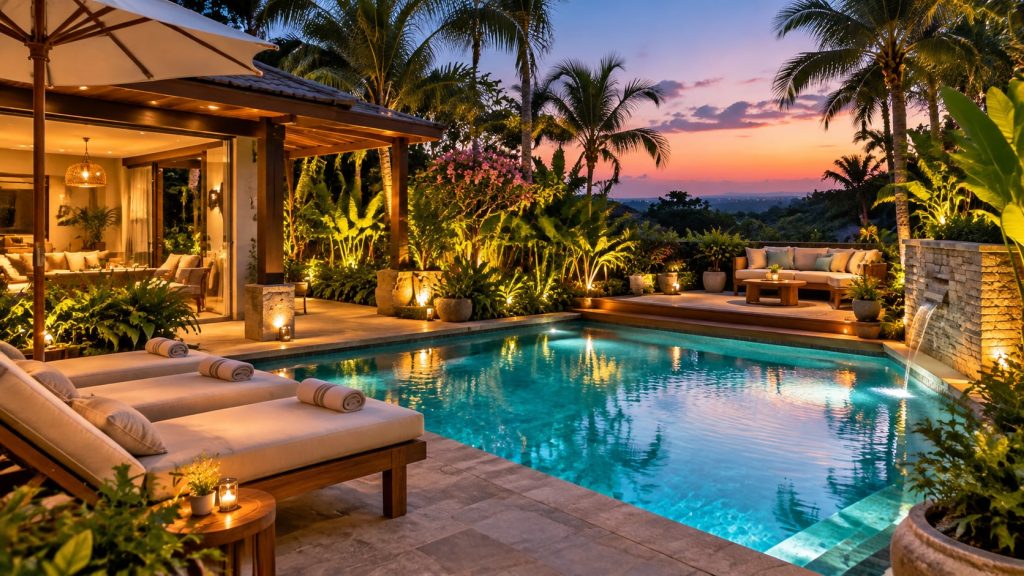
Maintaining Your Elevated Pool
Like any pool, an elevated pool requires regular maintenance to keep the water sparkling clean and the structure in good condition. This includes regular skimming, vacuuming, checking chemical levels, and ensuring your filtration system is running efficiently. Proper care will ensure your DIY oasis remains a source of joy for years to come.
Building your own elevated pool might seem like a daunting task, but with careful planning, the right resources, and a can-do attitude, it’s an incredibly rewarding project. Imagine the joy of summer days spent lounging by your custom-built pool, a testament to your hard work and creativity. Are you ready to dive into your next DIY project and create the backyard oasis of your dreams? Share your dream backyard features in the comments below!