Looking for a breakfast treat that feels indulgent yet is secretly wholesome? This Easy Coconut Oat Cake is about to become your new favorite. Imagine a tender, moist cake, subtly sweet with a delightful hint of coconut, all whipped up with minimal effort in your blender. Yes, you read that right – your blender does most of the work!
This wholesome coconut oat cake is incredibly satisfying, making it perfect for busy mornings when you crave something more substantial than toast, or as a delightful afternoon snack with your coffee. Its soft texture and naturally sweet flavor come from simple ingredients, proving that delicious can also be nutritious. Get ready to bake a cake that everyone will love, any time of day!
Why You’ll Love This Easy Coconut Oat Cake Recipe
- Effortless Blender Method: Nearly all the ingredients go into one appliance, making prep a breeze and cleanup minimal.
- Wholesome & Hearty: Made with oats and naturally sweetened, it’s a breakfast cake you can feel good about.
- Quick to Prepare: From blending to baking, this cake comes together in under an hour, perfect for busy schedules.
- Deliciously Tender Texture: The oats create a wonderfully soft and moist crumb that’s irresistible.
- Versatile for Any Time: Enjoy it for breakfast, brunch, an afternoon pick-me-up, or even a light dessert.
- Customizable: Easily adapt with your favorite add-ins like fruit or nuts for different flavor profiles.
Ingredients for Your Wholesome Coconut Oat Cake
Here’s what you’ll need to make this simple and delightful cake:
- 1 ½ cups (150 g) rolled oats (old-fashioned oats)
- ½ cup (50 g) unsweetened shredded coconut, plus extra for topping (optional)
- ½ cup (120 ml) milk (dairy or non-dairy, like almond or oat milk)
- ¼ cup (60 ml) neutral oil (such as canola, vegetable, or melted coconut oil)
- 2 large eggs
- ½ cup (120 ml) maple syrup (or honey, or granulated sugar)
- 1 ½ teaspoons baking powder
- ½ teaspoon salt
- 1 teaspoon vanilla extract
Ingredient Notes
- Rolled Oats: These are the base of our cake, providing a wholesome texture and structure once blended into a flour. Ensure they are certified gluten-free if you need a gluten-free cake.
- Unsweetened Shredded Coconut: This adds that wonderful tropical flavor without excessive sweetness. You can toast a little extra for a beautiful topping.
- Milk: Any type of milk works here, so feel free to use what you have on hand, whether it’s dairy, almond, oat, or soy milk.
- Sweetener: Maple syrup gives a lovely nuanced sweetness and keeps the cake moist. Honey can be used similarly. If using granulated sugar, the texture might be slightly different, but still delicious.
- Baking Powder: This is our leavening agent, ensuring a light and airy crumb for your cake.
Equipment You’ll Need
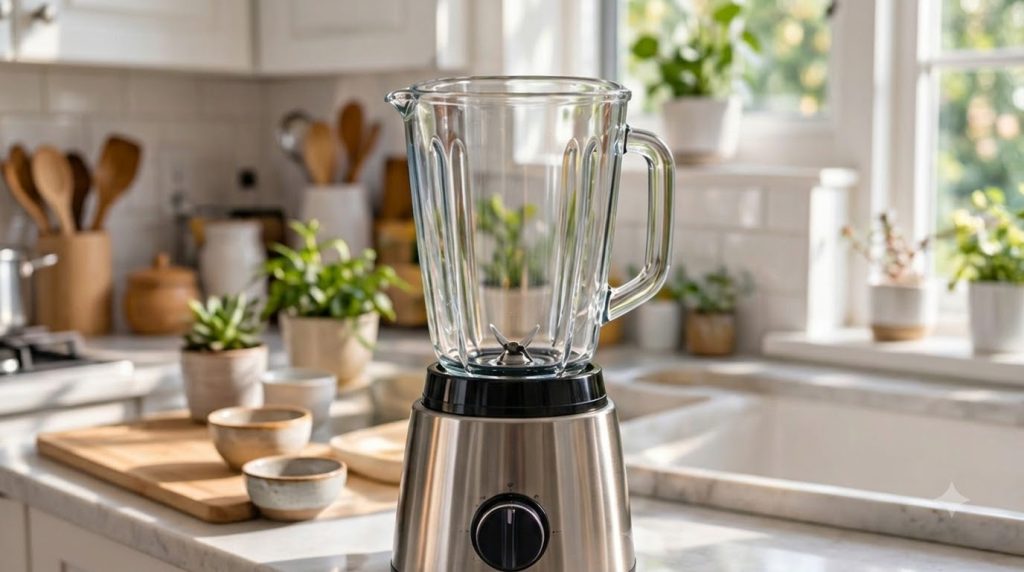
- Blender (a high-speed blender is ideal but not strictly necessary)
- 8×8 inch (20×20 cm) baking pan or 9-inch (23 cm) round cake pan
- Parchment paper (optional, for lining the pan)
- Spatula
- Wire cooling rack
How to Make Easy Coconut Oat Cake
Follow these simple steps to create your delicious breakfast cake:
- Prepare Your Pan and Oven: Preheat your oven to 350°F (175°C). Lightly grease and flour an 8×8 inch (20×20 cm) baking pan, or line it with parchment paper, leaving an overhang on two sides for easy removal.
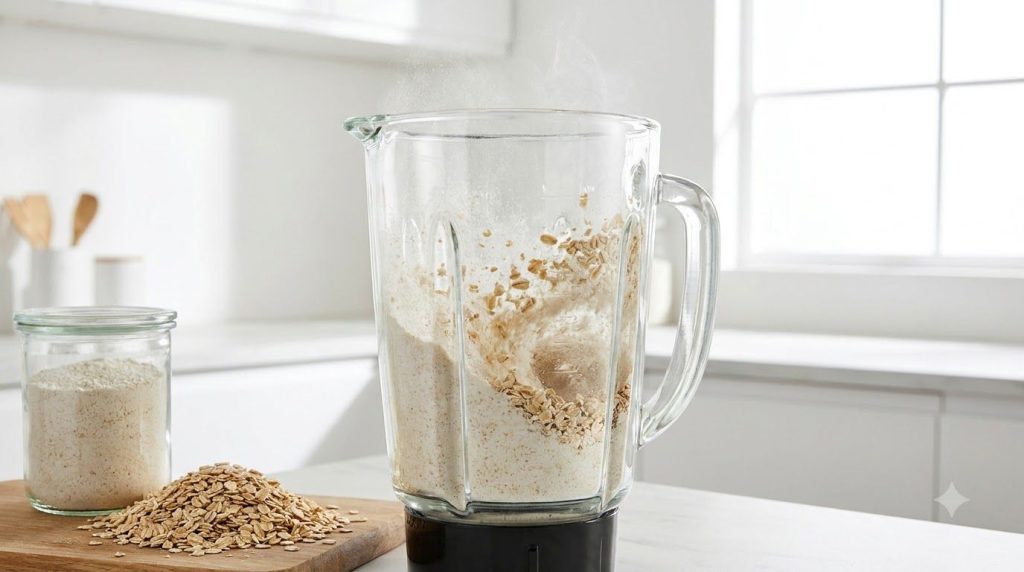
- Blend the Oats: Place the rolled oats into your blender. Blend on high speed until they resemble a fine flour. This usually takes about 30-60 seconds, depending on your blender.
- Add Dry Ingredients: Add the shredded coconut, baking powder, and salt to the blender with the oat flour. Pulse a few times to combine.
- Add Wet Ingredients: Pour in the milk, oil, eggs, maple syrup, and vanilla extract into the blender with the dry ingredients.
- Blend Until Smooth: Secure the blender lid and blend on medium-high speed until the batter is smooth and well combined. Scrape down the sides if necessary to ensure no dry spots remain. This should take about 1-2 minutes.
- Pour and Bake: Pour the smooth batter into your prepared baking pan. If desired, sprinkle a little extra shredded coconut over the top for a beautiful finish.
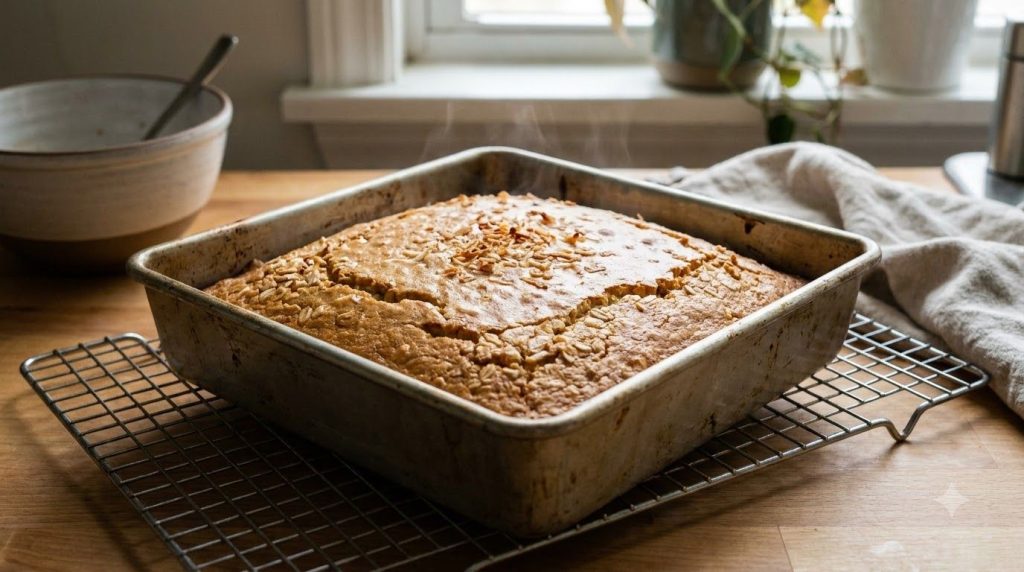
- Bake the Cake: Bake for 25-30 minutes, or until a toothpick inserted into the center comes out clean. The cake should be lightly golden brown around the edges.
- Cool and Serve: Remove the cake from the oven and let it cool in the pan for about 10-15 minutes before transferring it to a wire rack to cool completely. Slicing into a fully cooled cake will give you the cleanest cuts and best texture.
Pro Tips for the Best Results
- Don’t Overmix: While the blender does a lot of work, avoid blending for too long once all ingredients are in. Overmixing can lead to a tougher cake texture. Blend just until smooth.
- Measure Oats Accurately: For consistent results, measure your rolled oats before blending them into flour.
- Use Room Temperature Eggs: Room temperature eggs incorporate better into the batter, leading to a smoother, more even cake.
- Check for Doneness: The toothpick test is your best friend. If it comes out with wet batter, bake for a few more minutes. If it comes out with moist crumbs, it’s perfect.
- Cool Completely: Resist the urge to slice into the warm cake. Cooling allows the cake to set, resulting in a firm yet tender crumb that won’t crumble.
- Toast Topping Coconut: For an extra layer of flavor and crunch, lightly toast the shredded coconut for the topping in a dry skillet over medium heat for a few minutes until golden.
Common Mistakes to Avoid
- Not Blending Oats Enough: If your oats aren’t blended into a fine flour, your cake might have a gritty or chewy texture. Ensure they are powdered well.
- Overfilling the Pan: Stick to the recommended pan size to ensure the cake bakes evenly and doesn’t overflow.
- Opening the Oven Too Soon: Keep the oven door closed during the initial baking phase to prevent the cake from sinking in the middle.
- Cutting While Hot: This cake is delicate when warm and can crumble if sliced too soon. Patience is key for clean slices.
Variations & Substitutions
- Gluten-Free: Simply use certified gluten-free rolled oats to make this cake suitable for those with gluten sensitivities.
- Dairy-Free: Use your favorite plant-based milk (almond, oat, soy) and ensure your oil is plant-based to keep it dairy-free.
- Add-ins: Fold in ½ cup of fresh or frozen berries (blueberries or raspberries are excellent), mini chocolate chips, or chopped nuts (pecans or walnuts) to the batter before baking.
- Different Sweeteners: While maple syrup is recommended, you can also use agave nectar or granulated sugar (adjusting liquid slightly if needed).
- Spices: A pinch of cinnamon or nutmeg can add a lovely warm flavor profile.
- Flavor Boost: A little almond extract (½ teaspoon) can enhance the coconut flavor beautifully.
Serving Suggestions
This Easy Coconut Oat Cake is wonderfully versatile. Enjoy it simply on its own with a cup of coffee or tea. For a more decadent treat, serve it with a dollop of Greek yogurt or a scoop of vanilla ice cream. A drizzle of extra maple syrup or a light glaze made from powdered sugar and milk can also elevate it for a special occasion. Fresh berries or sliced bananas make a fantastic healthy accompaniment.
Storage & Reheating
This cake stores beautifully, making it excellent for meal prep!
- Countertop: Store the cake in an airtight container at room temperature for up to 2-3 days.
- Refrigerator: For longer freshness, place the cake in an airtight container in the refrigerator for up to 5 days.
- Freezer: For extended storage, wrap individual slices or the whole cooled cake tightly in plastic wrap, then aluminum foil. Freeze for up to 3 months. Thaw overnight in the refrigerator or at room temperature.
- Reheating: Individual slices can be warmed gently in the microwave for 15-30 seconds, or in a toaster oven until just warm. This can help restore some of its original tenderness.
FAQ About Easy Coconut Oat Cake
Can I make this cake gluten-free?
Yes, absolutely! Simply ensure you use certified gluten-free rolled oats to avoid cross-contamination if gluten is a concern.
Can I use quick oats instead of rolled oats?
Yes, quick oats can be used. They are already partially processed, so they will blend into a flour even faster than rolled oats.
Do I have to blend the oats into flour?
Yes, blending the oats into a fine flour is crucial for the cake’s tender, cake-like texture. If you skip this step, the cake will be much denser and chewier, more like an oat bar.
How do I know when the coconut oat cake is done baking?
The best way to tell is by inserting a toothpick into the center of the cake. If it comes out clean or with a few moist crumbs attached, it’s ready. The edges should also be lightly golden brown.
Can I use whole wheat flour instead of oats?
While possible, using whole wheat flour would significantly change the texture and flavor profile of the cake. This recipe is specifically designed around the unique properties of oat flour.
Can I make this cake ahead of time for breakfast?
Yes, this cake is excellent for making ahead! It keeps well at room temperature or in the refrigerator, making it perfect for grab-and-go breakfasts throughout the week.
What kind of oil is best for this cake?
A neutral-flavored oil like canola, vegetable, or sunflower oil works well as it won’t overpower the coconut flavor. Melted coconut oil can also be used to enhance the coconut taste further.
Recipe Card: Easy Coconut Oat Cake
Recipe Name: Easy Coconut Oat Cake
Short Description: A wholesome and tender coconut oat cake made effortlessly in a blender, perfect for a quick breakfast or a sweet treat.
Prep Time: 10 minutes
Cook Time: 25-30 minutes
Total Time: 35-40 minutes
Servings: 8-9 slices
Course: Breakfast, Snack, Dessert
Cuisine: American
Cooking Method: Baking
Ingredients:
- 1 ½ cups (150 g) rolled oats
- ½ cup (50 g) unsweetened shredded coconut, plus extra for topping (optional)
- ½ cup (120 ml) milk (dairy or non-dairy)
- ¼ cup (60 ml) neutral oil (such as canola, vegetable, or melted coconut oil)
- 2 large eggs
- ½ cup (120 ml) maple syrup (or honey, or granulated sugar)
- 1 ½ teaspoons baking powder
- ½ teaspoon salt
- 1 teaspoon vanilla extract
Instructions:
- Preheat your oven to 350°F (175°C). Lightly grease and flour an 8×8 inch (20×20 cm) baking pan, or line it with parchment paper.
- Place the rolled oats into your blender. Blend on high speed until they resemble a fine flour (about 30-60 seconds).
- Add the shredded coconut, baking powder, and salt to the blender. Pulse a few times to combine.
- Pour in the milk, oil, eggs, maple syrup, and vanilla extract into the blender.
- Secure the lid and blend on medium-high speed until the batter is smooth and well combined, scraping down the sides as needed (about 1-2 minutes).
- Pour the smooth batter into your prepared baking pan. If desired, sprinkle a little extra shredded coconut over the top.
- Bake for 25-30 minutes, or until a toothpick inserted into the center comes out clean.
- Remove from the oven and let it cool in the pan for 10-15 minutes before transferring to a wire rack to cool completely before slicing and serving.
Notes:
For best texture, ensure oats are blended into a fine flour. Allow the cake to cool completely for clean slices. Feel free to add ½ cup of berries or chocolate chips to the batter for a delicious variation.
Storage:
Store in an airtight container at room temperature for up to 3 days, or in the refrigerator for up to 5 days. Can be frozen for up to 3 months.
Nutrition:
Nutrition information is an estimate and may vary depending on the ingredients and brands used.