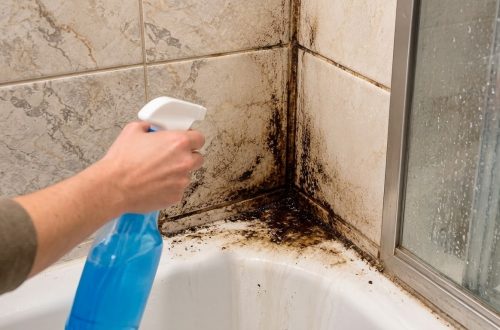
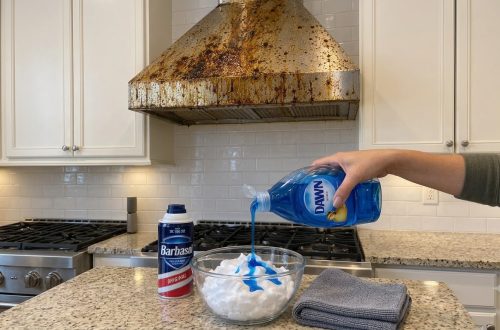
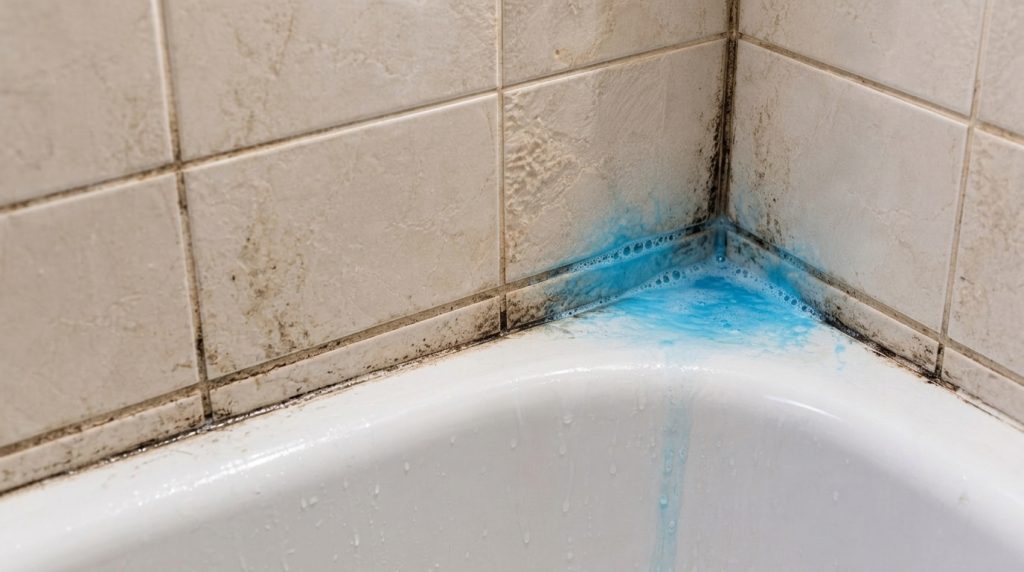
There’s nothing quite as satisfying as seeing stubborn grime and mold vanish before your eyes. That moment when a powerful cleaner, like the vibrant blue one shown actively bubbling and dripping in a tiled bathroom corner, starts to work its magic is truly gratifying. Watching the dark mold along the grout lines and at the junction with the bathtub disappear, leaving behind sparkling surfaces, is a clear sign that a deep clean is underway. But how do you achieve this level of cleanliness consistently?
Bathroom mold and tough stains are a common problem for many homeowners. High humidity, poor ventilation, and constant moisture create the perfect breeding ground for these unwelcome guests. Not only are they unsightly, but some types of mold can also pose health risks. Fortunately, you don’t always need expensive professional services to get your bathroom looking fresh again. With the right DIY strategies and a little elbow grease, you can tackle even the toughest stains.
Understanding the Enemy: Why Mold Thrives in Your Bathroom
Before we dive into cleaning, it’s helpful to understand why mold is so prevalent in bathrooms. Mold spores are always present in the air, but they need three things to grow: moisture, warmth, and a food source (like soap scum, dead skin cells, or grout). Bathrooms provide all these conditions in abundance. Showers, baths, and even flushing toilets contribute to high humidity and condensation, which then settles on surfaces, creating the ideal environment for mold to flourish.
Your DIY Arsenal for Mold Removal
You don’t need a professional cleaning kit to effectively remove most bathroom mold. Many common household items are surprisingly effective. Here’s what you might need:
- Protective Gear: Rubber gloves, eye protection, and a mask are essential to protect your skin, eyes, and respiratory system from mold spores and cleaning chemicals.
- Scrubbing Tools: A stiff-bristled brush, an old toothbrush for grout lines, and non-abrasive sponges.
- Cleaning Agents:
- White Vinegar: An excellent natural mold killer. It’s acidic and can penetrate porous surfaces.
- Baking Soda: A mild abrasive that helps scrub away stains and absorb odors.
- Hydrogen Peroxide (3% solution): Another effective, eco-friendly option that kills mold and lightens stains.
- Commercial Mold Removers: For tougher jobs, a specialized bathroom cleaner with mold-killing properties (like the blue foamy cleaner in our visual) can be very effective. Always follow product instructions carefully.
- Bleach (diluted): Use as a last resort for very tough, superficial mold on non-porous surfaces. It kills mold but doesn’t always prevent regrowth and can damage some materials.
- Water and Spray Bottles: For rinsing and applying solutions.
Step-by-Step Guide to Tackling Tough Mold Stains
Step 1: Prepare Your Workspace
Ensure adequate ventilation by opening windows and turning on the exhaust fan. Put on your protective gear. Clear the area of any bath mats, towels, or toiletries that might get in the way.
Step 2: Apply Your Chosen Cleaner
If using white vinegar, fill a spray bottle with undiluted white vinegar and generously spray the moldy areas. For baking soda, create a paste with a small amount of water and apply it directly to the mold. If using hydrogen peroxide, spray it directly onto the affected area. If you’ve opted for a commercial cleaner, follow its specific instructions for application.
Step 3: Let it Sit
Allow the cleaning solution to sit on the mold for at least 15-30 minutes. This gives the active ingredients time to break down the mold and loosen the grime. For extremely stubborn stains, you might let it sit longer.
Step 4: Scrub Away the Grime
Using your stiff-bristled brush or old toothbrush, scrub the moldy surfaces vigorously. Pay extra attention to grout lines and corners where mold tends to accumulate. The scrubbing action, combined with the cleaner, will lift and remove the mold.
Step 5: Rinse Thoroughly
Once you’ve scrubbed everything clean, rinse the area thoroughly with fresh water. You can use a spray bottle, a wet sponge, or your showerhead to wash away all the cleaning residue and dead mold spores. Ensure no cleaner is left behind, especially if you’re using commercial products or bleach.
Step 6: Dry the Area
This step is crucial for preventing immediate regrowth. Use a clean, dry cloth or squeegee to wipe down all surfaces. For best results, keep the exhaust fan running for a while after cleaning to help dry out the air and surfaces completely.
Preventing Future Mold Growth
Regular maintenance is key to keeping mold at bay. Here are some preventative tips:
- Improve Ventilation: Always use your exhaust fan during and after showers for at least 15-20 minutes. Open windows when possible.
- Wipe Down Surfaces: After each shower, quickly wipe down shower walls, tubs, and glass doors to remove excess moisture.
- Fix Leaks: Promptly repair any leaky faucets or pipes, as even small leaks can contribute to mold growth.
- Regular Cleaning: Incorporate a light weekly cleaning routine to prevent mold from taking hold.
- Keep it Dry: Hang wet towels outside the bathroom to dry or ensure they dry completely inside the bathroom before being stored.
Tackling tough bathroom stains and mold can be a chore, but the satisfaction of a sparkling clean space is incredibly rewarding. By following these DIY tips, you can maintain a healthier, happier, and cleaner bathroom without much hassle. Who else loves seeing grime disappear? Tell us your favorite cleaning satisfaction moment or go-to mold-fighting tip in the comments below!