Who knew making delicious homemade condensed milk could be this simple? Seriously, once you try this recipe, you’ll wonder why you ever bought it from the store! This incredible method delivers a thick, creamy, and utterly irresistible treat in just a few minutes, right in your own kitchen.
This homemade condensed milk is a game-changer for anyone who loves baking, enjoys a sweet boost in their coffee, or simply wants a reliable pantry staple. It’s wonderfully sweet with a rich, velvety texture that’s perfect for a multitude of desserts. Forget complicated processes or long simmering times; this recipe is designed for busy home cooks who crave convenience without compromising on flavor.
You’ll love how easily it comes together, creating a luxurious ingredient that elevates everything it touches. From luscious pies and cheesecakes to a delightful drizzle over fresh fruit, or simply stirring into your morning coffee for a touch of sweetness, this recipe is a true winner. It’s so easy, even beginner cooks will feel like a pro!
Why You’ll Love This Recipe
- Ready in Minutes: Seriously, this comes together faster than a trip to the grocery store!
- Budget-Friendly: Made with common, affordable pantry staples.
- Family Favorite: A versatile ingredient for countless sweet treats that everyone loves.
- No-Cook Option: Minimal heat required for a truly quick process.
- Beginner Friendly: Simple steps mean anyone can make this successfully.
- Full of Flavor: Rich, sweet, and perfectly creamy every time.
Ingredients You’ll Need
Gather these simple items, and you’ll be on your way to homemade bliss!
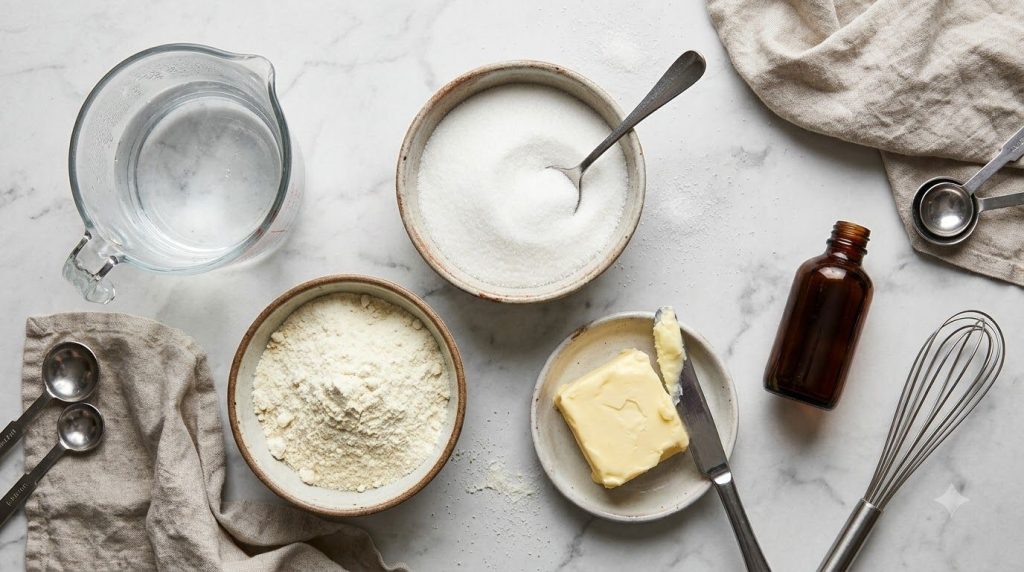
- 1 cup hot water: Not boiling, but definitely hot. This helps dissolve the sugar and milk powder quickly.
- 1 cup granulated sugar: White sugar works best for a classic condensed milk flavor. You can slightly reduce this if you prefer it less sweet, but it helps with consistency.
- 2 cups dry milk powder (whole milk preferred): This is the secret ingredient for the speedy thickening! Whole milk powder gives the richest flavor and creamiest texture.
- 2 tablespoons unsalted butter, softened: Adds richness and a lovely sheen. Optional, but highly recommended for the best flavor and texture.
- 1 teaspoon vanilla extract: Pure vanilla extract adds a wonderful aromatic depth.
Kitchen Equipment
- Large blender or food processor
- Measuring cups and spoons
- Spatula or spoon
- Airtight jar or container for storage
Step-by-Step Instructions
Let’s get cooking! Or rather, blending!
- Combine Wet Ingredients: In your blender, add the hot water, granulated sugar, and softened butter.
- Blend until Smooth: Secure the lid and blend on medium-high speed for about 1-2 minutes, or until the sugar is completely dissolved and the butter is fully incorporated. The mixture should look smooth and slightly frothy.
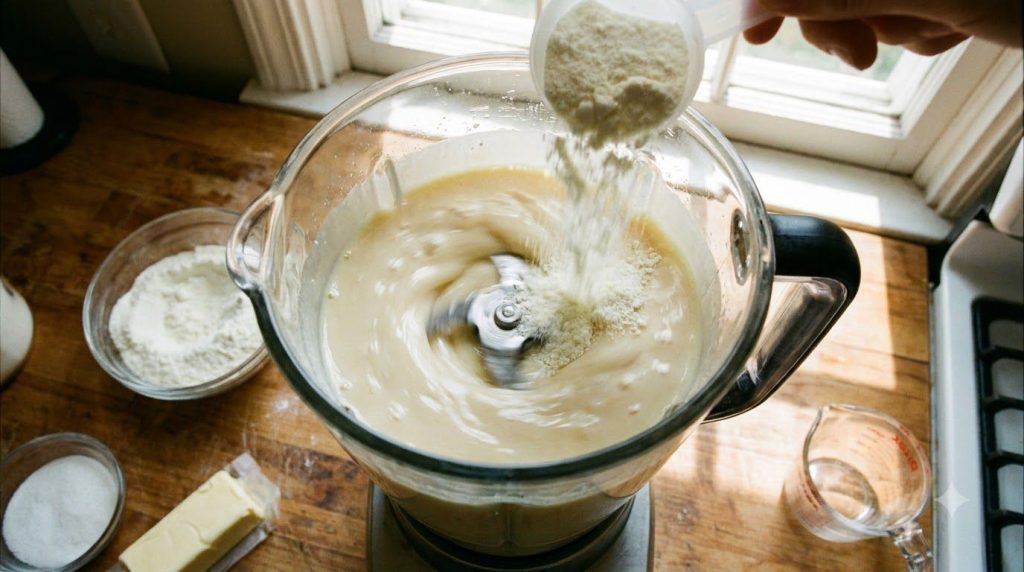
- Add Milk Powder: With the blender still running on low speed, gradually add the dry milk powder, about 1/2 cup at a time. This helps prevent lumps.
- Continue Blending: Once all the milk powder is added, increase the speed to high and blend for another 2-3 minutes. Scrape down the sides of the blender with a spatula if needed to ensure everything is fully combined and smooth.
- Add Vanilla: Stir in the vanilla extract for a final touch of flavor.
- Check Consistency: The mixture will be warm and thinner than traditional condensed milk right now. As it cools, it will thicken significantly.
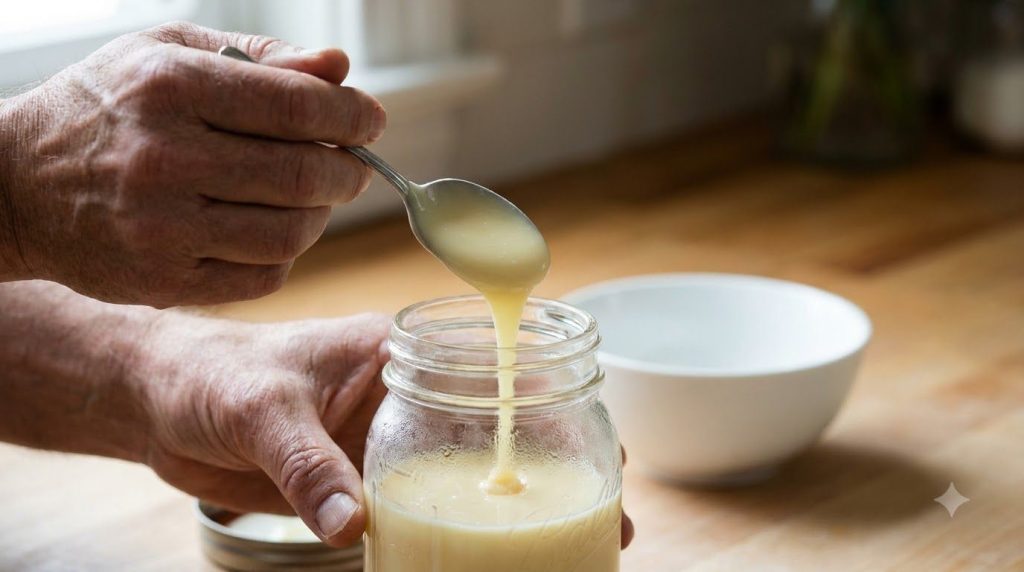
- Cool and Store: Pour your homemade condensed milk into an airtight jar or container. Let it cool completely at room temperature before refrigerating.
Expert Tips for Success
- Use Hot, Not Boiling, Water: Water that’s too hot can sometimes cause the milk powder to clump or give the mixture a slightly ‘cooked’ taste. Aim for very warm tap water or water heated just below a simmer.
- Quality Milk Powder Matters: For the best flavor and texture, opt for a good quality whole milk powder. Skim milk powder can work, but the result won’t be as rich or creamy.
- Gradual Addition of Milk Powder: This is crucial to avoid a lumpy condensed milk. Adding it slowly while the blender is running helps it dissolve smoothly.
- Scrape Down the Sides: Don’t forget to pause and scrape down the sides of your blender a couple of times. This ensures all ingredients are fully incorporated.
- Patience While Cooling: It might seem thin at first, but trust the process! This condensed milk thickens wonderfully as it chills in the refrigerator.
Variations to Try
Get creative with your homemade condensed milk!
- Dairy-Free Version: Replace the dairy milk powder with a plant-based alternative like coconut milk powder and use a vegan butter substitute.
- Chocolate Condensed Milk: Add 2-3 tablespoons of unsweetened cocoa powder along with the milk powder for a decadent chocolatey twist.
- Spiced Condensed Milk: Stir in a pinch of cinnamon, nutmeg, or cardamom at the end for a warm, aromatic flavor, especially great for fall desserts or chai lattes.
- Nutty Flavor: A tiny splash of almond extract or hazelnut syrup can add a delightful nutty complexity.
What to Serve With Your Homemade Condensed Milk
This versatile ingredient can be enjoyed in so many ways!
- Desserts: A must-have for key lime pie, no-bake cheesecakes, fudge, or ice cream.
- Beverages: Stir into your coffee, tea, or even hot chocolate for a touch of creamy sweetness. Makes amazing Vietnamese iced coffee!
- Breakfast: Drizzle over pancakes, waffles, or fresh fruit for a delightful start to your day.
- Sweet Snacks: Use it as a dip for cookies or pretzels, or spread it on toast.
Storage
- Refrigerator: Store your homemade condensed milk in an airtight container in the refrigerator for up to 1-2 weeks.
- Freezer: For longer storage, you can freeze it in an airtight, freezer-safe container for up to 2-3 months. Thaw in the refrigerator overnight before using.
- Reheating: If it thickens too much after refrigeration, you can gently warm it in a saucepan over low heat or in the microwave for a few seconds, stirring until it reaches your desired consistency.
Frequently Asked Questions
Can I use liquid milk instead of milk powder?
This particular ‘in minutes’ recipe relies on milk powder for its quick thickening properties without lengthy cooking. Using liquid milk would require significant simmering and reduction time, changing the nature of this speedy recipe.
Is homemade condensed milk as thick as store-bought?
Yes, once fully chilled, this homemade version achieves a wonderfully thick and creamy consistency very similar to store-bought condensed milk.
Can I make this with a hand mixer?
While a blender or food processor is ideal for achieving ultimate smoothness and dissolving the powder quickly, a powerful hand mixer could work. Just ensure you blend for longer and scrape the bowl often to avoid lumps.
What’s the best way to use leftover condensed milk?
It’s fantastic in no-bake desserts, stirred into coffee or tea, drizzled over fruit, or used to make fudge or caramel sauces.
How do I know if the sugar is fully dissolved?
You can rub a tiny bit of the liquid between your fingers. If you don’t feel any grittiness, the sugar has dissolved. Blending for the recommended time usually ensures this.
Can I adjust the sweetness?
You can slightly reduce the sugar to 3/4 cup if you prefer. However, keep in mind that sugar contributes not just to sweetness but also to the texture and preservative qualities of condensed milk.
Nutrition
(Approximate values per 2 tablespoons)
- Calories: 130
- Protein: 3g
- Fat: 4g
- Carbs: 21g
- Fiber: 0g
- Sugar: 20g
- Sodium: 50mg
Nutritional information is an estimate and may vary.
Conclusion
See? Making your own homemade condensed milk is surprisingly easy and incredibly rewarding! In just a few minutes, you’ve created a versatile, delicious ingredient that will take your desserts and beverages to the next level. I hope you give this recipe a try and fall in love with its simplicity and amazing flavor.
If you make this quick and easy condensed milk, please come back and leave a comment below! I’d love to hear how you used it. Don’t forget to rate the recipe too! And while you’re here, why not explore some of our other easy and family-friendly recipes? Happy cooking!

