MASTER YOUR DOUGH
Master Your Dough: A Baker’s Essential Guide to 6 Types
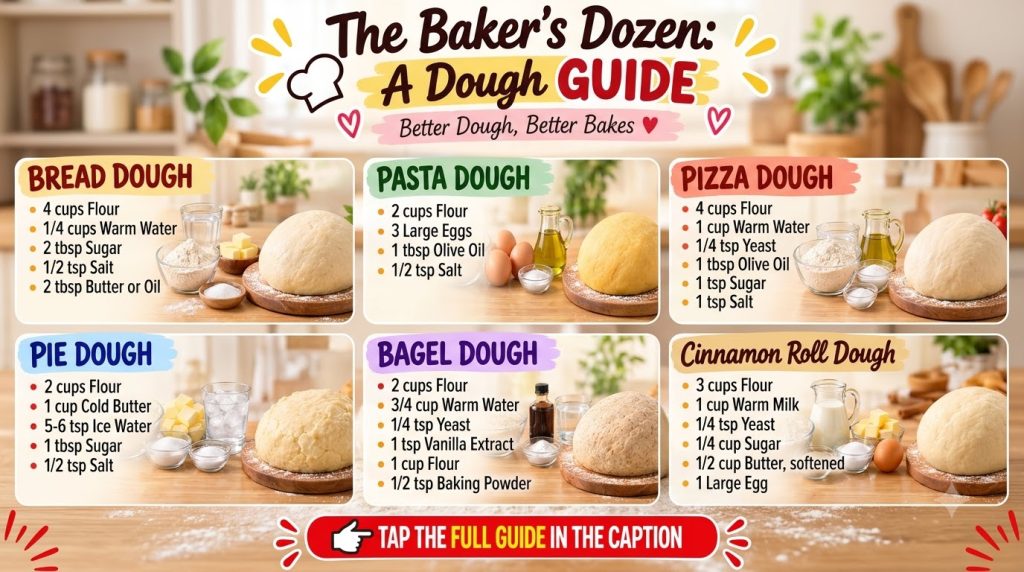
Welcome to the ultimate guide for every aspiring and experienced baker! There’s something incredibly satisfying about transforming simple ingredients into a perfectly pliable dough, ready to become a delicious meal or treat. Whether you dream of crafting artisanal bread, homemade pasta, a classic pizza, flaky pie crust, chewy bagels, or irresistible cinnamon rolls, mastering the fundamental doughs is your first step towards culinary success.
This comprehensive guide will walk you through six essential dough recipes, breaking down the ingredients, techniques, and secrets to achieving fantastic results every time. Get ready to empower your baking journey and create a world of delightful homemade goodness right in your kitchen!
Why You’ll Love This Essential Dough Guide
- Versatile Skills: Learn to make six distinct dough types, opening up a world of recipes.
- Simple Ingredients: Each dough relies on basic pantry staples you likely already have.
- Homemade Goodness: Enjoy the superior taste and texture of freshly made baked goods.
- Budget-Friendly: Making dough from scratch is often more economical than buying pre-made.
- Customizable: Understand the basics, then get creative with flavors and fillings.
- Deep Satisfaction: Experience the joy and pride of baking delicious items from scratch.
Key Ingredients for Dough Making
While specific ingredients vary for each dough, here are the core components you’ll generally need:
- Flour: All-purpose, bread flour, semolina, or pastry flour, depending on the dough.
- Liquid: Water, milk, or eggs provide hydration.
- Leavening Agent: Active dry yeast or instant yeast for risen doughs.
- Fat: Butter, olive oil, or shortening for flavor, tenderness, and texture.
- Sweetener: Sugar or honey to activate yeast and add flavor.
- Salt: Essential for flavor and regulating yeast activity.
Ingredient Notes
- Flour Type: Using the correct flour (e.g., high-protein bread flour for crusty bread, low-protein pastry flour for tender pies) is crucial.
- Yeast: Ensure your yeast is fresh and active. Proofing it in warm liquid (around 105-115°F / 40-46°C) can confirm its viability before mixing with dry ingredients.
- Temperature of Liquids: For yeast doughs, warm liquids are essential to activate the yeast. For pie crust, ice-cold water is key to a flaky texture.
- Quality of Fat: High-quality butter or olive oil will significantly impact the final flavor and texture.
Equipment You’ll Need
- Large mixing bowls
- Measuring cups and spoons
- Kitchen scale (highly recommended for accuracy)
- Stand mixer with dough hook attachment (optional, but helpful for kneading)
- Rolling pin
- Baking sheets
- Parchment paper or silicone baking mats
- Plastic wrap or clean kitchen towels for rising
How to Make Each Dough Type: A Step-by-Step Guide
1. Classic Yeast Bread Dough
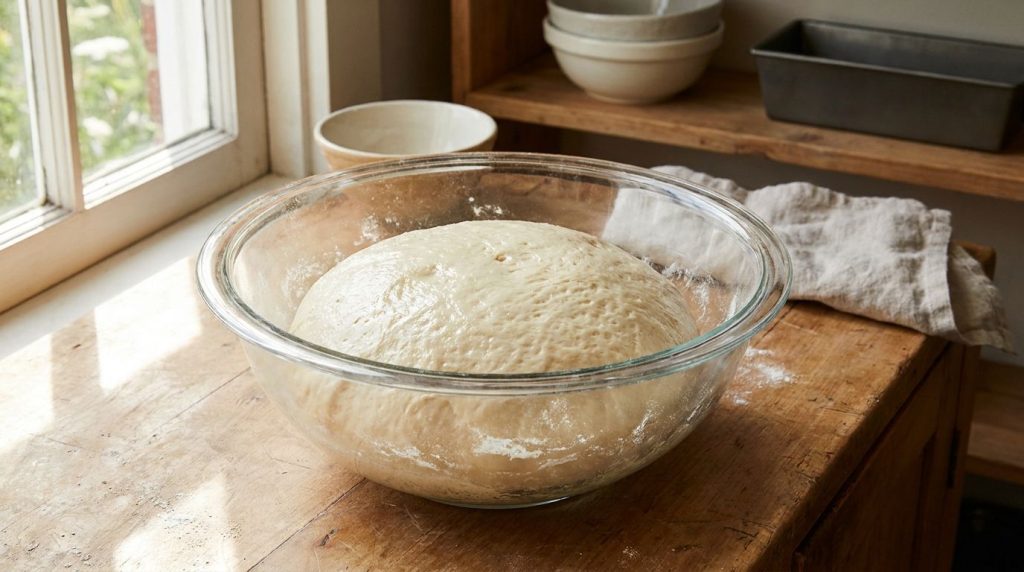
This versatile dough is the basis for many types of bread, rolls, and even some sweet treats.
Ingredients:
- 2 ¼ teaspoons (7 g) active dry yeast
- 1 cup (240 ml) warm water (105-115°F / 40-46°C)
- 1 teaspoon (4 g) granulated sugar (optional, for yeast activation)
- 3 cups (360 g) all-purpose or bread flour, plus more for dusting
- 1 teaspoon (6 g) salt
- 2 tablespoons (30 ml) olive oil or melted butter
Instructions:
- Activate Yeast: In a large bowl, dissolve yeast and sugar (if using) in warm water. Let stand for 5-10 minutes until foamy, indicating the yeast is active.
- Combine Ingredients: Add flour, salt, and olive oil to the yeast mixture. Mix with a spoon or your hands until a shaggy dough forms.
- Knead the Dough: Turn the dough out onto a lightly floured surface. Knead for 8-10 minutes until smooth, elastic, and no longer sticky. If using a stand mixer, knead with a dough hook for 6-8 minutes.
- First Rise: Lightly oil a clean bowl. Place the dough in the bowl, turning once to coat. Cover with plastic wrap or a damp kitchen towel and let rise in a warm place for 1-1.5 hours, or until doubled in size.
- Punch Down & Shape: Gently punch down the dough to release air. Shape as desired (e.g., into a loaf or rolls).
- Second Rise & Bake: Place shaped dough on a baking sheet. Cover and let rise for another 30-45 minutes. Bake according to your specific bread recipe’s instructions (typically around 375-400°F / 190-200°C for 25-35 minutes).
2. Fresh Egg Pasta Dough
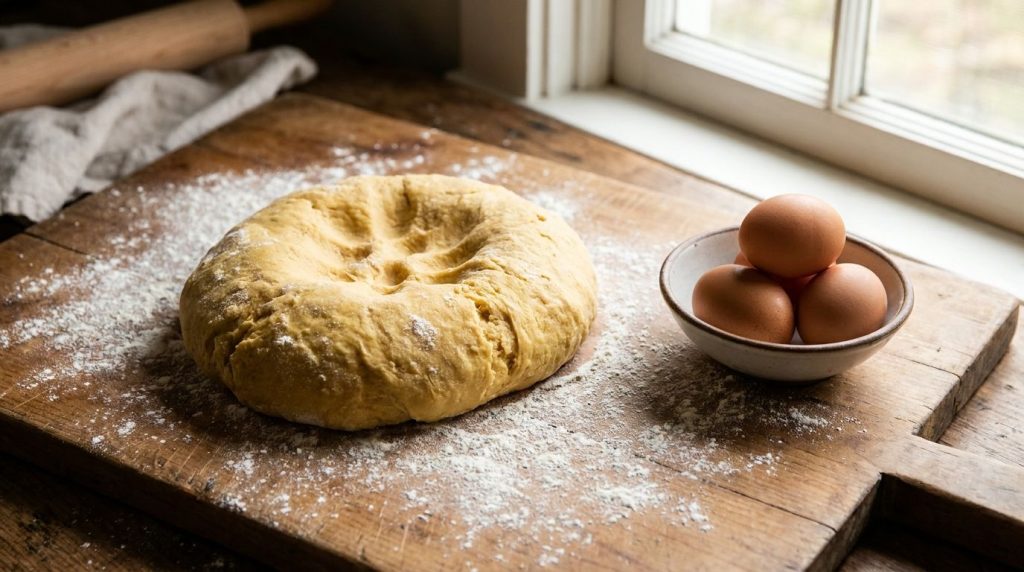
Homemade pasta offers an unparalleled freshness and texture that dried pasta can’t match.
Ingredients:
- 2 cups (240 g) all-purpose flour or ’00’ flour, plus more for dusting
- 3 large eggs
- 1 tablespoon (15 ml) olive oil (optional, for extra tenderness)
- Pinch of salt
Instructions:
- Form a Well: On a clean, flat surface or in a large bowl, pile the flour and make a well in the center.
- Add Wet Ingredients: Crack the eggs into the well, add olive oil (if using) and a pinch of salt.
- Mix: Using a fork, gently whisk the eggs, gradually incorporating flour from the inner walls of the well. Continue until a shaggy dough forms.
- Knead: Bring the dough together and knead by hand for 8-10 minutes until smooth, elastic, and firm. It should bounce back when poked.
- Rest: Wrap the dough tightly in plastic wrap and let it rest at room temperature for at least 30 minutes (up to 1 hour). This relaxes the gluten, making it easier to roll.
- Roll & Cut: Divide the dough into smaller portions. Using a pasta machine or rolling pin, roll out the dough thinly. Cut into desired pasta shapes (fettuccine, tagliatelle, lasagna sheets, etc.).
- Cook: Cook fresh pasta in a large pot of salted boiling water for 2-4 minutes, or until al dente.
3. Classic Pizza Dough
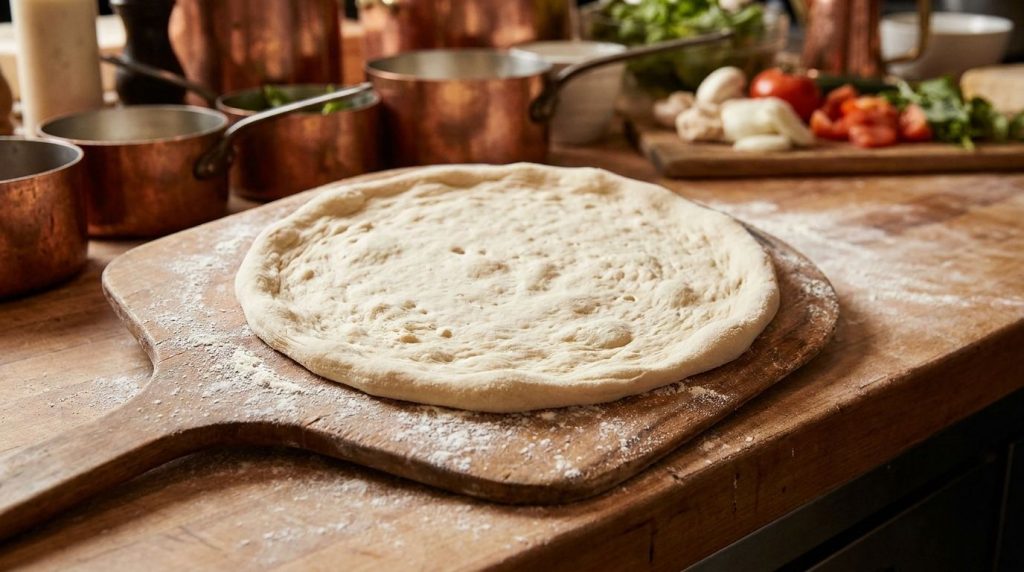
A good pizza starts with a great crust. This recipe yields a flavorful, chewy crust perfect for your favorite toppings.
Ingredients:
- 1 teaspoon (3 g) active dry yeast
- 1 cup (240 ml) warm water (105-115°F / 40-46°C)
- 2 ½ cups (300 g) all-purpose or bread flour, plus extra for dusting
- 1 teaspoon (6 g) salt
- 2 tablespoons (30 ml) olive oil, plus more for the bowl
Instructions:
- Activate Yeast: In a large bowl, dissolve yeast in warm water. Let stand for 5-10 minutes until foamy.
- Combine Dry: In a separate bowl, whisk together flour and salt.
- Mix Dough: Add the flour mixture and olive oil to the yeast mixture. Stir until a shaggy dough forms.
- Knead: Turn the dough out onto a lightly floured surface and knead for 5-7 minutes until smooth and elastic.
- First Rise: Lightly oil a clean bowl. Place the dough in the bowl, turning once to coat. Cover with plastic wrap or a damp towel and let rise in a warm place for 1-1.5 hours, or until doubled in size.
- Shape & Bake: Gently punch down the dough. Divide in half if making two medium pizzas. Stretch or roll out each portion into a desired pizza shape. Add toppings and bake on a preheated pizza stone or baking sheet at 450-500°F (230-260°C) for 10-15 minutes, or until crust is golden and cheese is bubbly.
4. Flaky Pie Crust Dough
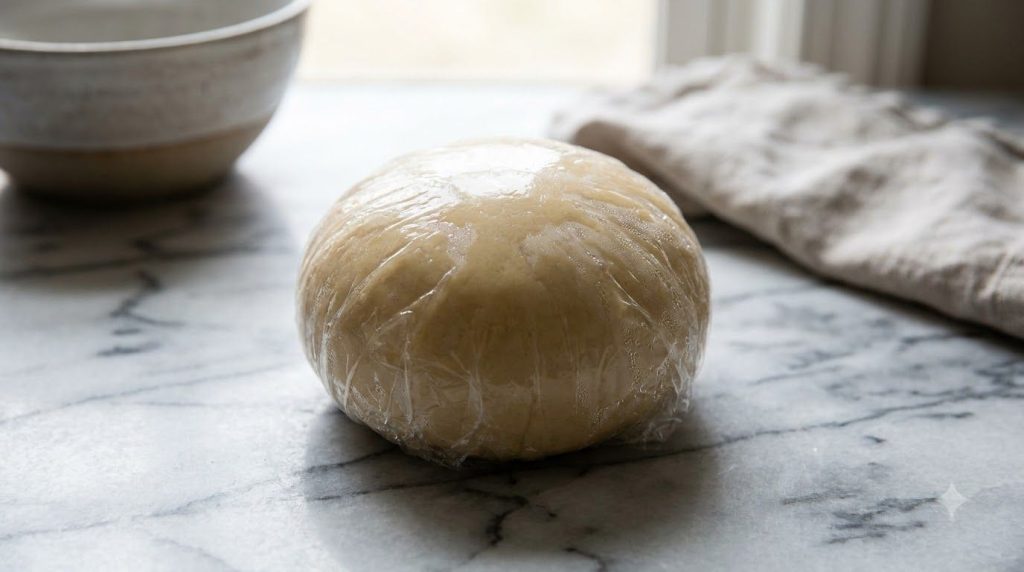
A buttery, flaky pie crust is essential for sweet and savory pies. The key is cold ingredients and minimal handling.
Ingredients:
- 2 ¼ cups (270 g) all-purpose flour
- 1 teaspoon (6 g) salt
- 1 cup (226 g) unsalted butter, very cold and cut into ½-inch cubes
- ½ cup (120 ml) ice water, plus more if needed
Instructions:
- Combine Dry: In a large bowl, whisk together flour and salt.
- Cut in Butter: Add the cold butter cubes to the flour. Using a pastry blender, two knives, or your fingertips, cut the butter into the flour until it resembles coarse meal with some pea-sized pieces of butter remaining.
- Add Water: Gradually add the ice water, one tablespoon at a time, mixing gently until the dough just comes together. Be careful not to overmix.
- Chill: Divide the dough in half, flatten each half into a disc, wrap tightly in plastic wrap, and refrigerate for at least 30 minutes (preferably 1 hour or more) before rolling. This helps the gluten relax and the butter firm up.
- Roll & Bake: On a lightly floured surface, roll out one disc of chilled dough to your desired size and thickness. Transfer to a pie plate and trim edges. Fill and bake according to your pie recipe’s instructions.
5. Chewy Bagel Dough
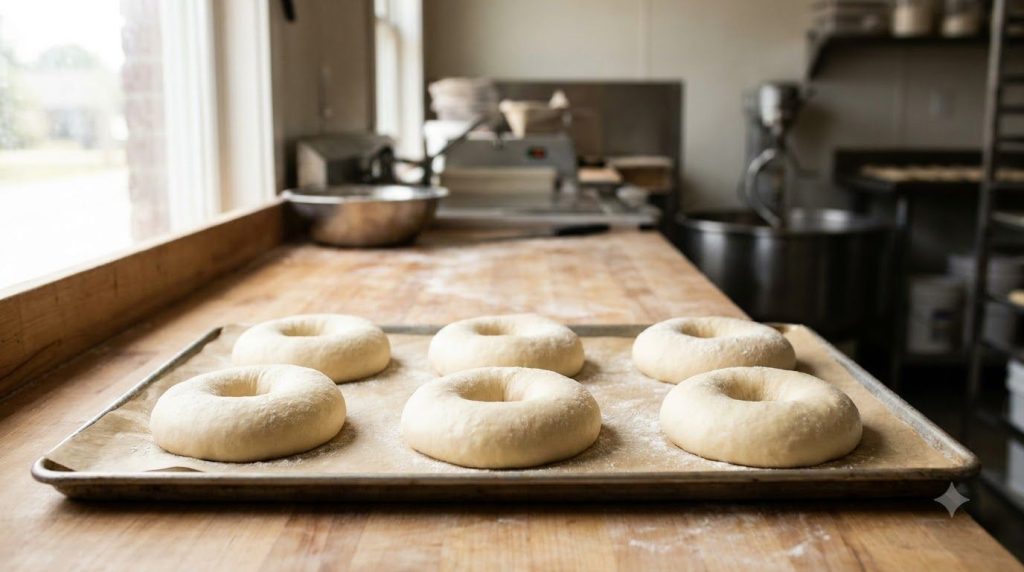
Making bagels at home is a rewarding process, resulting in a delightfully chewy interior and a slightly crisp exterior.
Ingredients:
- 1 ½ cups (360 ml) warm water (105-115°F / 40-46°C)
- 1 ½ teaspoons (4.5 g) active dry yeast
- 1 tablespoon (12 g) granulated sugar or malt syrup
- 3 ¾ cups (450 g) high-protein bread flour, plus more for dusting
- 1 ½ teaspoons (9 g) salt
- Optional: 1 tablespoon (15 ml) olive oil for bowl
- For boiling: 2 quarts water, 2 tablespoons granulated sugar or malt syrup
Instructions:
- Activate Yeast: In a large bowl, combine warm water, yeast, and sugar/malt syrup. Let stand 5-10 minutes until foamy.
- Mix Dough: Add flour and salt to the yeast mixture. Mix until a stiff dough forms.
- Knead: Turn dough onto a lightly floured surface and knead for 8-10 minutes until smooth and very elastic. The dough will be stiff.
- First Rise: Lightly oil a bowl (optional). Place dough in bowl, cover, and let rise in a warm place for 1 hour, or until nearly doubled.
- Shape Bagels: Gently punch down dough. Divide into 8 equal pieces. Roll each piece into a ball, then poke a hole in the center with your thumb and gently stretch to form a ring. Place on a lightly floured baking sheet.
- Second Rise (Cold Ferment): Cover the shaped bagels loosely with plastic wrap and refrigerate for at least 8 hours or overnight. This develops flavor and texture.
- Boil Bagels: Preheat oven to 425°F (220°C). Bring 2 quarts of water with 2 tablespoons of sugar/malt syrup to a boil. Carefully drop 2-3 bagels into the boiling water and boil for 30 seconds to 1 minute per side.
- Bake: Remove boiled bagels with a slotted spoon and place back on the baking sheet. Bake for 18-22 minutes, flipping halfway through, until golden brown and cooked through.
6. Indulgent Cinnamon Roll Dough
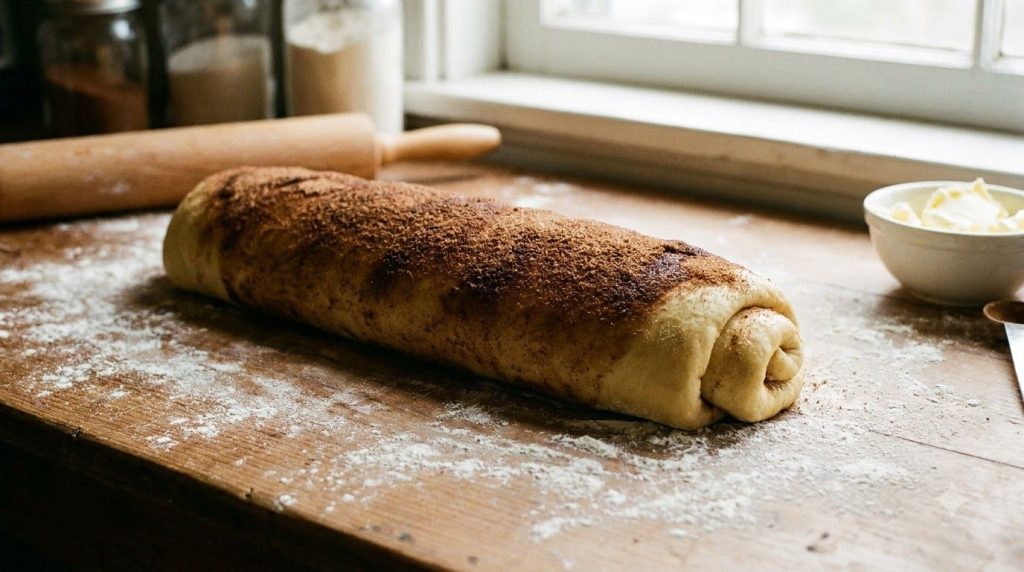
This enriched dough is soft, sweet, and creates the most tender cinnamon rolls. It’s truly a labor of love worth every bite!
Ingredients:
- ½ cup (120 ml) warm milk (105-115°F / 40-46°C)
- 2 ¼ teaspoons (7 g) active dry yeast
- ¼ cup (50 g) granulated sugar, plus more for filling
- 1 large egg, lightly beaten
- ¼ cup (56 g) unsalted butter, melted and cooled, plus more for filling
- 2 ½ cups (300 g) all-purpose flour, plus more for dusting
- ½ teaspoon (3 g) salt
- For filling: ½ cup (113 g) softened butter, 1 cup (200 g) brown sugar, 2 tablespoons ground cinnamon
Instructions:
- Activate Yeast: In a large bowl, combine warm milk, yeast, and 1 tablespoon of the sugar. Let stand 5-10 minutes until foamy.
- Mix Dough: Add remaining sugar, egg, melted butter, flour, and salt to the yeast mixture. Mix until a shaggy dough forms.
- Knead: Turn dough onto a lightly floured surface and knead for 6-8 minutes until smooth and elastic.
- First Rise: Lightly oil a clean bowl. Place dough in bowl, turn once to coat. Cover with plastic wrap or a damp towel and let rise in a warm place for 1-1.5 hours, or until doubled in size.
- Prepare Filling: In a small bowl, mix softened butter, brown sugar, and cinnamon until well combined.
- Shape Rolls: Gently punch down dough. On a lightly floured surface, roll dough into a 12×18-inch (30×45 cm) rectangle. Spread filling evenly over the dough.
- Roll & Slice: Starting from one long side, tightly roll up the dough into a log. Using a sharp knife or dental floss, slice the log into 12 equal rolls.
- Second Rise & Bake: Place rolls in a greased 9×13-inch (23×33 cm) baking dish. Cover and let rise for 30-45 minutes, or until puffy. Bake at 375°F (190°C) for 20-25 minutes, or until golden brown. Frost while warm if desired.
Pro Tips for the Best Results
- Measure Accurately: Use a kitchen scale for flour and other dry ingredients for the most consistent results.
- Don’t Over-Flour: When kneading, use just enough flour to prevent sticking. Too much flour can make dough tough.
- Listen to Your Dough: Dough consistency can vary slightly depending on humidity and flour. Adjust water/flour in small increments until the texture feels right for the recipe.
- Proper Kneading: Develop the gluten sufficiently (especially for yeast doughs) to create elasticity and structure.
- Warm Place for Rising: A slightly warm, draft-free spot (like a turned-off oven with the light on) is ideal for yeast doughs to rise.
- Don’t Rush Resting/Rising: Patience is key. Allowing dough to rest and rise fully develops flavor and texture.
- Cold for Flaky: For pie crust, keeping butter and water very cold is paramount to achieving a flaky texture.
Common Mistakes to Avoid
- Using Expired Yeast: Always check the expiry date of your yeast. If it doesn’t foam when proofed, it’s dead and won’t make your dough rise.
- Over-Kneading or Under-Kneading: Both can lead to problems. Under-kneaded dough won’t develop proper gluten structure; over-kneaded dough can become tough. Follow recipe times and visual cues.
- Adding Too Much Flour: Resist the urge to add excessive flour if the dough is sticky. A slightly sticky yeast dough is often normal. A little oil on your hands can help.
- Incorrect Liquid Temperature: Too hot and it kills the yeast; too cold and it won’t activate it. For pie dough, warm liquid melts the butter and ruins flakiness.
- Not Resting Dough: Resting doughs (especially pasta and pie crust) allows gluten to relax, making them easier to roll and preventing shrinkage.
Variations & Substitutions
- Flour Swaps: Experiment with whole wheat flour (often requiring more liquid) or different types of bread flour for varied textures and flavors in bread and pizza doughs.
- Flavor Infusions: Add dried herbs (rosemary, oregano) to bread or pizza dough for an aromatic twist.
- Sweet Additions: For cinnamon roll dough, try adding citrus zest, cardamom, or different types of nuts to the filling.
- Vegan Options: Many doughs can be made vegan by substituting dairy milk with plant-based milk and butter with vegan butter or oil. Eggs in pasta dough are harder to substitute but chickpea flour can be an alternative.
- Gluten-Free: While more challenging, many gluten-free flour blends are available, though they often require specific recipe adjustments due to different gluten structures.
Serving Suggestions
- Bread: Serve warm with butter, olive oil, or alongside soups and stews.
- Pasta: Toss with your favorite sauce, from a simple marinara to a rich Bolognese.
- Pizza: Top with classic tomato sauce, mozzarella, and pepperoni, or get creative with gourmet toppings.
- Pie Crust: Use for sweet fruit pies, savory quiches, or chicken pot pies.
- Bagels: Toast and spread with cream cheese, lox, or your favorite sandwich fillings.
- Cinnamon Rolls: Best served warm, optionally topped with a cream cheese glaze or a simple powdered sugar icing.
Storage & Reheating
- Unbaked Dough: Most yeast doughs can be refrigerated for 1-3 days before their final rise and baking. Pie dough can be refrigerated for 2-3 days or frozen for up to 3 months. Pasta dough can be refrigerated for 1-2 days.
- Baked Items:
- Bread & Bagels: Store at room temperature in an airtight container or bread box for 3-5 days. Freeze sliced bread for longer storage. Reheat by toasting or warming in the oven.
- Pasta: Cooked pasta should be refrigerated in an airtight container for 3-4 days. Reheat gently in a pan with a little sauce or water.
- Pizza: Store leftover slices in the refrigerator for 3-4 days. Reheat in a toaster oven, conventional oven, or a hot skillet for best results.
- Pies: Store fruit pies covered at room temperature for 2-3 days, or in the refrigerator for up to 5 days. Cream-based pies must be refrigerated.
- Cinnamon Rolls: Store covered at room temperature for 2-3 days. Reheat briefly in the microwave for a soft, warm treat.
FAQ
Q: My yeast dough didn’t rise. What went wrong?
A: The most common reasons are inactive yeast (check expiry date, proof in warm water first) or the liquid being too hot (which kills the yeast) or too cold (which won’t activate it). Ensure your rising environment is warm and draft-free.
Q: Why is my pie crust tough?
A: A tough pie crust is usually due to overworking the dough, which develops the gluten too much. Using too much water or not keeping ingredients cold can also contribute. Aim for minimal handling and use ice water.
Q: Can I use a food processor for dough?
A: A food processor can be excellent for pie dough (pulsing briefly to cut in butter) and sometimes for initial mixing of other doughs. However, delicate kneading for yeast doughs or pasta is often best done by hand or with a stand mixer.
Q: How do I know if my dough is kneaded enough?
A: For yeast doughs, it should be smooth, elastic, and pass the “windowpane test” (you can stretch a small piece thin enough to see light through it without tearing). For pasta, it should be firm, smooth, and bounce back when poked.
Q: Can I freeze dough for later?
A: Yes, many doughs can be frozen. Yeast doughs can often be frozen after the first rise, then thawed and shaped. Pie dough can be frozen as discs. Bagel dough can be frozen after shaping but before boiling. Wrap tightly to prevent freezer burn.
Q: What is ’00’ flour and do I need it for pasta?
A: ’00’ flour is a very finely milled Italian flour with a specific protein content that creates a silky, tender pasta texture. While not strictly necessary, it does yield a superior result compared to standard all-purpose flour.
Recipe Card: Master Your Dough: A Baker’s Essential Guide
Recipe Name: Master Your Dough: A Baker’s Essential Guide
Short Description: Unlock the secrets to perfect baking with this guide to six fundamental dough recipes: classic yeast bread, fresh egg pasta, classic pizza, flaky pie crust, chewy bagels, and indulgent cinnamon rolls. Empower your baking journey!
Prep Time: Varies by dough (e.g., 20-40 minutes active prep)
Cook Time: Varies by dough (e.g., 2-35 minutes)
Total Time: Varies by dough (e.g., 1.5 hours to overnight, including rise/rest times)
Servings: Varies by dough (e.g., 1 loaf of bread, 2 pizza crusts, 8 bagels)
Course: Main Course, Side Dish, Dessert, Breakfast
Cuisine: International, American, Italian
Cooking Method: Baking, Kneading, Rolling, Boiling
Ingredients: See individual dough sections within the article for detailed ingredient lists for Bread, Pasta, Pizza, Pie, Bagel, and Cinnamon Roll doughs.
Instructions: Refer to the ‘How to Make Each Dough Type: A Step-by-Step Guide’ section in the article for complete, numbered instructions for each of the six dough types.
Notes: Accuracy in measurements, proper kneading, and allowing adequate resting/rising times are crucial for success across all dough types. The temperature of your liquid and environment plays a key role, especially for yeast doughs and pie crusts. Don’t be afraid to adjust flour or liquid slightly based on humidity and flour absorption.
Storage: Unbaked doughs can often be refrigerated or frozen for later use. Baked goods vary: store bread and bagels at room temperature, cooked pasta and pizza in the refrigerator, and pies according to their filling (some room temp, some refrigerated). See the ‘Storage & Reheating’ section for specific guidance.
Nutrition: Nutrition information is an estimate and may vary depending on the ingredients and brands used, and specific dough type. As this guide covers multiple distinct doughs, precise nutritional values for the entire collection are not applicable.