Most people enjoy strawberries for their sweet, juicy fruit, but few realize the secret to an endless supply is hidden right on the outside of every berry. You don’t need expensive starter plants or specialized nurseries; you can literally turn one store-bought strawberry into hundreds of new plants, all from the comfort of your kitchen. This often-overlooked gardening hack saves money and offers the incredible satisfaction of a truly homegrown harvest.
What it is: Propagating Strawberries from Seeds
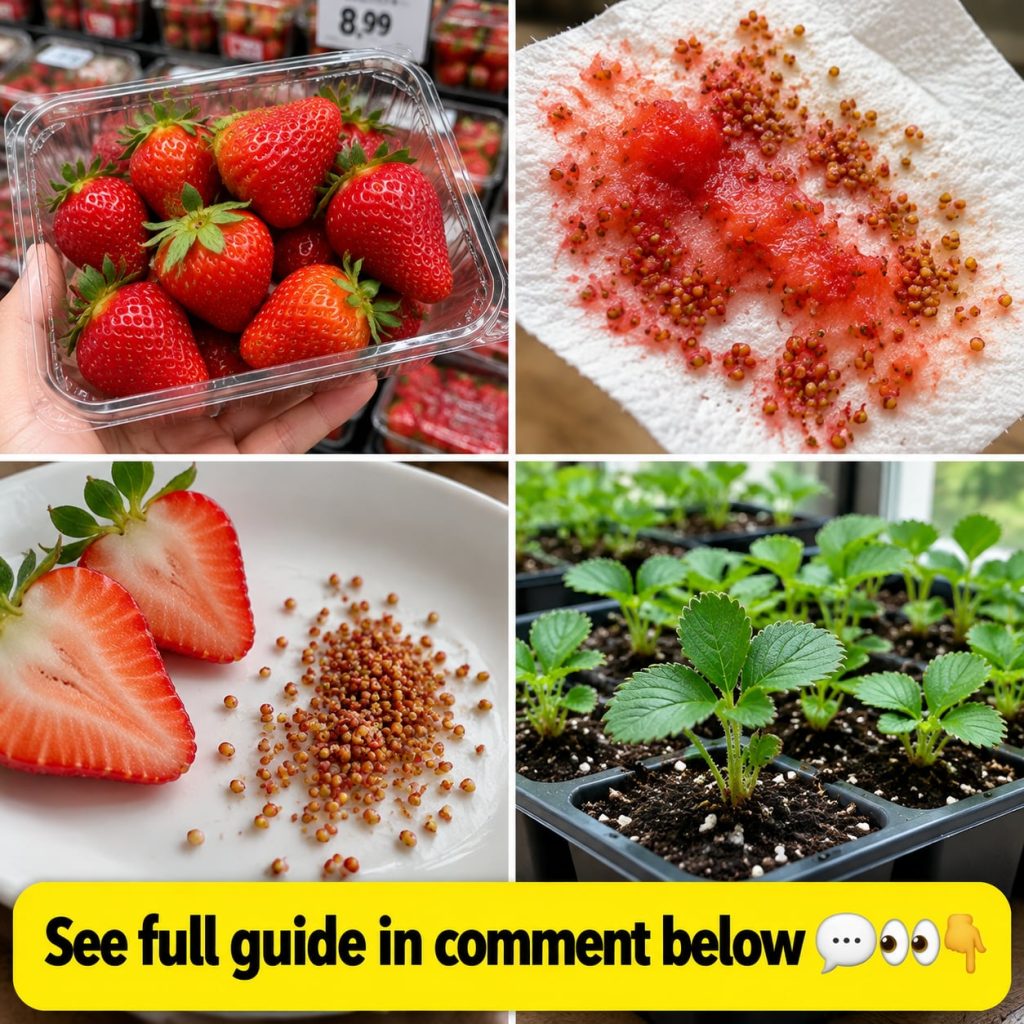
This method involves extracting the tiny seeds (achenes) from the surface of a ripe strawberry and germinating them to grow new plants. While many commercial strawberries are hybrids that might not grow true to seed, the act of growing them is still immensely rewarding, often yielding vigorous plants. It’s a simple, low-cost way to experiment with growing your own food, offering a constant supply of fresh berries once your plants mature.
Ingredients You’ll Need
- 1-2 ripe, organic strawberries (organic minimizes chemical residues, though not strictly necessary for seed viability)
- Small knife or peeler
- Paper towel or fine-mesh sieve
- Shallow planting tray or small pots with drainage holes
- Seed-starting mix or a light potting soil
- Plastic wrap or a clear dome
- Spray bottle with water
Approximate Measurements and Timing
- Seed Spacing: Sow seeds about 1/2 inch apart.
- Planting Depth: Lightly press seeds onto the surface; do not bury deep.
- Germination Time: 1-4 weeks, depending on conditions and strawberry variety.
- Time to Harvest: Established plants grown from seed usually produce fruit in their second year.
Formula / Recipe: Strawberry Seed Extraction
The key to success starts with proper seed extraction and preparing them for germination. Don’t just try to plant a whole slice of strawberry; that leads to rot. Instead, focus on cleanly separating the seeds from the fruit flesh.
Step-by-Step Method
- Choose Your Strawberry: Select a very ripe, healthy strawberry. Organic is preferred, but any sweet, flavorful berry can work.
- Extract the Seeds:
- Method 1 (Scraping): Using a small, sharp knife or a vegetable peeler, carefully scrape the outermost layer of the strawberry, where the seeds are embedded. Try to get as little fruit flesh as possible.
- Method 2 (Drying): Slice thin pieces of the strawberry skin with the seeds attached and let them air dry on a paper towel for 1-2 days. Once dry, you can gently rub the seeds off the dried fruit flesh.
- Clean the Seeds: If you have a lot of pulp attached, gently rub the scraped seeds on a paper towel or rinse them briefly in a fine-mesh sieve to remove excess fruit sugars, which can cause mold.
- Prepare the Planting Medium: Fill your shallow tray or pots with seed-starting mix. Lightly moisten the soil until it’s damp but not waterlogged.
- Sow the Seeds: Sprinkle the cleaned seeds evenly over the surface of the moistened soil. Do not cover them with a thick layer of soil, as strawberry seeds need light to germinate. A very light dusting of soil or vermiculite is acceptable, but often not needed.
- Create a Greenhouse Effect: Cover the tray or pots with plastic wrap or a clear dome to maintain humidity.
- Provide Light and Warmth: Place the tray in a warm spot (around 65-75°F / 18-24°C) with bright, indirect light. A grow light can be beneficial.
- Monitor and Mist: Check daily to ensure the soil remains moist. Mist gently with a spray bottle if it starts to dry out.
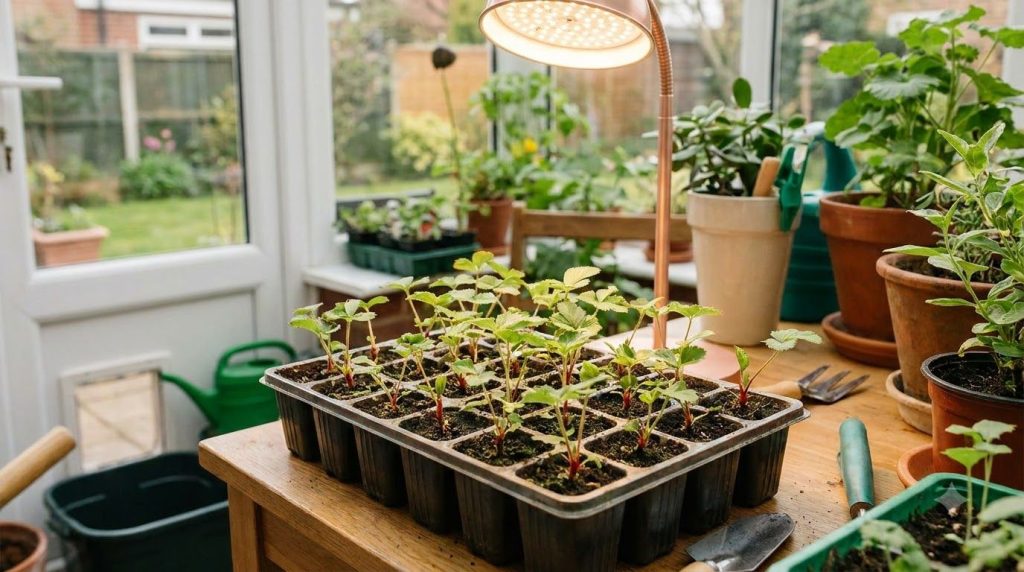
- Transplant Seedlings: Once seedlings have developed a few sets of true leaves (not the first two cotyledon leaves) and are strong enough to handle, carefully transplant them into individual small pots.
How to Use and Care for Your Plants
Once your seedlings are established in individual pots, they will need continued care. Provide them with plenty of sunlight (at least 6-8 hours daily), either from a sunny window or supplemental grow lights. Water regularly, ensuring the soil is consistently moist but never soggy. As they grow larger, they can be moved to larger containers or planted directly into a garden bed.
How Often to Use (Care Frequency)
- Watering: Check soil moisture daily; water when the top inch feels dry.
- Monitoring: Inspect plants weekly for pests or diseases.
- Fertilizing: Begin feeding with a balanced liquid fertilizer at half strength once seedlings are a few inches tall, every 2-4 weeks.
Quick Tip: Stratification
Some strawberry varieties benefit from a cold stratification period to break dormancy and improve germination rates. This involves placing the cleaned, dried seeds in a damp paper towel inside a sealed plastic bag and refrigerating them for 2-4 weeks before planting. While often not strictly necessary for store-bought berries, it can boost success.
How to Buy / How to Choose Ingredients
When selecting strawberries for seed saving, prioritize organic, ripe, and locally grown berries if possible. Non-organic strawberries may have pesticide residues, though this primarily affects consumption, not seed viability. More importantly, choose berries that taste excellent, as this is the best indicator of desirable genetics.
Practical Tips for Success
- Patience is Key: Germination can take time. Don’t give up if you don’t see sprouts immediately.
- Good Drainage: Always ensure your pots or trays have adequate drainage to prevent root rot.
- Air Circulation: Once seeds germinate, remove the plastic wrap for a few hours daily to allow for air circulation and prevent damping-off disease.
- Harden Off: Before moving young plants outdoors permanently, gradually expose them to outdoor conditions (temperature, wind, direct sun) over a week or two.
Common Mistakes to Avoid
Growing strawberries from seed can be straightforward, but a few common errors can derail your efforts:
| Common Mistake | Why it’s a Problem | Better Approach |
|---|---|---|
| Planting whole strawberry slices | Leads to mold and rot; seeds won’t germinate. | Extract individual seeds, clean them thoroughly. |
| Burying seeds too deep | Strawberry seeds need light to germinate. | Sow seeds on the soil surface or with a very light dusting of soil. |
| Overwatering or inconsistent watering | Causes damping-off disease or poor germination. | Keep soil consistently moist but not waterlogged. Use a spray bottle. |
| Lack of proper light | Seedlings become leggy and weak. | Provide bright, indirect light or use a grow light. |
| Using regular garden soil | Too heavy, lacks proper drainage, may contain pathogens. | Use a sterile, light seed-starting mix. |
Cautions / Who Should Avoid It
Propagating strawberries from seed is generally safe for everyone. The only caution is managing expectations: plants grown from hybrid store-bought fruit may not produce berries identical to the parent. However, they will still yield strawberries, which is the main goal of this fun project!
Quick Summary
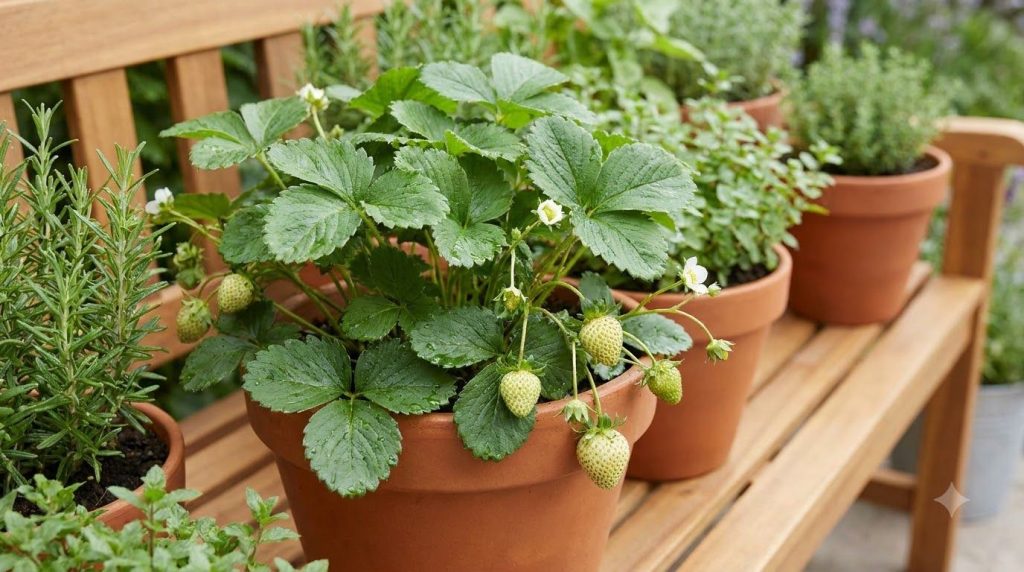
To grow endless strawberries from store-bought fruit, simply extract and clean the tiny seeds from a ripe berry. Sow these seeds lightly on a moist seed-starting mix, ensuring bright, indirect light and consistent humidity. Keep the soil moist, and transplant seedlings when they have true leaves. Expect fruit in the second year, and enjoy the satisfaction of growing your own delicious berries!
FAQ
- Can I use any store-bought strawberry?
Yes, but organic is preferred, and remember hybrid varieties might not grow true to type. - How long does it take for strawberry seeds to germinate?
Typically 1 to 4 weeks, but patience is key. - Do strawberry seeds need cold stratification?
It can improve germination rates for some varieties, but it’s not always strictly necessary for store-bought berries. - When can I plant my strawberry seedlings outdoors?
After all danger of frost has passed and once they’ve been hardened off for 1-2 weeks. - How long until I get fruit from seed-grown strawberries?
Most seed-grown strawberry plants will produce fruit in their second year. - What’s the best soil for growing strawberry seeds?
A sterile, light seed-starting mix is ideal for germination and initial growth.
Conclusion
Turning a simple store-bought strawberry into hundreds of thriving plants is one of gardening’s most satisfying little secrets. It’s a testament to nature’s abundance and an incredibly rewarding project for home gardeners of all skill levels. With a little patience and the right technique, you can cultivate an endless supply of fresh, homegrown strawberries, bringing a sweet taste of summer to your table year after year.
You may also like: The Ultimate Guide to Starting Your Home Vegetable Garden
Read more: Natural Pest Control: Keeping Your Garden Green Without Harsh Chemicals