Unlock a Youthful Glow with DIY Retinol Cubes
Are you seeing more dark spots or longing for that smoother, more radiant-looking skin? You’re not alone! Many people are turning to simple, natural beauty solutions to achieve a fresh, youthful glow. One particular routine that’s been buzzing lately is the use of homemade “retinol” cubes. This approach is gaining popularity for its natural ingredients and the potential to enhance your skin’s appearance in an easy, at-home way.
What Exactly Are DIY Retinol Cubes?
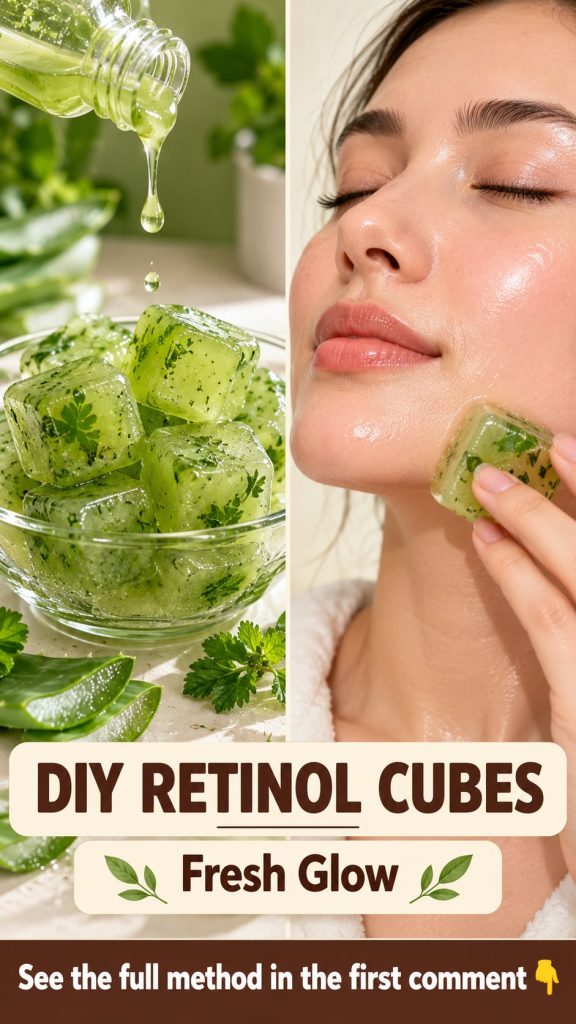
When we talk about “retinol” in the context of DIY cubes, we’re referring to ingredients rich in beta-carotene and other beneficial compounds that skin loves. While these aren’t synthetic retinoids, natural ingredients like carrots contain beta-carotene, which your body can convert into Vitamin A, a precursor to retinol. Combining these with other nourishing elements like aloe vera and rose water creates a soothing, hydrating, and potentially skin-brightening treatment that many find incredibly beneficial.
Why Are People Loving This Natural Approach?
There are several reasons why this DIY beauty trend is capturing attention:
- Natural Ingredients: You know exactly what’s going into your skincare.
- Affordability: Many of the ingredients are kitchen staples or inexpensive to purchase.
- Customizable: You can adjust the recipe to suit your skin’s specific needs.
- Soothing & Refreshing: The cool temperature of the cubes can feel wonderfully invigorating on the skin.
Key Ingredients and Their Potential Benefits
Let’s look at some commonly used ingredients in these DIY cubes and what makes them special:
Carrots
Carrots are a powerhouse of beta-carotene, an antioxidant that the body converts to Vitamin A. This is why they are often associated with properties that support healthy-looking skin and may contribute to a smoother appearance.
Aloe Vera
Known for its soothing and hydrating properties, aloe vera is a fantastic addition to any skincare routine. It helps to calm the skin and provide a boost of moisture, leaving your complexion feeling soft and supple.
Rose Water
Rose water is a gentle toner that can help balance the skin’s pH, reduce the appearance of redness, and leave your skin feeling refreshed and subtly fragrant. It’s often used for its mild astringent qualities.
Vitamin E Oil
A renowned antioxidant, Vitamin E oil is celebrated for its moisturizing and protective qualities. It can help nourish the skin and support its natural barrier.
How to Make Your Own DIY Retinol Cubes
Ready to try this popular beauty routine? Here’s a simple method to create your own nourishing cubes:
Ingredients You’ll Need:
- 1-2 medium carrots, peeled and roughly chopped
- 1/4 cup fresh aloe vera gel (from a leaf or pure store-bought)
- 1/4 cup pure rose water
- 1 teaspoon Vitamin E oil (optional, but highly recommended)
- Ice cube tray
Step-by-Step Instructions:
- Prepare the Carrots: Steam or lightly boil the chopped carrots until they are very soft. This makes them easier to blend.
- Blend Everything: In a blender, combine the cooked carrots, fresh aloe vera gel, rose water, and Vitamin E oil. Blend until the mixture is completely smooth, with no lumps. You might need to add a tiny bit more rose water if it’s too thick.
- Pour into Tray: Carefully pour the smooth mixture into an clean ice cube tray.
- Freeze: Place the ice cube tray in the freezer and let it solidify for at least 4-6 hours, or overnight.
- Store: Once frozen, you can transfer the cubes to an airtight container or freezer bag for longer storage.
How to Incorporate DIY Retinol Cubes into Your Routine
Once your cubes are ready, using them is simple:
- Cleanse Your Face: Start with a freshly cleansed face.
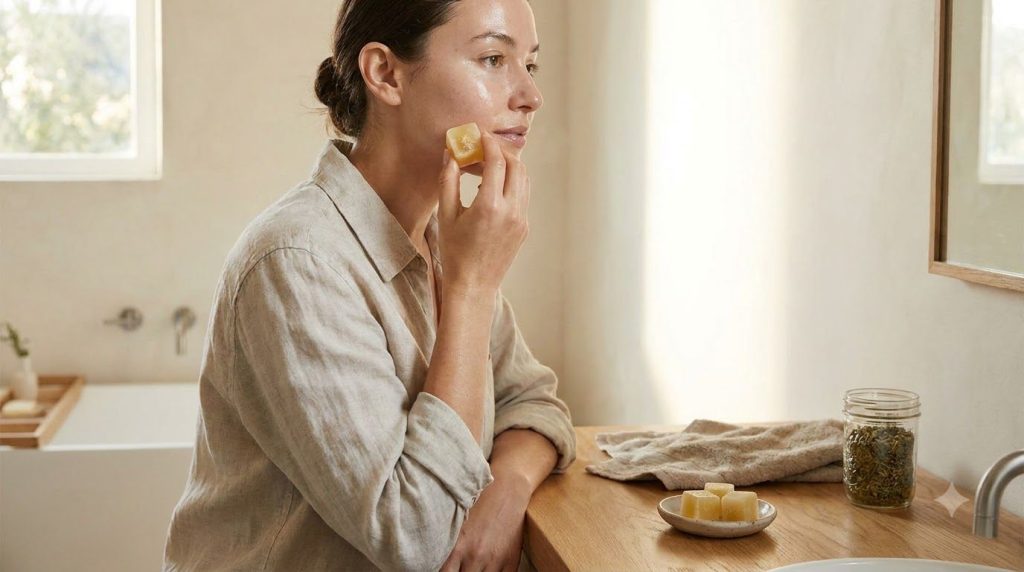
- Apply the Cube: Take one frozen cube and gently rub it over your face and neck. Focus on areas where you want to achieve smoother-looking skin or address the appearance of dark spots. Continue until the cube melts or you’ve covered your desired areas.
- Let it Absorb: Allow the liquid to absorb into your skin for about 10-15 minutes.
- Rinse (Optional): You can choose to rinse your face with cool water or simply pat the remaining liquid dry.
- Moisturize: Follow up with your favorite moisturizer to lock in the hydration.
- Frequency: Most people find using these cubes 2-3 times a week is a good starting point.
Important Considerations Before You Try This
- Patch Test: Always perform a patch test on a small, inconspicuous area of your skin (like behind your ear or on your inner arm) before applying the cubes to your entire face, especially if you have sensitive skin or are new to certain ingredients.
- Sun Protection: While these cubes contain natural ingredients, it’s always wise to be diligent with sun protection. Using sunscreen daily is a crucial step in any skincare routine, especially when aiming for brighter, more even-looking skin.
- Individual Results Vary: Remember that everyone’s skin is unique. What works wonderfully for one person might have different effects on another. Consistency is key, and give your skin time to respond.
- No Medical Claims: These DIY cubes are intended as a natural beauty aid for smoother-looking skin and general skin nourishment. They are not intended to diagnose, treat, cure, or prevent any skin condition or disease.
Embracing a DIY approach to beauty can be a rewarding journey, offering a connection to natural ingredients and a sense of empowerment over your skincare choices. These homemade retinol cubes are a testament to how simple ingredients can contribute to a lovely, youthful-looking glow. Give them a try and see how your skin responds!