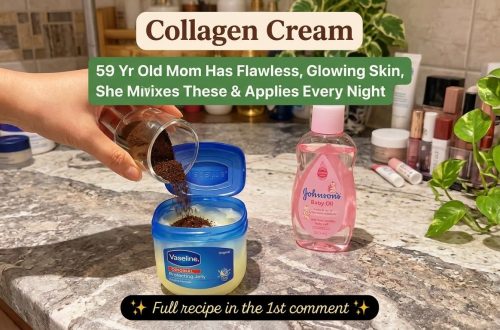
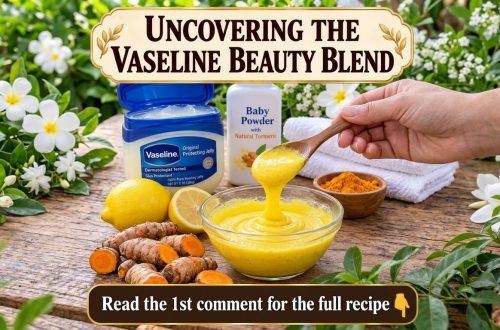
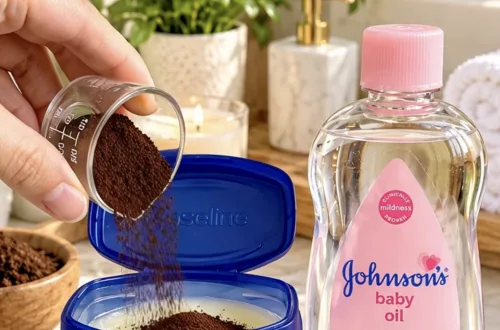
Hey beautiful souls! Are you dreaming of skin that feels incredibly soft, looks radiant, and stays hydrated all day long? What if we told you that your next secret weapon for a glowing complexion might be sitting in your bathroom cabinet right now? Forget expensive serums and complicated routines for a moment, because today we’re diving into a simple, budget-friendly DIY hack that our community is absolutely raving about: combining Nivea Creme and Vaseline for ultra-hydrated skin!
As your beauty bestie, I’m always on the hunt for easy, effective ways to boost our skin’s health. This dynamic duo is a game-changer, especially if you battle with dryness, dullness, or a compromised skin barrier. Let’s unlock this glowing skin secret together!
Why This Power Duo Works Wonders
Before we get mixing, let’s understand why Nivea Creme and Vaseline make such a fantastic team for your skin. Individually, they’re skincare classics, but together, they create a powerful hydrating barrier that locks in moisture like a dream.
Nivea Creme: The Hydrating Classic
Nivea Creme, especially the classic blue tin, has been a staple in many households for generations, and for good reason! It’s renowned for its rich, nourishing formula that deeply moisturizes the skin. Key ingredients work to provide intense hydration, helping to soften rough patches and improve skin elasticity. It’s like a comforting hug for your skin, preparing it for whatever comes next.
Vaseline: The Moisture Sealing Champion
Vaseline, or petroleum jelly, is a master occlusive. What does that mean? It creates a protective barrier on the skin’s surface that prevents transepidermal water loss (TEWL). Essentially, it seals in all the goodness – and moisture – that’s already on your skin. It’s fragrance-free, non-comedogenic for most, and incredibly effective at protecting and healing dry, compromised skin.
The Synergistic Effect: Hydration Amplified
When you combine these two, you’re not just getting double the moisture; you’re getting a synergistic effect. Nivea delivers deep hydration, infusing your skin with moisture, while Vaseline acts as a powerful sealant, ensuring that all that beautiful moisture stays exactly where it needs to be. The result? Skin that feels incredibly soft, supple, and boasts a healthy, natural glow.
Who Can Benefit from This DIY?
- Dry and Very Dry Skin Types: If your skin constantly feels tight or flaky, this mixture can provide much-needed relief and lasting hydration.
- Dull Skin: By deeply hydrating and improving the skin’s barrier, this DIY can bring back your skin’s natural radiance.
- Compromised Skin Barrier: If your skin feels sensitive, irritated, or chapped, the protective layer can help it heal and strengthen.
- Anyone Seeking a Natural Glow: Even if your skin is generally balanced, this can be a fantastic overnight treatment for an extra boost of luminosity.
Your Simple DIY Recipe for Ultra-Hydrated Skin
Ready to whip up your own glowing skin potion? It’s incredibly easy, and you probably already have both ingredients!
What You’ll Need:
- A small, clean bowl or container
- A small spoon or spatula for mixing
- Nivea Creme (the classic blue tin works best!)
- Vaseline (petroleum jelly)
Step-by-Step Instructions:
- Cleanse Your Face: Start with a clean face. Gently wash away any makeup, dirt, or impurities.
- Apply a Hydrating Toner or Serum (Optional): If you use a hydrating toner or serum, apply it now. This mixture will help seal those beneficial ingredients in.
- Mix Your Duo: In your clean bowl, scoop out a pea-sized amount of Nivea Creme and an equal (or slightly smaller) amount of Vaseline.
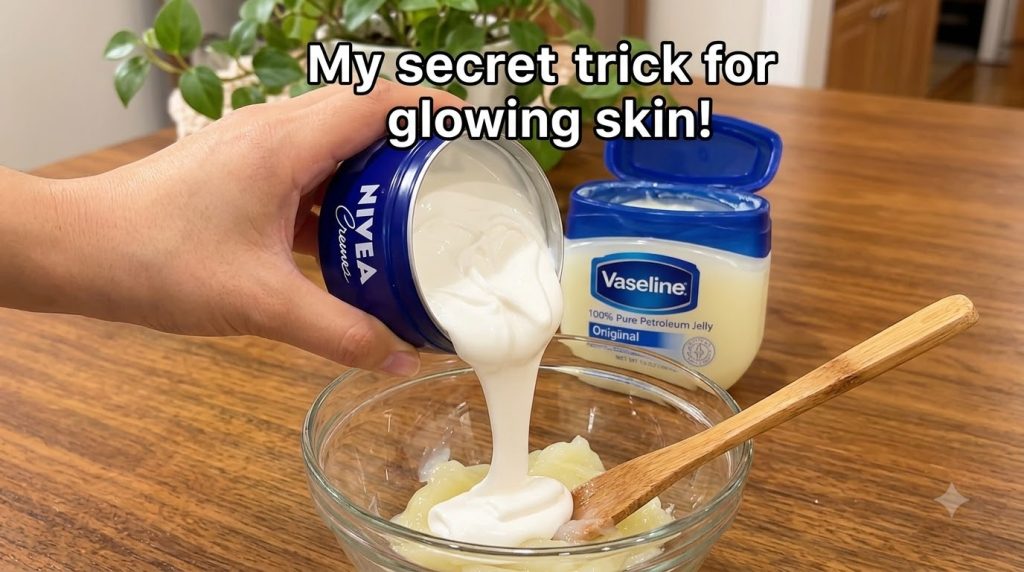
- Blend Thoroughly: Use your spoon or spatula to mix the two creams until they are fully combined and have a smooth, uniform consistency. It should feel rich and luxurious!
- Apply Gently: Take a small amount of the mixture and gently dab it onto your face. Warm it between your fingertips first if needed.
- Massage In: Using upward, gentle motions, massage the mixture into your skin. Pay extra attention to any dry patches or areas that need more love. A little goes a long way, so don’t overdo it!
- Overnight Treatment: This DIY is fantastic as an overnight mask. Apply it as the last step in your evening routine to wake up to incredibly soft and hydrated skin.
Tips for Best Results
- Patch Test: Always do a patch test on a small area of your skin before applying it all over, especially if you have sensitive skin.
- Less is More: These products are rich. Start with a tiny amount and add more if needed. You don’t want to feel greasy, just deeply moisturized.
- Apply to Damp Skin: Applying the mixture to slightly damp skin can help to seal in even more hydration.
- Consistency is Key: For best results, incorporate this into your routine a few nights a week, or whenever your skin needs an extra boost.
- Don’t Forget Your Neck: Extend the love to your neck and décolletage for comprehensive hydration.
Beyond the Face: Other Uses
This amazing blend isn’t just for your face! Here are a few other places it can work its magic:
- Dry Hands and Cuticles: Say goodbye to cracked hands and ragged cuticles.
- Rough Elbows and Knees: Smooth out those rough spots with a nightly application.
- Cracked Heels: Apply generously before bed and put on some socks for super soft feet by morning.
There you have it, beauties! A simple, affordable, and incredibly effective DIY trick to achieve that coveted ultra-hydrated, glowing skin. It’s all about providing your skin with the moisture it craves and then locking it in with a protective barrier. Give it a try and prepare to fall in love with your skin all over again. Your beauty bestie can’t wait to hear how it transforms your complexion!