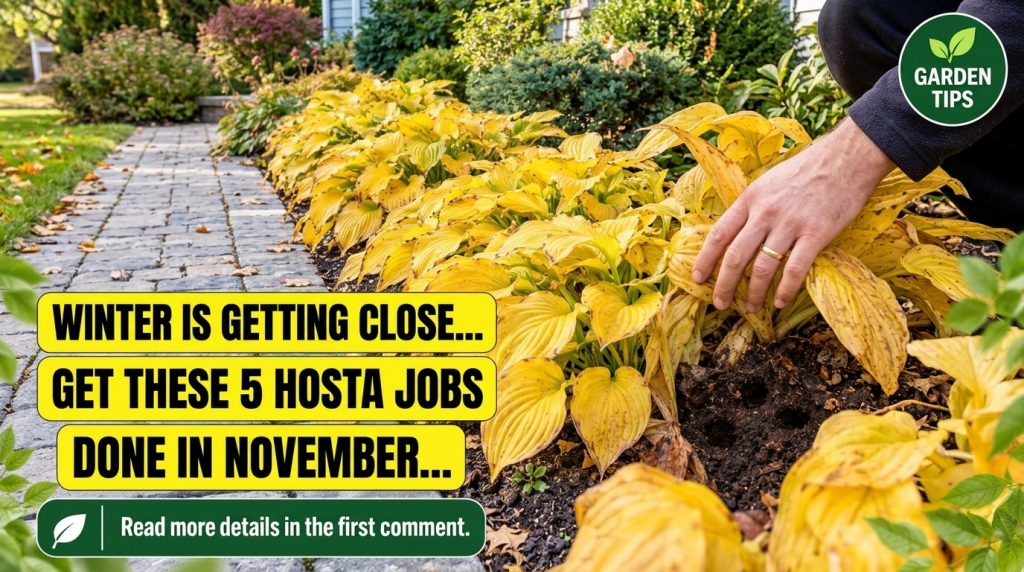
As the crisp air of autumn settles in and the days grow shorter, our beloved gardens begin to prepare for their long winter’s nap. For many of us, hostas are the stars of our shaded garden beds, offering lush foliage and beautiful textures throughout the warmer months. But even as their vibrant greens transition to stunning golds and yellows, like the beautiful scene in our image, their gardening journey for the year isn’t quite over.
Getting your hostas winter-ready in November is crucial for ensuring they return strong, healthy, and even more beautiful next spring. Neglecting these few simple tasks can leave your hostas vulnerable to pests, diseases, and the harsh elements of winter. Don’t worry, it’s not complicated! We’re here to guide you through five essential hosta jobs to tackle this November.
1. Clean Up Dead Hosta Foliage
This is arguably the most important task for your hostas in November. Once your hosta leaves have turned yellow or brown and have softened, it’s time to cut them back to the ground. Why is this so vital? Dead hosta foliage provides the perfect hiding spot for garden pests like slugs and snails, which can overwinter in the decaying leaves and emerge next spring ready to feast on your new growth. Furthermore, it helps prevent the spread of fungal diseases that can linger in plant debris.
- How to do it: Use clean, sharp pruning shears or even just your hands to gently pull away the spent leaves. Compost the healthy leaves, but discard any that show signs of disease (black spots, mushy areas) in the trash to avoid spreading pathogens.
2. Apply a Layer of Mulch
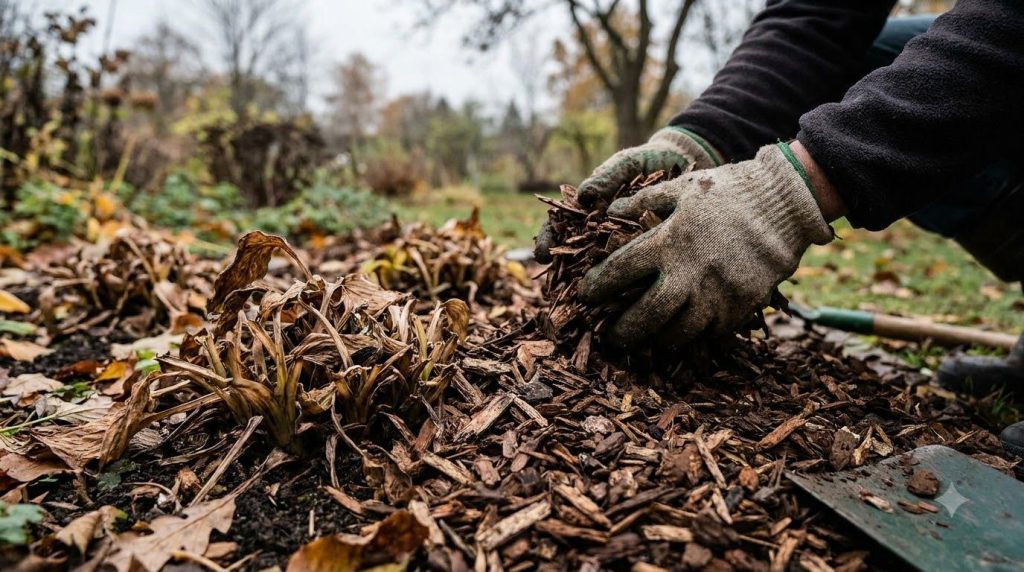
Once your garden beds are clear of old foliage, a fresh layer of mulch is your hosta’s best friend for winter. Mulch acts like a cozy blanket, insulating the soil and protecting the plant’s crown (where the leaves emerge) from temperature fluctuations. This is particularly important to prevent “frost heave,” a process where the freezing and thawing of soil can push plants out of the ground, exposing their roots to harsh winter air.
- How to do it: Apply 2-4 inches of organic mulch such as shredded bark, leaves, or compost around the base of your hostas. Make sure not to pile it directly against the crown, leaving a small gap to prevent rot.
3. Ensure Adequate Watering (If Dry)
While hostas are dormant in winter, they still need some moisture, especially if your region experiences a dry autumn. The goal is to ensure the soil is adequately moist before the ground freezes solid. Once frozen, the plants won’t be able to absorb water until spring, and a completely dry freeze can be detrimental.
- How to do it: If your area has had little rainfall, give your hosta beds a good, deep watering a few weeks before the anticipated hard freeze. This ensures the roots are hydrated without being waterlogged.
4. Divide Overgrown Hostas (Optional)
November can also be a good time to divide overgrown hostas, although early spring is often preferred. If your hostas are becoming too large for their space, or if their vigor has decreased, dividing them can rejuvenate the plants. The cooler temperatures and impending dormancy make it less stressful for the plants.
- How to do it: Carefully dig up the entire hosta clump. Using a sharp spade or knife, divide the clump into smaller sections, ensuring each section has a good portion of roots and at least one “eye” (the dormant bud from which new leaves emerge). Replant the divisions immediately and water them well.
5. Protect Potted Hostas
If you have hostas growing in containers, they’ll need extra protection from winter’s bite. The soil in pots freezes much more quickly and deeply than in-ground soil, which can damage roots.
- How to do it: You have a few options:
- Bring them indoors: Move pots to an unheated garage, shed, or basement where temperatures stay above freezing but remain cool.
- Bury the pots: Dig a hole in your garden and bury the entire pot, rim and all, into the ground. This provides insulation.
- Insulate: Cluster pots together and wrap them in burlap or bubble wrap. For extra protection, you can place them on a layer of straw or wood chips.
By taking these five simple steps in November, you’ll be giving your hostas the best possible chance to survive the winter and burst forth with renewed energy and beauty come springtime. Happy gardening, and here’s to a stunning hosta display next year!