Most people think potatoes need a sprawling garden plot and rich, dark soil to thrive. But what if we told you that one of nature’s most beloved tubers can flourish right in your home, no dirt required? Growing potatoes hydroponically might sound like something out of a science fiction novel, but it’s a surprisingly accessible and incredibly rewarding method for fresh produce. Forget the mud, the digging, and the weeding; this method focuses on precision and efficiency, bringing the farm into your kitchen or spare room.
One small preparation mistake can ruin the whole batch, however. This guide cuts through the common misconceptions and gets straight to the practical steps, ensuring your journey into soil-less potato cultivation is a success. We’ll cover everything from selecting the right ‘seed’ potatoes to setting up your system and harvesting a bounty that will surprise even seasoned gardeners.
What It Is: Hydroponic Potato Growing
Hydroponics is a method of growing plants without soil, using mineral nutrient solutions dissolved in water. For potatoes, this typically means suspending the sprouting ‘seed’ potatoes above a nutrient-rich water reservoir, allowing the roots to reach down into the solution. This controlled environment provides optimal conditions for growth, often leading to faster development and higher yields compared to traditional soil methods. It’s a clean, efficient, and space-saving way to enjoy homegrown potatoes year-round.
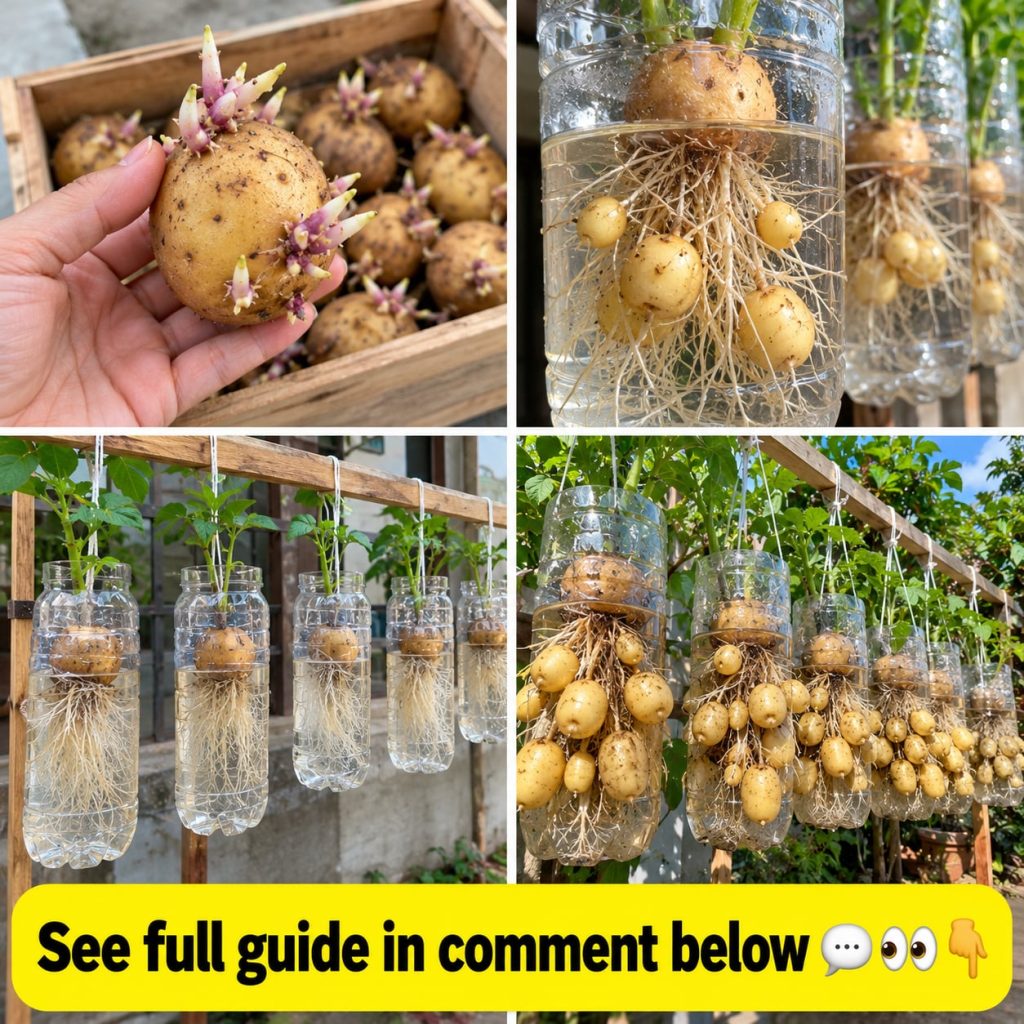
Ingredients & Materials for Your Hydroponic System
To embark on your hydroponic potato adventure, gather these essential items:
- Seed Potatoes: Certified disease-free seed potatoes are crucial. Avoid grocery store potatoes, as they may be treated with sprout inhibitors or carry diseases.
- Hydroponic System: Options range from simple DIY setups (like a plastic tote with holes) to pre-made deep water culture (DWC) systems or Dutch buckets.
- Nutrient Solution: A balanced hydroponic nutrient mix formulated for fruiting/flowering plants (specifically for root crops if available).
- pH Testing Kit & Adjusters: Essential for maintaining the correct pH level of your nutrient solution (typically 5.5-6.0 for potatoes).
- Grow Lights: Full-spectrum LED grow lights are ideal, especially for indoor setups, ensuring sufficient light for tuber development.
- Net Pots: To hold your seed potatoes and provide support.
- Growing Medium: Inert media like rockwool, coco coir, or hydroton (clay pebbles) for supporting the seed potato in the net pot.
- Air Pump & Air Stone: To oxygenate the nutrient solution, preventing root rot.
- Water Reservoir: A dark, opaque container to hold your nutrient solution and prevent algae growth.
Approximate Measurements
- Seed Potato Size: Use seed potatoes roughly the size of a golf ball or cut larger ones into pieces, ensuring each piece has at least 1-2 ‘eyes’ (sprouts).
- Nutrient Solution: Follow the manufacturer’s instructions for mixing, typically a few teaspoons or tablespoons per gallon of water.
- Water Volume: Enough to keep the air stone fully submerged and the plant roots reaching into the solution without submerging the entire seed potato.
Formula / Recipe for Setting Up Your System
Think of this as your blueprint for a thriving potato patch:
- Choose Your System: A simple deep water culture (DWC) system is a great starting point. This involves a reservoir, net pots, an air pump, and an air stone.
- Prepare Your Seed Potatoes: ‘Chit’ your seed potatoes by placing them in a cool, bright place for 1-2 weeks until short, sturdy sprouts emerge. For larger potatoes, cut them into sections with at least two eyes and let the cut surfaces heal (callus) for 2-3 days before planting to prevent rot.
- Assemble the Reservoir: Fill your opaque reservoir with water.
- Install Air Pump: Place the air stone in the reservoir and connect it to the air pump. Turn it on to ensure proper oxygenation.
- Mix Nutrient Solution: Add your hydroponic nutrients to the water, following the manufacturer’s guidelines for a fruiting/flowering stage.
- Check & Adjust pH: Use your pH testing kit to measure the solution’s pH. Adjust it to 5.5-6.0 using pH up or pH down solutions.
Quick Tip: Always mix nutrients into the water before checking pH, as nutrient additions can significantly alter the pH.
Step-by-Step Method: Planting & Growing
- Place Seed Potatoes: Carefully place your chitted seed potatoes into net pots, using your chosen growing medium (e.g., hydroton) to hold them in place. Ensure the sprouts face upwards.
- Position Net Pots: Place the net pots into the holes of your reservoir lid, ensuring the bottom of the net pot is just above or barely touching the nutrient solution. The roots will grow down into it.
- Set Up Grow Lights: Position your grow lights about 12-18 inches above the plants, depending on the light’s intensity. Aim for 12-16 hours of light per day during the vegetative growth phase.
- Monitor & Maintain: Regularly check the water level, pH, and nutrient concentration (using an EC/TDS meter if you have one). Replenish water and adjust pH as needed.
- Watch for Growth: As the potato plants grow, their roots will extend into the nutrient solution. You’ll see foliage develop above the reservoir.
- Flowering & Tubing: Eventually, your potato plants will flower. This is a sign that tubers are starting to form underground (or, in this case, underwater!). Maintain consistent nutrient levels during this crucial phase.
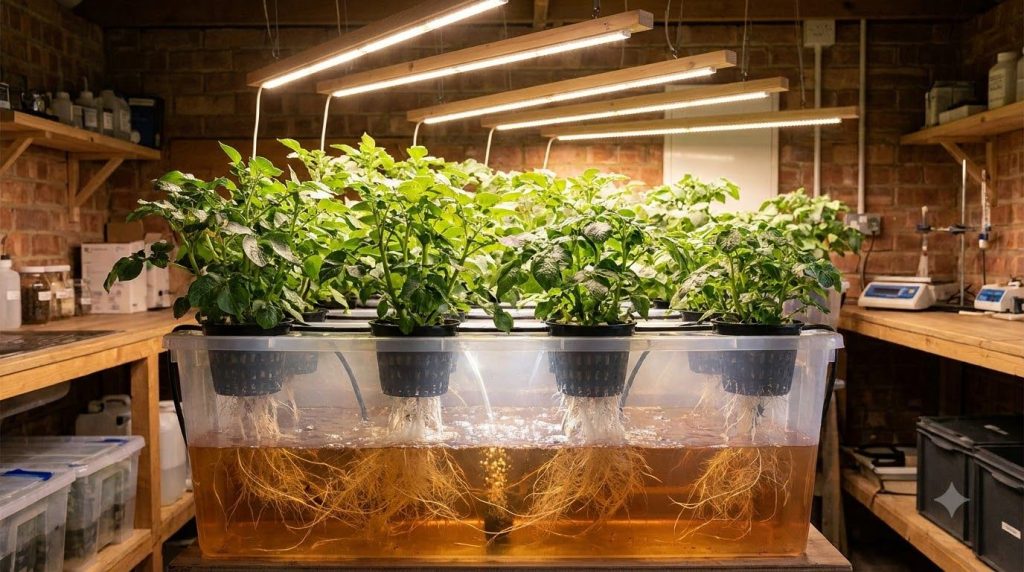
How to Use & Harvest
Unlike soil potatoes, hydroponic potatoes often form near the surface of the root ball or even just above the water line. Once the foliage starts to yellow and die back (typically 70-100 days after planting, depending on variety), your potatoes are ready to harvest. Gently lift the net pot or the lid of your reservoir to expose the developing tubers. Carefully pick the potatoes off the root system. You can often ‘steal’ some smaller new potatoes while the plant is still growing, allowing the larger ones to continue developing.
How Often to Use & Replenish
- Nutrient Solution: Change the entire nutrient solution every 1-2 weeks to ensure plants receive fresh nutrients and prevent nutrient imbalances. Top off with pH-adjusted water (not nutrient solution) between changes as the water level drops.
- Monitoring: Check pH daily or every other day, and nutrient levels (if using an EC/TDS meter) regularly.
- Light Cycle: Maintain a consistent light cycle (e.g., 12-16 hours on, 8-12 hours off) throughout the growing period.
How to Buy / How to Choose Ingredients
- Seed Potatoes: Purchase certified disease-free seed potatoes from reputable garden suppliers or online nurseries. These are specifically grown to be planted and will give you the best chance of success.
- Nutrient Solutions: Opt for a high-quality, complete hydroponic nutrient solution. Look for two-part or three-part systems that allow you to adjust ratios for different growth stages.
- System Components: Invest in a good air pump and air stone. The oxygenation of your water is critical for root health.
You may also like: Build Your Own DIY Vertical Herb Garden
Storage
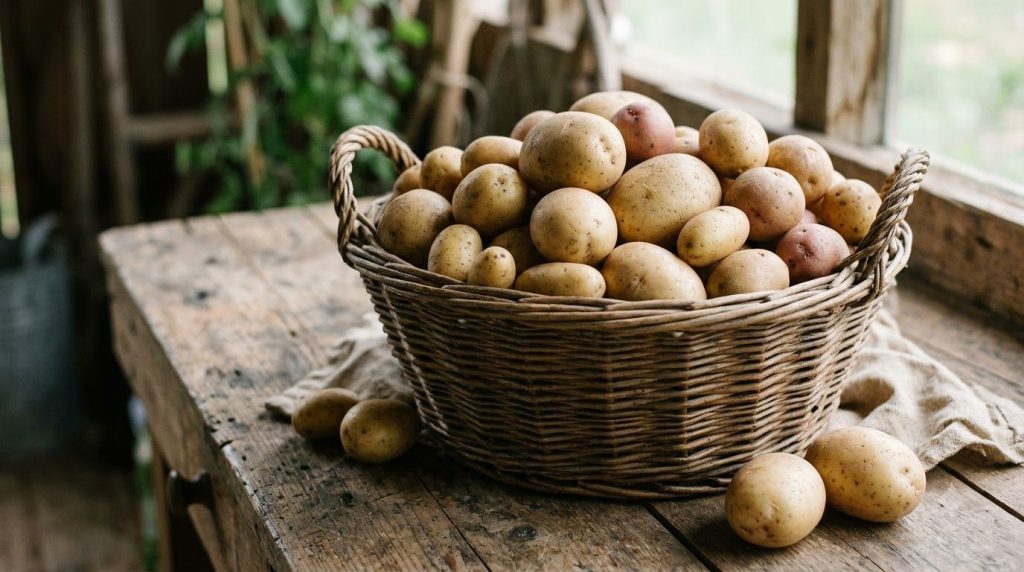
Once harvested, cure your hydroponic potatoes by leaving them in a cool, dark, humid place for about 1-2 weeks. This helps to toughen the skins and extend storage life. After curing, store them in a cool (45-50°F or 7-10°C), dark, well-ventilated area, such as a pantry or root cellar. Avoid refrigeration, which can turn the starch into sugar, affecting flavor and texture.
Practical Tips for Success
- Start Small: Begin with a small, manageable system to learn the ropes before scaling up.
- Maintain Cleanliness: A clean system prevents diseases and algae. Regularly clean your reservoir and replace the solution.
- Temperature Control: Keep your grow room temperature between 60-75°F (15-24°C) for optimal potato growth.
- Air Circulation: Good air circulation around your plants helps prevent fungal diseases and strengthens stems.
- “Hilling” in Hydroponics: As tubers form, you might need to add more growing medium or create light-blocking barriers around the base of the plant to keep the developing potatoes in the dark and prevent them from turning green.
Common Mistakes to Avoid
Even experienced growers can make these missteps:
- Using Grocery Store Potatoes: As mentioned, these are often treated and not ideal for planting.
- Incorrect pH: If the pH is too high or too low, your plants can’t absorb nutrients, leading to deficiencies.
- Lack of Oxygenation: A common cause of root rot in DWC systems. Always ensure your air pump and stone are working effectively.
- Too Much Light for Tubers: Potatoes need darkness to form properly. Exposure to light turns them green and can make them toxic. Ensure tubers are always covered.
- Over-fertilization: More isn’t always better. Too much nutrient solution can burn roots. Stick to recommended concentrations.
- Ignoring Temperature: High water temperatures (above 75°F or 24°C) can reduce dissolved oxygen and promote disease.
Cautions / Who Should Avoid It
While hydroponic potato growing is generally safe and rewarding, a few considerations exist:
- Initial Investment: Setting up a reliable hydroponic system can have a higher initial cost than traditional soil gardening.
- Technical Learning Curve: It requires careful monitoring of pH, nutrient levels, and light, which might be challenging for absolute beginners.
- Power Dependency: Hydroponic systems rely on electricity for pumps and lights. Power outages can be detrimental if prolonged.
- Green Potatoes: Potatoes exposed to light can turn green, indicating the presence of solanine, which can be toxic in large amounts. Always ensure tubers are covered and discard any significantly green portions.
Read more: Understanding Essential Plant Nutrients for Thriving Gardens
Quick Summary: Hydroponic Potatoes
- Best Preparation: DWC (Deep Water Culture) or Dutch bucket systems.
- Best Use-Case: Indoor growing for fresh, clean potatoes year-round, especially in limited space.
- Storage: Cure for 1-2 weeks, then store in a cool, dark, well-ventilated area (45-50°F).
- When to Use: When you want fresh potatoes regardless of season or soil availability.
- What to Avoid: Grocery store potatoes for planting, inconsistent pH, lack of water oxygenation, and light exposure to developing tubers.
FAQ
Q: Can I use regular grocery store potatoes as seed potatoes?
A: It’s strongly discouraged. Grocery store potatoes are often treated with sprout inhibitors and may carry diseases, leading to poor results. Always use certified seed potatoes.
Q: How long does it take to grow hydroponic potatoes?
A: Depending on the variety and growing conditions, it typically takes 70-100 days from planting to harvest.
Q: How often should I change the nutrient solution?
A: For optimal health, change the entire nutrient solution every 1-2 weeks. Top off with pH-adjusted water (without nutrients) between changes.
Q: What’s the ideal pH range for hydroponic potatoes?
A: Potatoes thrive in a slightly acidic environment, with an ideal pH range of 5.5 to 6.0.
Q: Do I need special lights for hydroponic potatoes?
A: Yes, full-spectrum LED grow lights are highly recommended, especially for indoor cultivation, to provide the necessary light spectrum and intensity for tuber development.
Q: How do I prevent my hydroponic potatoes from turning green?
A: Ensure that all developing tubers are completely shielded from light. This can be achieved by adding more opaque growing medium around the base of the plant or by using light-blocking covers on your system.
Conclusion
Growing potatoes hydroponically might seem like a departure from traditional gardening, but it opens up a world of possibilities for fresh, homegrown produce. By understanding the essentials – from proper seed selection and nutrient management to meticulous pH control and light exclusion – you can cultivate a bountiful harvest without a single speck of soil. It’s an efficient, clean, and truly fascinating way to connect with your food source. Give it a try, and you might just discover your new favorite gardening method.

