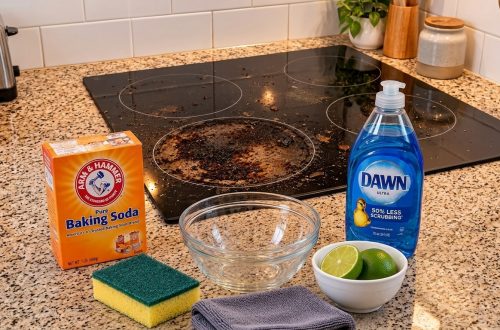
Tired of expensive, harsh chemical cleaners that leave your home smelling like a laboratory? Many people are looking for simpler, more natural ways to keep their living spaces sparkling clean. This DIY cleaning solution leverages the power of three common household ingredients to tackle grime, grease, and general dirt, offering an effective and budget-friendly alternative for a range of cleaning tasks.
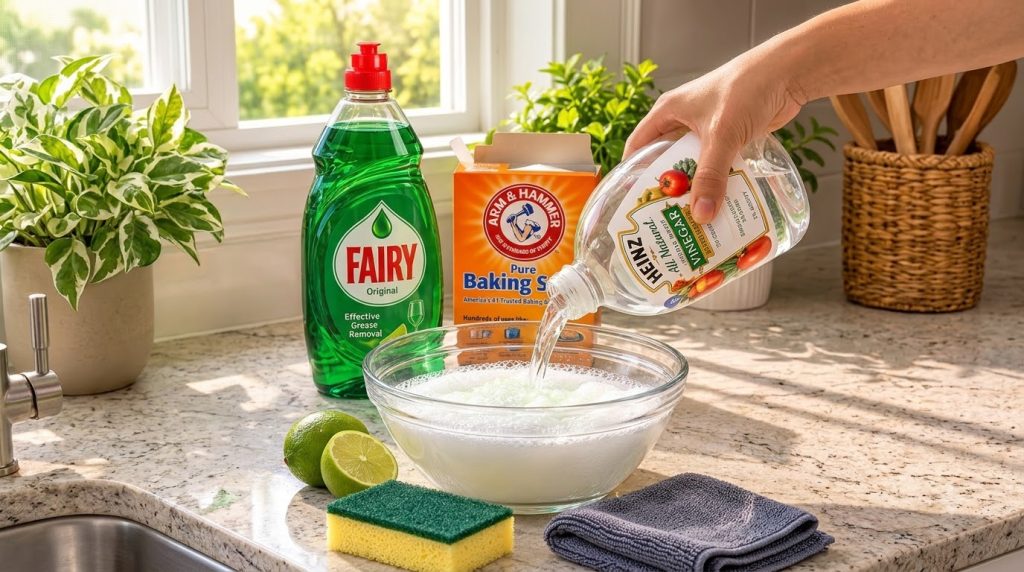
What You’ll Need
- 1/2 cup baking soda
- 1/4 cup liquid dish soap (any brand)
- 1/4 cup white vinegar
- Optional: Juice of half a lime (for extra scent and cleaning boost)
- Mixing bowl
- Sponge or microfiber cloth
Why This DIY Can Be Useful
Each ingredient in this trio plays a crucial role in tackling different types of dirt and grime:
- Baking Soda: This mild abrasive helps scour away stuck-on messes without scratching surfaces. It’s also an excellent natural deodorizer, absorbing unwanted smells.
- Dish Soap: Known for its grease-cutting properties, dish soap breaks down oily residues and helps lift dirt and food particles from surfaces.
- White Vinegar: As an acid, vinegar is effective at dissolving mineral deposits, soap scum, and hard water stains. It also has natural disinfectant properties, making it great for sanitizing.
When combined, these ingredients create a fizzy, powerful cleaning agent that can cut through a variety of household messes.
How to Make It
- In your mixing bowl, combine the 1/2 cup of baking soda and 1/4 cup of liquid dish soap. Stir them together until you form a thick paste.
- Slowly add the 1/4 cup of white vinegar to the mixture. It will begin to fizz and foam immediately as the baking soda reacts with the vinegar. Stir gently as you add it.
- If desired, squeeze in the juice of half a lime for a fresh scent and an additional acidic boost.
- Continue to stir until the mixture is uniform and has a thick, slurry-like consistency. It should be thick enough to cling to surfaces but still spreadable.
How to Use It
This versatile cleaner can be used on many surfaces around your home, especially in the kitchen and bathroom.
- Apply: Scoop a small amount of the paste onto your sponge or directly onto the dirty surface.
- Spread: Spread the mixture evenly over the area you wish to clean, ensuring good coverage, particularly on greasy or stained spots.
- Dwell Time: For tougher grime, let the mixture sit for 5-10 minutes to allow the ingredients to work their magic.
- Scrub: Using your sponge or cloth, scrub the treated area in circular motions. You should feel the baking soda’s abrasive power helping to lift the dirt.
- Rinse & Wipe: Wipe away the cleaning mixture with a clean, damp microfiber cloth, or rinse the surface with water if appropriate (e.g., in a sink or shower).
- Finish: Buff the surface dry with a separate clean, dry cloth for a streak-free shine.
What to Expect
You can expect this DIY cleaner to effectively remove grease, food residue, soap scum, and light hard water stains. Surfaces should feel clean and look noticeably brighter. While it’s powerful for many everyday messes, remember that it’s a natural cleaner and may not instantly remove very old, deeply set stains or heavy mold without significant scrubbing and possibly multiple applications.
Helpful Tips
- Adjust Consistency: If your mixture is too thick, add a tiny bit more vinegar. If it’s too thin, add a small amount more baking soda.
- Make Fresh: This cleaner is best made in small batches and used fresh, as the fizzing reaction is strongest immediately after mixing. The mixture can lose some of its potency if stored for extended periods.
- Spot Test: Always test the cleaner on an inconspicuous area first, especially on new or delicate surfaces, to ensure no discoloration or damage occurs.
Important Notes / Safety
- Avoid Natural Stone: Due to the acidic nature of vinegar, avoid using this cleaner on natural stone surfaces like marble, granite, or travertine, as it can etch or dull the finish.
- Ventilation: While natural, it’s always good practice to ensure proper ventilation when cleaning, especially in enclosed spaces.
- Not for All Surfaces: Be cautious on unsealed grout or cast iron, as vinegar can potentially cause issues over time.
- No Bleach: Never mix vinegar with bleach. This combination can create dangerous chlorine gas. This DIY recipe does not contain bleach, but it’s a crucial general cleaning safety rule to remember.