Are you a cheesecake lover who often feels guilty after indulging in a rich, decadent slice? What if we told you that you could enjoy the creamy, luscious flavor of cheesecake without derailing your healthy eating goals? Meet your new favorite treat: the Easy High-Protein Cheesecake!
This recipe is a game-changer for anyone looking to satisfy their sweet cravings while keeping their nutrition in check. It’s packed with protein, significantly lower in sugar and unhealthy fats than traditional cheesecakes, and incredibly simple to make. You’ll be amazed at how a few smart ingredient swaps can transform a classic dessert into a guilt-free pleasure.
Whether you’re a fitness enthusiast looking to boost your protein intake, someone trying to cut down on sugar, or simply a dessert lover seeking a healthier alternative, this high-protein cheesecake is perfect for you. It’s also a fantastic option for meal prep, providing a nutritious snack or dessert throughout the week. Get ready to discover how truly delicious healthy eating can be!
Recipe Summary
- Prep Time: 20 minutes
- Cook Time: 45-50 minutes
- Total Time: 1 hour 10 minutes (plus chilling time)
- Servings: 8-12 slices
- Difficulty Level: Easy
- Course: Dessert
- Cuisine: American
- Diet Type: High-Protein, Vegetarian (can be Gluten-Free with specific ingredients)
Why You’ll Love This Recipe
- High in Protein: Perfect for supporting muscle growth and satiety.
- Creamy & Delicious: Tastes just like a traditional cheesecake, but healthier!
- Guilt-Free Indulgence: Enjoy dessert without the heavy feeling.
- Easy to Make: Simple steps, even for beginner bakers.
- Great for Meal Prep: Enjoy a healthy treat all week long.
- Satisfies Sweet Cravings: A wholesome way to curb your sugar desires.
- Customizable: Easily adapt ingredients and flavors to your preference.
- Kid-Approved: A tasty way to sneak in some extra protein for the whole family.
Ingredients
For the Crust:
- 1 cup almond flour: Or crushed graham crackers (for non-GF), or a mix of almond flour and rolled oats.
- ¼ cup erythritol or monk fruit sweetener: Or your preferred granular sweetener.
- ¼ cup unsalted butter or coconut oil: Melted.
- ½ teaspoon cinnamon: Optional, but adds a lovely warmth.
For the Filling:
- 2 (8-ounce) blocks reduced-fat cream cheese: Softened at room temperature.
- 1 cup plain non-fat Greek yogurt: For extra creaminess and protein.
- ¾ cup protein powder: Vanilla or unflavored whey or plant-based protein. Adjust quantity slightly if your protein powder is very absorbent.
- ½ cup erythritol or monk fruit sweetener: Or your preferred granular sweetener, adjusted to taste.
- 2 large eggs: Room temperature.
- 1 teaspoon vanilla extract.
- 1 tablespoon fresh lemon juice: Enhances the classic cheesecake tang.
For Topping (Optional):
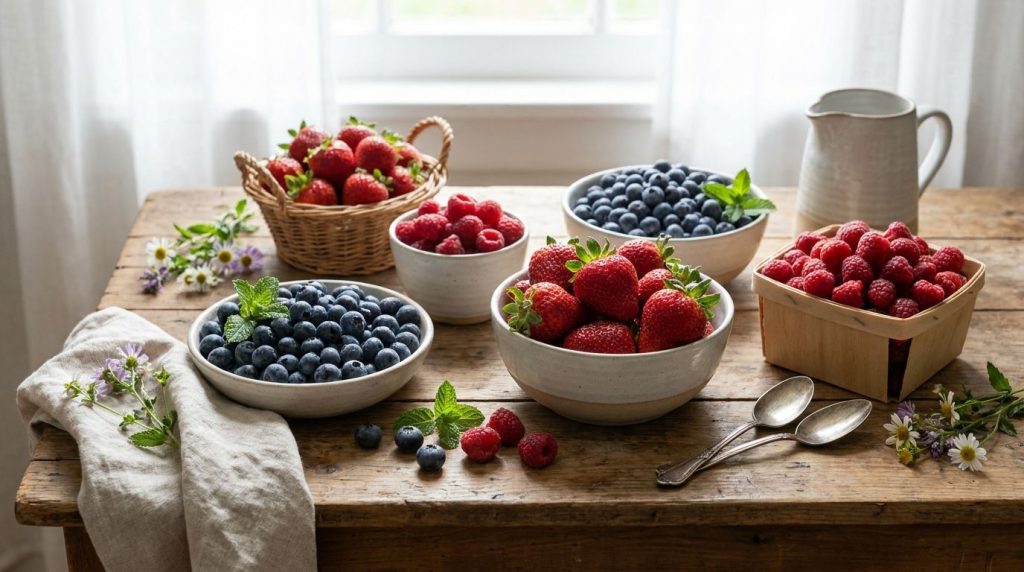
- 1 cup fresh berries: Such as strawberries, blueberries, or raspberries.
- Sugar-free syrup or a drizzle of honey.
Equipment Needed
- 9-inch springform pan
- Large mixing bowls (2)
- Electric mixer (handheld or stand mixer with paddle attachment)
- Measuring cups and spoons
- Rubber spatula
- Aluminum foil (for water bath, optional)
Step-by-Step Instructions
Making this high-protein cheesecake is a breeze! Follow these simple steps for a perfect, creamy result every time.
-
Prepare Your Pan and Oven:
Preheat your oven to 325°F (160°C). Lightly grease a 9-inch springform pan. If you plan to use a water bath (highly recommended for a crack-free cheesecake), wrap the bottom and sides of the springform pan tightly with heavy-duty aluminum foil to prevent water from seeping in. Set aside.
-
Make the Crust:
In a medium bowl, combine the almond flour, sweetener, and cinnamon (if using). Pour in the melted butter or coconut oil and mix until crumbly and well combined. The mixture should hold together when pressed. Press the crust mixture evenly into the bottom of the prepared springform pan. Use the back of a spoon or your fingers to create a firm, even layer. Bake the crust for 8-10 minutes, or until lightly golden. Remove from oven and let cool slightly while you prepare the filling.
-
Prepare the Filling:
In a large mixing bowl, using an electric mixer on medium speed, beat the softened cream cheese until smooth and creamy, about 2-3 minutes. Scrape down the sides of the bowl. Add the Greek yogurt, protein powder, sweetener, vanilla extract, and lemon juice. Beat on low speed until just combined. Do not overmix.
-
Incorporate the Eggs:
Add the eggs one at a time, beating on low speed after each addition until just incorporated. Be careful not to overmix the batter once the eggs are added, as this can introduce too much air, leading to cracks during baking. The batter should be smooth but not overly aerated.
-
Assemble and Bake:
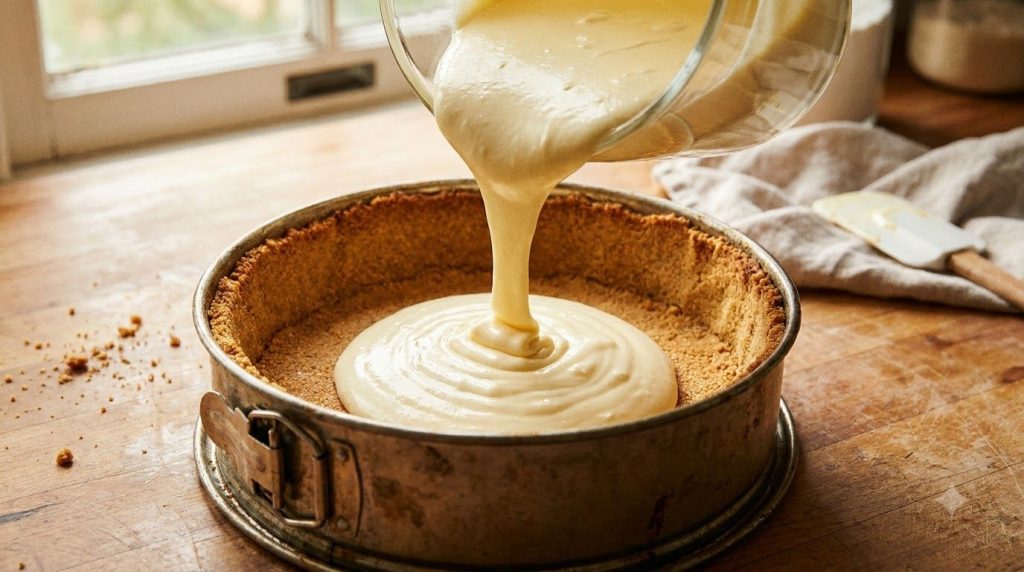
Pour the cream cheese filling over the cooled crust in the springform pan. Gently tap the pan on the counter a few times to release any large air bubbles. If using a water bath, place the foil-wrapped springform pan into a larger roasting pan. Carefully pour hot water into the roasting pan until it reaches about halfway up the sides of the springform pan. This creates a moist baking environment, preventing cracks.
-
Bake the Cheesecake:
Bake for 45-50 minutes, or until the edges are set and lightly golden, but the center still has a slight jiggle when gently shaken. This indicates it’s cooked through without being overbaked. Turn off the oven, crack the oven door slightly, and let the cheesecake cool in the oven for 1 hour. This slow cooling also helps prevent cracks.
-
Chill Thoroughly:
Remove the cheesecake from the oven and water bath (if used). Carefully remove the aluminum foil. Let it cool completely on a wire rack at room temperature. Once cooled, cover the cheesecake loosely with plastic wrap and refrigerate for at least 4-6 hours, or ideally overnight, for best texture and flavor. This chilling time is crucial for the cheesecake to fully set.
-
Serve and Enjoy:
Once thoroughly chilled, run a thin knife around the edge of the pan before releasing the springform sides. Top with fresh berries and a drizzle of sugar-free syrup or honey, if desired. Slice and serve your delicious, guilt-free high-protein cheesecake!
Nutrition Highlights
This Easy High-Protein Cheesecake isn’t just delicious; it’s also a powerhouse of nutrition compared to its traditional counterpart. It’s an excellent source of protein, crucial for muscle repair, growth, and keeping you feeling full and satisfied. By using reduced-fat cream cheese and Greek yogurt, we significantly cut down on saturated fats while maintaining a luxuriously creamy texture. The choice of granular sweetener helps manage sugar intake, making it suitable for those watching their blood sugar levels. Furthermore, the almond flour crust contributes healthy fats and fiber, adding another layer of nutritional goodness to this amazing dessert.
Ingredient Benefits
- Reduced-Fat Cream Cheese: Provides the classic tangy, rich flavor and creamy texture of cheesecake with fewer calories and less saturated fat than full-fat versions.
- Plain Non-Fat Greek Yogurt: A secret weapon for adding a significant protein boost and a wonderfully smooth, slightly tangy creaminess. It also replaces some of the fat and calories found in traditional recipes.
- Protein Powder (Vanilla or Unflavored): Elevates the protein content, helping to make this dessert more filling and supportive of fitness goals. Vanilla powder adds a subtle sweetness and complementary flavor, while unflavored allows for more flexibility.
- Erythritol or Monk Fruit Sweetener: Offers natural sweetness without the calories or blood sugar impact of traditional sugar, making this cheesecake a diabetic-friendly option.
- Eggs: Act as a binding agent, providing structure and additional richness to the cheesecake filling, ensuring it sets beautifully.
- Vanilla Extract: A classic flavor enhancer that deepens the sweet and creamy notes of the cheesecake, making it more aromatic and inviting.
- Fresh Lemon Juice: Cuts through the richness of the dairy, adding a bright, zesty tang that is characteristic of a great cheesecake and balances the sweetness.
- Almond Flour: Forms the base of our gluten-free crust, offering healthy fats, fiber, and a delightful nutty flavor. It’s a fantastic alternative to traditional graham cracker crusts.
Expert Tips
- Room Temperature Ingredients: Ensure your cream cheese and eggs are at room temperature. This helps them mix smoothly and prevents lumps in your batter, resulting in a perfectly creamy cheesecake.
- Don’t Overmix the Filling: Once you add the eggs, mix only until just combined. Overmixing incorporates too much air, which can cause the cheesecake to puff up in the oven and then crack as it cools.
- The Water Bath Secret: For a perfectly smooth, crack-free cheesecake, a water bath is your best friend. The steam creates a moist environment, ensuring even baking and preventing the top from drying out and cracking.
- Chill, Chill, Chill: Resist the urge to cut into your cheesecake too early! Chilling for at least 4-6 hours (or overnight) is crucial for it to fully set, firm up, and develop its optimal creamy texture and flavor.
- Prevent Sticking: Before releasing the springform pan, run a thin knife gently around the edges of the cooled and chilled cheesecake. This helps ensure a clean release and prevents the sides from sticking.
- Customize Your Sweetness: The amount of sweetener can be adjusted to your personal preference. Taste the batter before adding the eggs (raw eggs should not be consumed) and add more sweetener if desired.
- Choose Your Protein Powder Wisely: Different protein powders absorb liquids differently. If your protein powder is very absorbent, you might need to slightly reduce the amount or add a splash more Greek yogurt or milk to achieve the desired consistency.
- Toppings Galore: While fresh berries are classic, feel free to get creative with your toppings! A sprinkle of cacao nibs, a drizzle of sugar-free chocolate syrup, or a dollop of sugar-free whipped cream can elevate your cheesecake.
Recipe Variations
- Vegan & Dairy-Free: Use plant-based cream cheese, dairy-free Greek yogurt (such as coconut or almond-based), and a plant-based protein powder. Ensure your crust ingredients are also dairy-free.
- Gluten-Free: This recipe naturally uses an almond flour crust, making it gluten-free. If using oats in your crust, ensure they are certified gluten-free.
- Chocolate Protein Cheesecake: Replace vanilla protein powder with chocolate protein powder. You can also add 2-3 tablespoons of unsweetened cocoa powder to the filling for an extra rich chocolate flavor.
- Lemon Berry Swirl: For an extra burst of flavor, swirl 2-3 tablespoons of sugar-free berry jam or lemon curd into the filling just before baking.
- High-Fiber Boost: Add 1-2 tablespoons of chia seeds or ground flax seeds to the crust mixture for an extra fiber punch.
- Nut-Free Crust: If you have nut allergies, opt for a crust made from crushed gluten-free oat crackers or a mixture of sunflower seed meal and oats.
Storage Instructions
Proper storage is key to keeping your high-protein cheesecake fresh and delicious for days!
- Refrigerator Storage: Leftover cheesecake should be stored in an airtight container or covered tightly with plastic wrap in the refrigerator. It will stay fresh for up to 3-5 days.
- Freezer Storage: For longer storage, this cheesecake freezes beautifully. You can freeze individual slices or the whole cheesecake (without toppings). Wrap slices tightly in plastic wrap, then again in aluminum foil, and place in a freezer-safe bag or container. It will keep well in the freezer for 1-2 months. Thaw individual slices in the refrigerator overnight or at room temperature for a couple of hours before serving.
- Best Containers: An airtight container is ideal for preventing the cheesecake from absorbing odors from other foods in the refrigerator and protecting it from freezer burn.
Frequently Asked Questions
Can I make this ahead of time?
Absolutely! In fact, this cheesecake tastes even better the next day after the flavors have had a chance to meld and the texture fully sets. You can prepare it up to 2-3 days in advance and store it in the refrigerator.
Can I use different types of protein powder?
Yes, you can. While whey protein (especially isolate) or a good quality plant-based protein powder often work best for texture and flavor, you can experiment with others. Just be aware that different protein powders can affect the consistency and sweetness, so you might need to adjust liquid or sweetener amounts slightly.
Is this cheesecake suitable for weight loss?
When consumed in moderation as part of a balanced diet, yes! Its high protein content helps with satiety, and its lower sugar and fat profile make it a much healthier alternative to traditional cheesecakes, aiding in calorie control.
How can I prevent my cheesecake from cracking?
The best way to prevent cracks is to use room temperature ingredients, avoid overmixing the batter (especially after adding eggs), use a water bath during baking, and allow the cheesecake to cool slowly in the oven before chilling.
Can I make this dairy-free?
Yes, follow the ‘Vegan & Dairy-Free’ variation instructions by using plant-based cream cheese, dairy-free Greek yogurt, and ensuring your protein powder is also plant-based.
What other sweeteners can I use?
Besides erythritol and monk fruit, you can use stevia blends, allulose, or a small amount of honey or maple syrup if you don’t mind the added sugar content. Adjust to taste as different sweeteners have varying levels of potency.
Can children eat this high-protein cheesecake?
Yes, this cheesecake can be a great, healthier treat for children! It offers a good source of protein and is lower in sugar. As with any treat, serve in moderation.
Do I have to pre-bake the crust?
Pre-baking the crust helps to prevent it from becoming soggy and gives it a nice, crisp texture. While you could technically skip it, for the best results, we recommend taking the extra step.
Conclusion
This Easy High-Protein Cheesecake is truly a revelation for anyone who loves dessert but wants to maintain a healthy lifestyle. It proves that you don’t have to sacrifice flavor or satisfaction to eat well. With its creamy texture, delightful taste, and impressive nutritional profile, it’s bound to become a staple in your recipe rotation.
So, go ahead and whip up a batch of this guilt-free indulgence today! You deserve a treat that’s both delicious and good for you. Enjoy every single bite!