Looking for a simple way to support a youthful glow? This DIY anti-aging gel might be just what your routine needs, combining natural ingredients for a fresh-looking complexion.
Quick Recipe
Prep time: 5 minutes
Best for: Fine lines, dullness, skin hydration
Use type: Gel
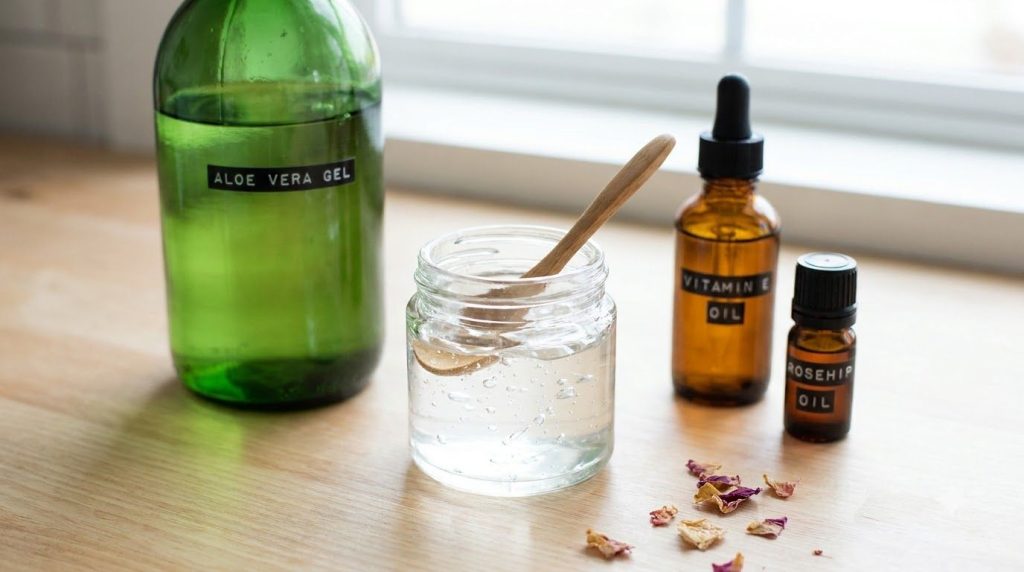
Main ingredients:
- Aloe Vera Gel
- Vitamin E Oil
- Rosehip Oil
Ingredients
- 3 tablespoons pure Aloe Vera Gel
- 1 teaspoon Vitamin E Oil (from capsules or liquid)
- 5 drops Rosehip Oil
How to Make It
- In a small, clean bowl, combine the pure aloe vera gel, vitamin E oil, and rosehip oil.
- Stir thoroughly with a spoon or small whisk until all ingredients are well combined and the mixture has a uniform, gel-like consistency.
- Transfer the freshly made gel into a clean, airtight container, such as a small glass jar or a pump bottle.
How to Use It
- Cleanse your face thoroughly with your regular facial cleanser.
- Pat your skin gently dry.
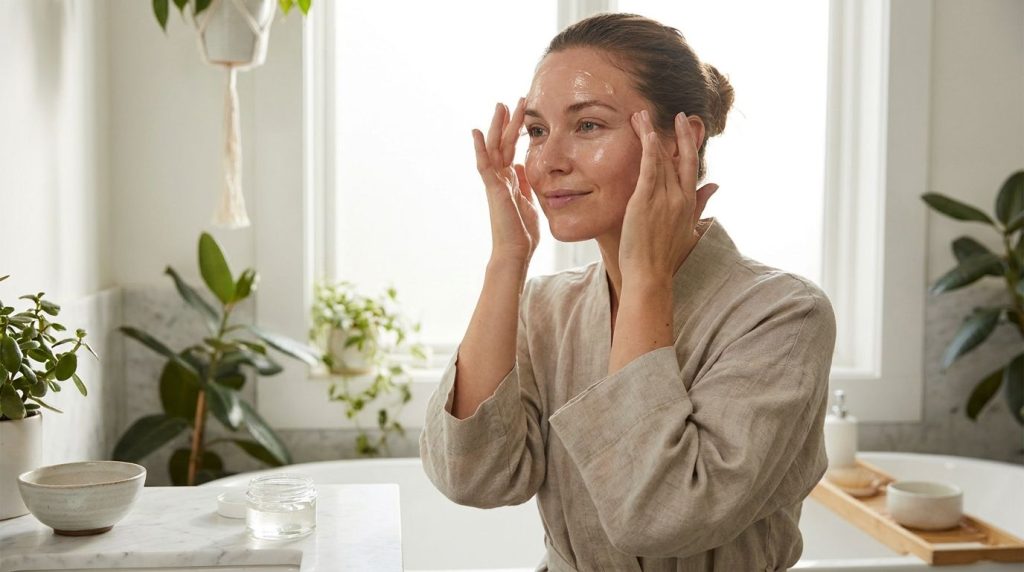
- Take a small pea-sized amount of the DIY anti-aging gel and gently massage it onto your face and neck using upward motions. Allow it to absorb fully into your skin.
How Often to Use It
This gel can be used once or twice daily, ideally in the morning and/or before bed, as part of your regular skincare routine. Consistency is key for best results.
Why These Ingredients Are Used
Aloe Vera Gel
Aloe vera is known for its soothing and hydrating properties. It helps to calm the skin, provide moisture, and create a smooth base for this gel. Many use it to help skin feel supple and refreshed.
Vitamin E Oil
Vitamin E is a popular antioxidant in skincare, traditionally used to nourish the skin. It helps to support the skin’s natural barrier and can contribute to a softer, more moisturized feel, potentially improving the appearance of fine lines caused by dryness.
Rosehip Oil
Rosehip oil is often celebrated for its ability to support skin regeneration and promote a brighter-looking complexion. It’s rich in beneficial compounds that can help improve the appearance of skin tone and texture.
What Results to Expect
Regular use of this DIY anti-aging gel may help your skin feel more hydrated, softer, and appear smoother. It can support a brighter-looking complexion and a more even skin tone. While natural remedies work gently over time, consistent application can contribute to a fresher, more youthful appearance.
Safety Notes
- Always perform a patch test on a small, inconspicuous area of your skin (like behind the ear or on your inner arm) at least 24 hours before applying the gel to your entire face to check for any allergic reactions or irritation.
- Use gently and avoid vigorous rubbing.
- Do not apply to irritated, broken, or sunburned skin.
- If you experience any redness, itching, burning, or discomfort, discontinue use immediately.
- Ensure all your containers and tools are clean to prevent bacterial contamination.
- Store the gel in a cool, dark place and use it within 1-2 weeks for optimal freshness, as it contains no artificial preservatives.
FAQ
How long does this homemade gel last?
Due to the lack of strong preservatives, this DIY gel is best used within 1-2 weeks if stored in a cool, dark place. For longer shelf life, you might consider adding a natural preservative, though it’s simplest to make small, fresh batches.
Can I use this gel under makeup?
Yes, once fully absorbed, this lightweight gel can serve as a hydrating base under your makeup, helping your skin look smoother throughout the day.
Is this gel suitable for all skin types?
Generally, the ingredients are mild. However, individual reactions vary. Always do a patch test, especially if you have sensitive, acne-prone, or very oily skin.
Final Thoughts
Embracing natural ingredients for your skincare can be a rewarding journey. This DIY anti-aging gel offers a simple and accessible way to nourish your skin and support a radiant, youthful appearance. Give it a try and see how these gentle ingredients can enhance your glow. Remember to share your experience in the comments below!
