The Ultimate DIY Floor Cleaner: Tackle Muddy Messes with Household Staples
Tired of store-bought cleaners that barely make a dent in stubborn dirt and leave behind a chemical smell? What if you could whip up a powerful, natural cleaning solution using everyday items already in your pantry? You can! This ultimate DIY floor cleaner recipe is designed to cut through grime, eliminate odors, and leave your floors sparkling clean, all while being incredibly budget-friendly.
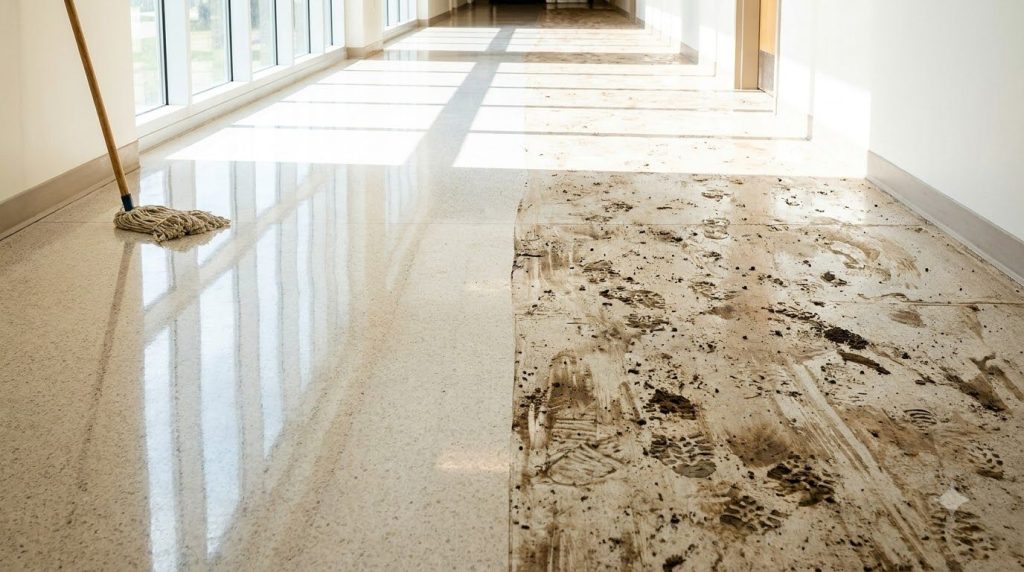
From muddy footprints tracked in by pets or kids to everyday spills and sticky residues, our homes face a constant battle against dirt. This simple yet effective homemade solution harnesses the power of common ingredients to deliver a deep clean without harsh chemicals. Get ready to transform your floors and save a bundle!
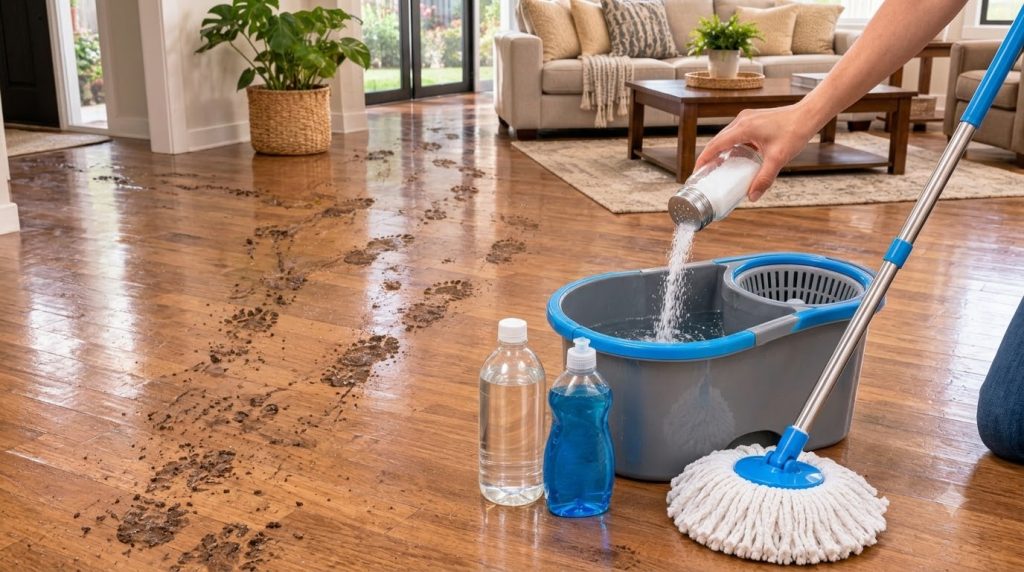
The Power-Packed DIY Floor Cleaner Recipe
This recipe is perfect for tackling large areas like floors, especially those prone to heavy foot traffic or muddy incidents. It’s safe for most sealed floor surfaces, including tile, laminate, linoleum, and sealed hardwood (always spot test first!).
Ingredients You’ll Need:
- 1 gallon (approx. 4 liters) warm water
- 1/2 cup table salt
- 1/4 cup blue dish soap (any grease-cutting variety)
- 1 cup white vinegar
Tools & Supplies:
- Large mop bucket
- Mop (sponge, string, or microfiber)
- Measuring cups
- Optional: Stiff brush for tough spots
Step-by-Step Instructions:
- Fill the Bucket: Pour 1 gallon of warm water into your mop bucket. Warm water helps activate the cleaning agents and dissolves dirt more effectively.
- Add the Salt: Add 1/2 cup of table salt to the warm water. Stir well until the salt begins to dissolve.
- Introduce Dish Soap: Pour in 1/4 cup of blue dish soap. Swirl the water gently to mix, avoiding excessive suds at this stage.
- Incorporate Vinegar: Finally, add 1 cup of white vinegar to the mixture. Give it a final stir to combine all ingredients thoroughly.
- Mop Away: Dip your mop into the solution, wring it out well (especially for hardwood), and start cleaning your floors.
- Rinse (Optional but Recommended): For a truly streak-free finish, especially on shiny surfaces, you might want to do a quick rinse with plain clean water after mopping with the solution. For most everyday cleans, the solution itself dries streak-free.
Why This DIY Cleaner Works Wonders
Each ingredient in this homemade cleaning solution plays a crucial role in tackling dirt and grime:
- Warm Water: Acts as the primary solvent, helping to loosen dirt and dissolve the other ingredients, making them more effective.
- Salt: While often overlooked in cleaning, salt acts as a mild abrasive, helping to scrub away stuck-on dirt and grime without scratching surfaces. It also has deodorizing properties, absorbing odors.
- Blue Dish Soap: A powerful degreaser and surfactant, dish soap cuts through grease, oil, and general grime. It helps lift dirt particles from the surface, allowing them to be easily wiped away.
- White Vinegar: This acidic powerhouse is excellent for dissolving mineral deposits, breaking down sticky residues, and acting as a natural disinfectant. It helps to sanitize surfaces and leaves a streak-free shine, while its acetic acid content effectively neutralizes odors rather than just masking them.
Where to Use Your Homemade Cleaning Solution
This versatile cleaner is ideal for a variety of surfaces and situations:
- Kitchen Floors: Tackles grease, food spills, and everyday traffic.
- Bathroom Floors: Excellent for soap scum, water marks, and general grime.
- Entryways and Mudrooms: Perfect for removing muddy footprints and outdoor debris.
- Laundry Rooms: Cleans up detergent spills and lint residue.
- Garage Floors (Sealed): Can handle tougher oil and grease stains (use a scrub brush for extra power).
- General Hard Surfaces: Beyond floors, it can be used on large countertops, utility sinks, or even outdoor patio furniture (always spot test first!).
Safety Tips & Important Notes
- Spot Test: Always test this solution on an inconspicuous area of your floor or surface first, especially on new or delicate materials, to ensure no discoloration or damage occurs.
- Ventilation: While natural, vinegar has a strong smell. Ensure good ventilation in the area you are cleaning. The smell typically dissipates quickly as it dries.
- Avoid Unsealed Surfaces: Do not use this solution on unsealed natural stone (like marble, granite, or travertine) as the acidity of vinegar can etch the surface.
- Storage: This solution is best made fresh for each use. If you have any leftover, it can be stored in a sealed container for a few days, but its efficacy might slightly diminish over time.
- Children and Pets: While generally safe, keep cleaning solutions out of reach of children and pets.
Reclaim Your Clean Home, The Natural Way!
Embracing DIY cleaning solutions like this not only saves you money but also reduces your exposure to harsh chemicals, making your home a healthier environment. With just a few common household ingredients, you can confidently tackle even the toughest floor messes, leaving your home smelling fresh and looking impeccably clean. Give this budget-friendly home hack a try and discover the power of simple, natural cleaning!