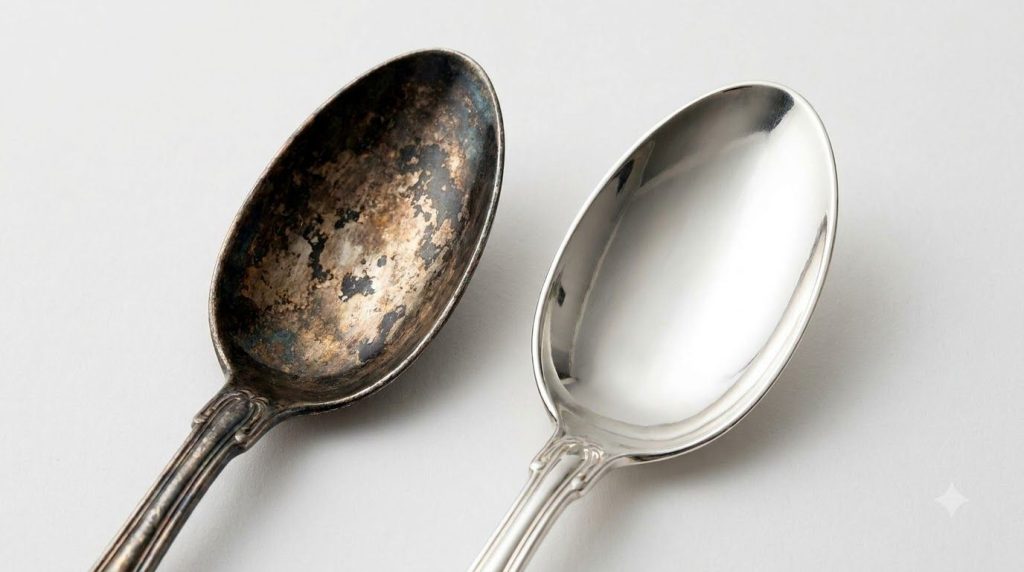
Is your once-gleaming silver jewelry, flatware, or decorative pieces looking dull, dark, and utterly devoid of their former shine? Tarnish is a natural enemy of silver, but it doesn’t mean you need harsh chemicals or expensive professional cleaning to bring back its luster. Get ready to transform your tarnished treasures with a surprisingly simple and incredibly effective DIY method using everyday household ingredients!
This home hack harnesses a basic scientific principle to lift tarnish right off your silver, leaving it sparkling clean without scrubbing. Say goodbye to black, murky silver and hello to brilliant shine!
The Problem: Why Silver Tarnishes
Silver tarnish isn’t just dirt; it’s a chemical reaction. Silver reacts with sulfur compounds in the air (like hydrogen sulfide, found in pollution, rubber, and even some foods) to form silver sulfide, which is black or dark brown. This layer accumulates on the surface, dimming the metal’s natural shine. Traditional polishing often involves abrading this layer away, which can remove tiny amounts of silver over time.
The Simple Solution: Electrolytic Cleaning
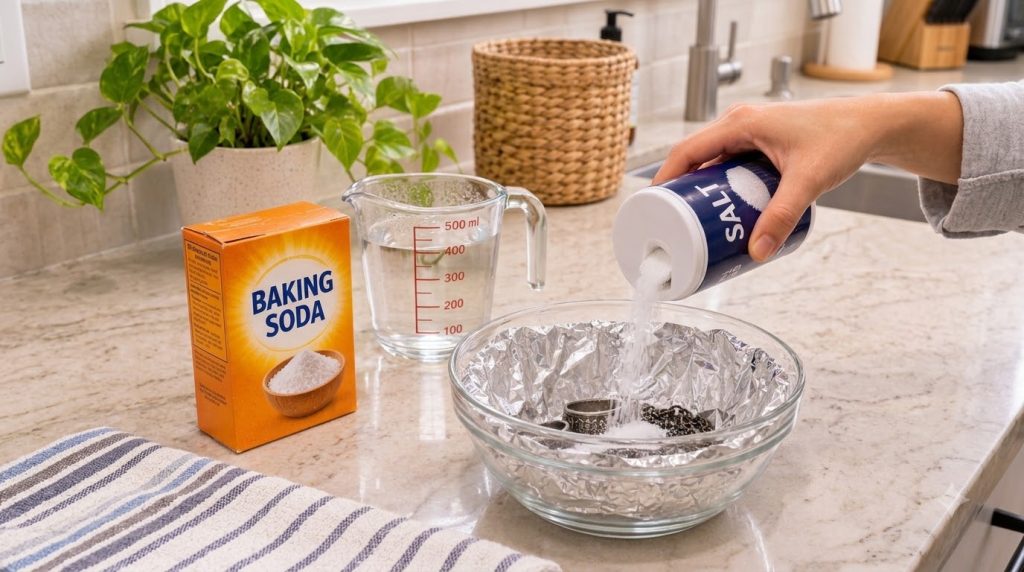
Our DIY method utilizes a process called ion exchange or electrolytic cleaning. It’s a gentler way to remove tarnish because it reverses the chemical reaction without physically scrubbing or polishing away the silver itself. Here’s what you’ll need:
Ingredients & Tools:
- Aluminum Foil: A sheet large enough to line your bowl.
- Heat-Proof Bowl or Dish: Glass or ceramic works best.
- Boiling Water: Enough to submerge your silver items.
- Baking Soda (Sodium Bicarbonate): 1-2 tablespoons.
- Salt (Sodium Chloride): 1-2 tablespoons.
- Tarnished Silver Items: Jewelry, flatware, small decorative pieces.
- Tongs or Spoon: For handling hot items.
- Soft Cloth: For drying and buffing.
Step-by-Step Guide: Bringing Back the Brilliance
-
Prepare Your Cleaning Station
Line your heat-proof bowl completely with aluminum foil, shiny side up. Make sure the foil covers the bottom and sides adequately. The more contact the silver items have with the foil, the better the reaction.
-
Arrange Your Silver
Place your tarnished silver items directly on the aluminum foil, ensuring each piece touches the foil. Don’t overcrowd the bowl; if you have many items, you might need to clean them in batches.
-
Add the Magic Powders
Sprinkle 1-2 tablespoons of baking soda and 1-2 tablespoons of salt evenly over the silver items in the bowl. The exact amount can vary slightly depending on the size of your bowl and the amount of water needed.
-
Pour in the Hot Water
Carefully pour enough boiling water into the bowl to completely submerge all the silver items. You should immediately notice a fizzing reaction, and a distinctive ‘rotten egg’ smell might be present (this is the sulfur being released).
-
Let It Soak and Work Its Magic
Allow the silver to soak for 5-10 minutes. For heavily tarnished items, you might leave them for up to 15 minutes, but keep an eye on them. You’ll often see the tarnish visibly lift and transfer to the aluminum foil, or the water may turn yellowish.
-
Rinse and Dry
Using tongs or a spoon, carefully remove the silver items from the hot water. Rinse them thoroughly under cool running water to remove any residual solution. Immediately dry them completely with a soft, clean cloth. Buff gently to enhance the shine.
Why This Method Works So Well
The aluminum foil acts as a sacrificial metal. In the hot water, the salt and baking soda create an electrolytic solution. This solution, along with the aluminum, sets up an electrochemical reaction. The sulfur ions that formed the tarnish on your silver are attracted to the aluminum, essentially ‘jumping’ from the silver to the foil. The tarnish is reversed, not removed by abrasion, leaving your silver intact and shiny.
Tips for Best Results & What to Avoid
- Stubborn Tarnish: If some tarnish remains, repeat the process.
- Oxidized Silver: This method is not recommended for intentionally oxidized or ‘antiqued’ silver, as it will remove the dark patina that is part of the design.
- Jewelry with Gemstones: Be cautious with porous gemstones (like pearls, opals, turquoise, amber) or those set with adhesive, as extreme heat can damage them or loosen settings. Stick to solid silver items or pieces with hard, non-porous stones.
- Large Items: For very large silver items, you can use this method in a larger basin or even the sink, ensuring good contact with foil and sufficient ingredients.
Maintain the Shine: Prevention is Key
Once your silver is sparkling, you’ll want to keep it that way for as long as possible:
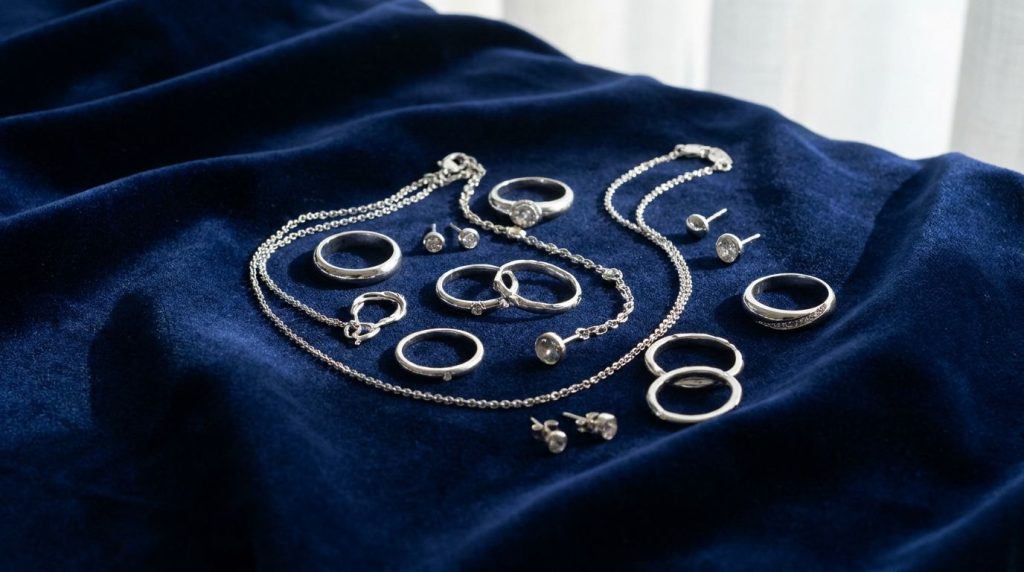
- Store Properly: Keep silver in airtight bags or velvet-lined boxes. Anti-tarnish strips can also be placed with your silver.
- Wear Regularly: Surprisingly, wearing your silver can help prevent tarnish, as the oils from your skin can create a protective barrier.
- Avoid Harsh Chemicals: Keep silver away from chlorine bleach, sulfurous foods (like eggs), and rubber.
- Clean Gently: After wearing, wipe silver jewelry with a soft cloth to remove skin oils and lotions before storing.
Conclusion
This simple baking soda, salt, and aluminum foil hack is a game-changer for anyone dealing with tarnished silver. It’s effective, budget-friendly, and uses common household items, making it an eco-friendly alternative to chemical cleaners. Give this easy DIY a try and rediscover the dazzling beauty of your silver possessions today!