DIY Shower Cleaning Magic: Banish Grime with This Simple Homemade Solution!
Are you tired of battling stubborn soap scum, hard water stains, and unsightly grime in your shower? We’ve all been there! Commercial cleaners can be effective, but they often come with harsh chemicals and a hefty price tag. What if we told you that some everyday items from your pantry and bathroom cabinet could be transformed into a powerful, budget-friendly shower cleaning paste? Get ready to say goodbye to shower gunk and hello to a sparkling clean bathroom with minimal effort!
The Problem: Stubborn Shower Grime
Showers are high-traffic areas, constantly exposed to water, soap, shampoo, and body oils. Over time, these elements combine to form a tenacious layer of soap scum and hard water deposits that can be incredibly difficult to remove. This build-up not only looks unsightly but can also harbor mold and mildew, making your bathroom feel less than fresh.
Your Secret Weapon: The DIY Shower Cleaning Paste
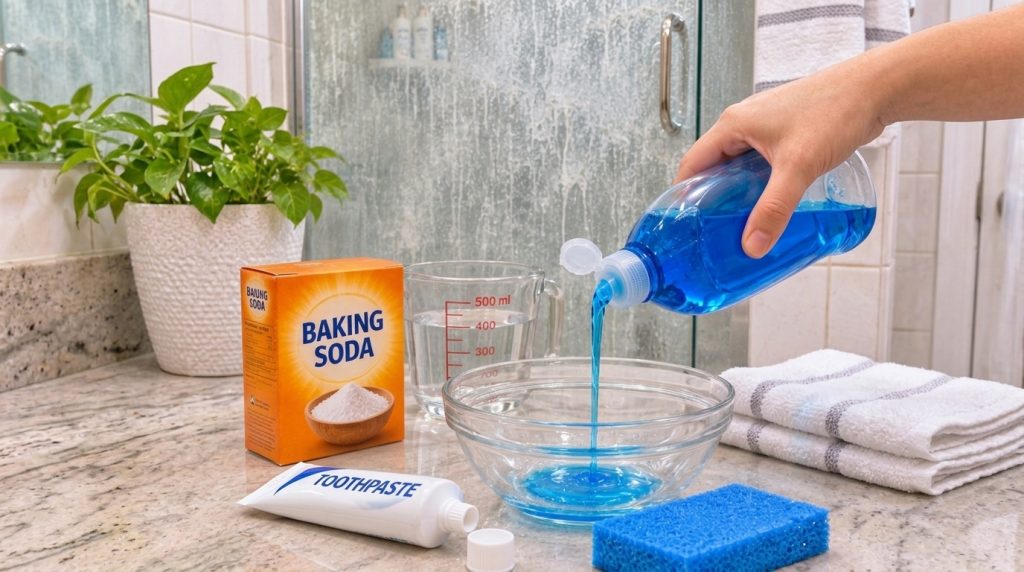
The good news? You don’t need industrial-strength chemicals to tackle this problem. Our simple DIY shower cleaning paste combines the power of blue dish soap, baking soda, toothpaste, and water to create an effective and surprisingly gentle solution. Let’s break down why these humble ingredients are so mighty.
Why These Ingredients Work Wonders
- Blue Dish Soap: Beyond just cleaning dishes, blue dish soap is a fantastic degreaser. It excels at breaking down the fatty acids in soap scum and the oily residues from body washes and shampoos, allowing them to be easily rinsed away.
- Baking Soda: This household staple is a mild abrasive that helps scrub away grime without scratching surfaces. It’s also a natural deodorizer and has properties that can help lift stains and neutralize acidic build-up.
- Toothpaste: Often overlooked as a cleaning agent, toothpaste contains mild abrasives (like silica) that provide extra scrubbing power for tough stains. Plus, it leaves behind a fresh, clean scent!
- Water: The essential diluent that brings all these powerful ingredients together, creating a workable paste or solution that can be easily applied.
What You’ll Need (Ingredient List & Tools)
Ingredients:
- 1/2 cup Baking Soda
- 1/4 cup Blue Dish Soap (any brand works)
- 2 tablespoons White Toothpaste (avoid gel varieties)
- 1/4 cup Warm Water (adjust as needed to create a paste)
Tools:
- Mixing bowl
- Spoon or stirring stick
- Non-abrasive sponge, scrub brush, or microfiber cloth
- Empty spray bottle (optional, for diluted application)
- Rubber gloves (recommended for hand protection)
Step-by-Step: Mixing & Applying Your Cleaning Solution
Follow these simple steps to transform your grubby shower into a gleaming oasis.
1. Prepare Your Area:
Ensure your bathroom is well-ventilated by opening a window or turning on the exhaust fan. If possible, wet down the shower walls and door with warm water to help loosen surface grime.
2. Mix the Paste:
- In your mixing bowl, combine the baking soda, dish soap, and toothpaste.
- Gradually add the warm water, stirring constantly, until you achieve a thick, spreadable paste. It should be thick enough to cling to vertical surfaces but not too stiff.
3. Apply the Solution:
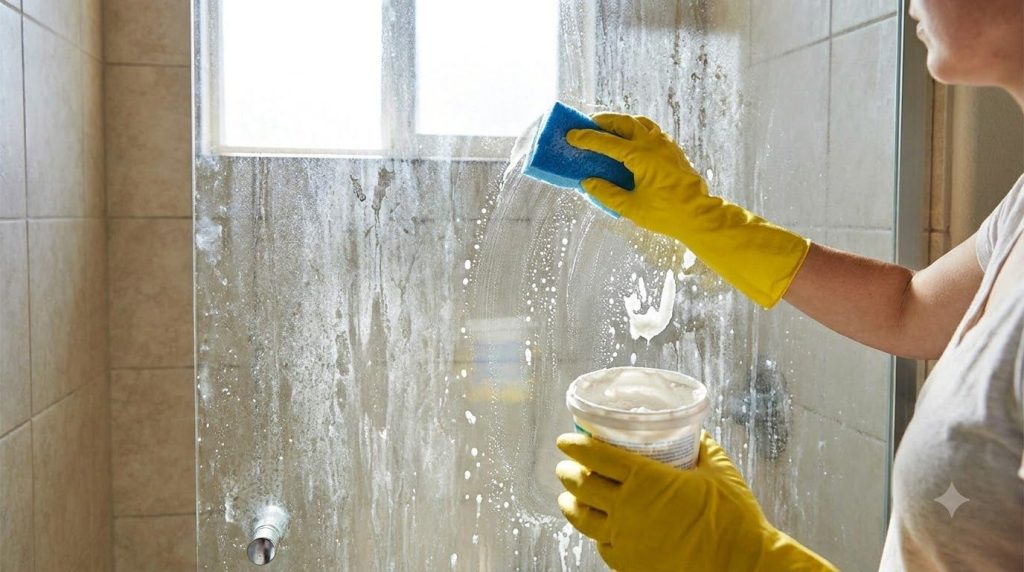
Wearing rubber gloves, use your sponge or scrub brush to apply the paste directly to the shower surfaces. Focus on areas with heavy soap scum and hard water stains. For tough spots, you can apply a slightly thicker layer.
4. Let it Sit (Optional, but Recommended):
For best results, allow the paste to sit on the surfaces for 5-15 minutes. This gives the ingredients time to penetrate and break down the grime.
5. Scrub Away:
After the waiting period, use your sponge or brush to vigorously scrub the treated areas. You’ll notice the grime starting to lift away easily. For grout lines, a small scrub brush or old toothbrush can be particularly effective.
6. Rinse Thoroughly:
Rinse all surfaces completely with warm water. You can use your showerhead or a clean bucket of water. Ensure all residue is washed away to prevent streaking.
7. Dry and Polish:
For a streak-free shine, dry your shower door and walls immediately with a squeegee, microfiber cloth, or an old towel. This also helps prevent new water spots.
Where to Use This Magic Cleaner
This versatile cleaning paste is safe and effective for most common shower surfaces, including:
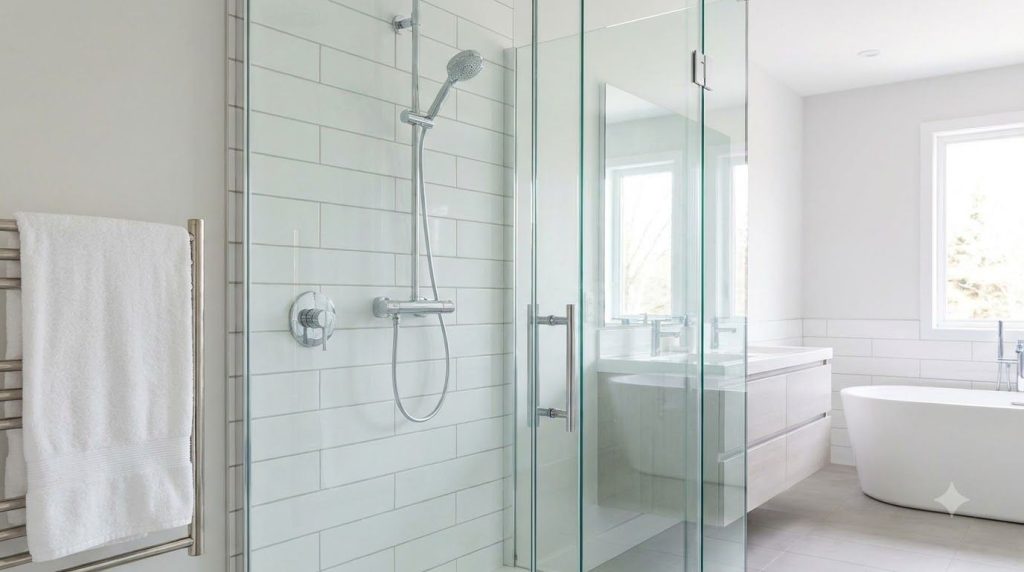
- Glass shower doors and panels
- Ceramic or porcelain tiles
- Grout lines
- Fiberglass or acrylic shower bases and tubs
- Chrome fixtures (use gently and rinse quickly)
Note: Always test on an inconspicuous area first, especially on delicate or porous surfaces like natural stone, to ensure no discoloration or damage occurs.
Safety First & Pro Tips
- Ventilation is Key: Even with natural ingredients, good ventilation helps dissipate any lingering odors and keeps the air fresh.
- Wear Gloves: While these ingredients are common, prolonged contact can dry out your hands.
- Patch Test: As mentioned, always test on a small, hidden area first, especially if you have unique shower materials.
- Regular Maintenance: To keep your shower sparkling for longer, consider using a daily shower spray after each use and squeegeeing down glass doors.
- Avoid Gel Toothpaste: Stick to traditional white paste toothpaste, as gels may not contain the same mild abrasives.
Beyond the Sparkle: Benefits of This DIY Hack
Choosing this homemade shower cleaner offers several advantages:
- Cost-Effective: You’re using ingredients you likely already have, saving you money on expensive commercial cleaners.
- Readily Available: No special trips to the store needed – just grab what’s on hand.
- Effective: The combination of these ingredients provides powerful cleaning action against common shower woes.
- Empowering: There’s a real sense of accomplishment in cleaning your home with simple, self-made solutions.
Transforming your shower doesn’t have to be a dreaded chore or an expensive endeavor. With this simple DIY cleaning hack, you can achieve a sparkling, fresh bathroom using everyday ingredients. Give it a try and experience the magic for yourself!