Unlock Sparkling Clean Utensils: The Simple Dish Soap & Baking Soda Hack
Are your kitchen utensils looking a little dull, grimy, or even harboring stubborn food residues? Before you reach for harsh chemicals or consider tossing them out, discover a powerful, budget-friendly cleaning solution right in your pantry: dish soap and baking soda. This dynamic duo is a secret weapon against grease, stains, and odors, making your kitchen tools sparkle like new.
We’re talking about a simple, effective method that harnesses the best of two everyday household staples to rejuvenate everything from wooden spoons to metal spatulas. Say goodbye to sticky residue and hello to a cleaner, fresher kitchen!
Why This Dynamic Duo Works Wonders
Understanding the science behind this simple hack will make you appreciate its effectiveness even more. Both dish soap and baking soda are cleaning powerhouses, but they tackle grime in different ways, creating a synergistic effect when combined.
- Dish Soap: Your go-to for cutting through grease. Dish soaps are surfactants, meaning they reduce the surface tension of water and help lift oily residues. They encapsulate grease particles, allowing them to be rinsed away easily.
- Baking Soda (Sodium Bicarbonate): This mild abrasive and deodorizer is truly remarkable. Its fine颗粒 provide gentle scrubbing power without scratching surfaces, making it ideal for removing stuck-on food. Additionally, baking soda is amphoteric, meaning it can react with both acids and bases to neutralize odors and break down various types of grime.
When combined, the dish soap lifts the grease, while the baking soda provides the abrasive action to scrub away stubborn bits and neutralizes any lingering smells. It’s a match made in cleaning heaven!
Gather Your Supplies
You likely already have everything you need for this simple cleaning hack.
Ingredients:
- Blue dish soap (or any brand you prefer)
- Baking soda
- Warm water
Tools & Containers:
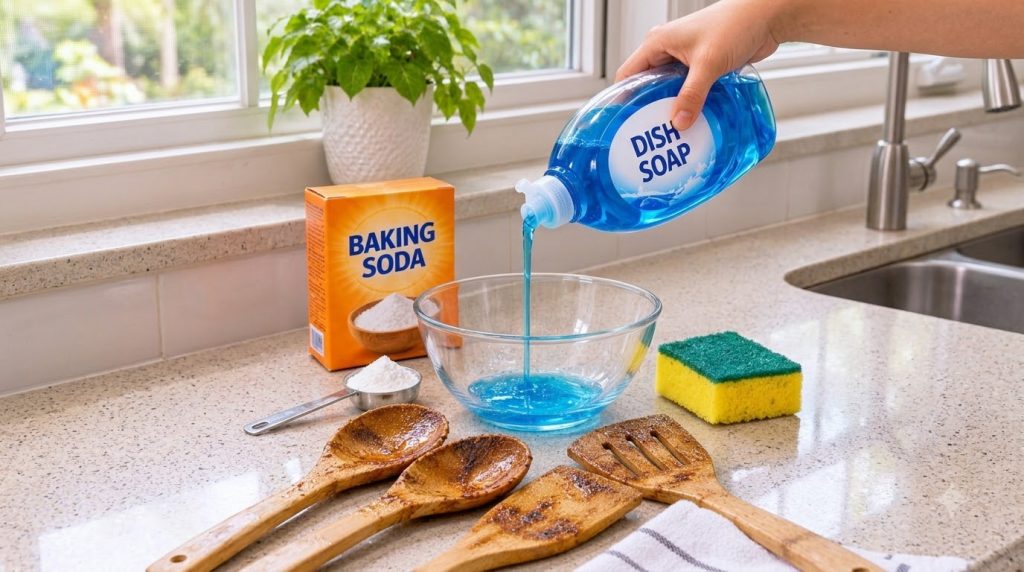
- A clear glass bowl or container for mixing
- A scrubbing sponge or brush
- A clean towel for drying
- Your dirty kitchen utensils
Step-by-Step Cleaning Guide for Sparkling Utensils
Follow these easy steps to bring your kitchen utensils back to life:
- Rinse Utensils: Start by rinsing your dirty utensils under warm running water to remove any loose food particles.
- Create the Paste: In your glass bowl, pour a generous amount of dish soap. Gradually add baking soda, stirring until you form a thick, spreadable paste. The consistency should be similar to toothpaste.
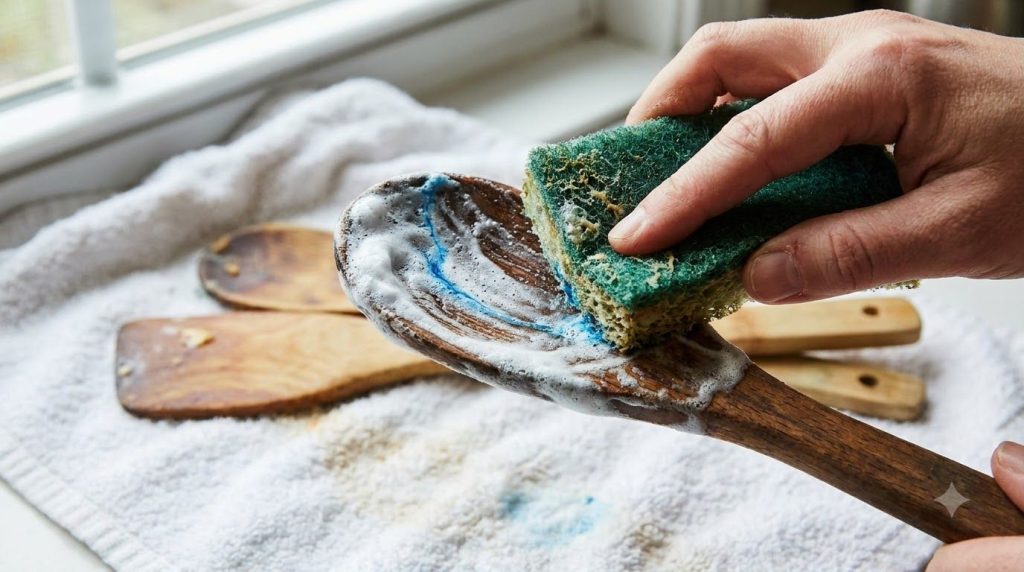
- Apply the Paste: Using your scrubbing sponge or brush, apply the paste directly onto your soiled utensils. Make sure to cover all areas with grime, especially handles and crevices. For wooden utensils, pay extra attention to any discoloration or stuck-on food.
- Scrub Thoroughly: Gently but firmly scrub each utensil. The baking soda will provide the abrasive power to lift away stubborn stains and food. For intricate areas, a small brush (like an old toothbrush) can be very effective.
- Let it Sit (Optional): For heavily soiled items, allow the paste to sit on the utensils for 5-10 minutes. This gives the ingredients more time to work on breaking down the grime.
- Rinse Clean: Rinse the utensils thoroughly under warm water until all the paste and grime are washed away. You’ll immediately notice the difference!
- Dry Completely: Dry your clean utensils completely with a clean towel before storing them to prevent water spots and inhibit bacterial growth, especially important for wooden items.
For Heavily Soiled Utensils or Deep Cleaning
If your wooden utensils have absorbed odors or are particularly greasy, consider an overnight soak:
- After scrubbing, place the utensils in a basin filled with warm water.
- Add a few tablespoons of baking soda and a squirt of dish soap to the water.
- Let them soak overnight.
- In the morning, give them another light scrub and rinse thoroughly.
Beyond Utensils: More Uses for This Power Duo
This fantastic cleaning paste isn’t just for kitchen utensils! Once you see its effectiveness, you’ll want to use it for other areas around your home:
- Stained Countertops: Gently scrub away coffee, tea, or food stains from laminate or solid surface countertops.
- Sink Cleaning: Polish stainless steel or porcelain sinks, removing water spots and soap scum.
- Grout Lines: Apply to dirty grout lines in your kitchen or bathroom, let sit, then scrub with a brush for brighter results.
- Greasy Oven Racks: This paste works wonders on baked-on grease on oven racks.
- Stovetop Splatters: Tackle stubborn food splatters and burnt-on messes around your stovetop.
Important Cleaning Tips & Precautions
- Test in an Inconspicuous Area: While generally safe, always test the paste on a small, hidden area of any new surface or material to ensure no discoloration or damage occurs. This is especially true for delicate finishes or painted items.
- Not for All Materials: Avoid using abrasive pastes like this on highly polished or delicate surfaces that could scratch easily.
- Rinse Thoroughly: Always ensure all residue of the cleaning paste is rinsed away to prevent any sticky film or dullness.
- Regular Cleaning: For wooden utensils, regular cleaning and occasional oiling (with food-grade mineral oil) will extend their life and keep them looking their best.
Embracing simple, natural cleaning solutions like the dish soap and baking soda paste can transform your home cleaning routine. It’s effective, affordable, and reduces your reliance on harsh chemicals. Give it a try and marvel at the sparkling results!
What’s your go-to cleaning duo for tough kitchen grime? Share your tips in the comments below!