There is something satisfying about making your own skincare. Dry hands, rough elbows and tired-looking skin can all respond well to a simple, rich cream you mix yourself in a few minutes. This guide walks you through a basic homemade cream built on natural ingredients, so you know exactly what goes on your skin.
What You’ll Need
Ingredients
- 1/4 cup unrefined shea butter
- 2 tablespoons refined coconut oil
Tools
- A small clean bowl
- A plastic or silicone spatula
- A small clear container with a lid for storage
- A clean spoon for measuring
Why This DIY Can Be Useful
Shea butter is a thick, rich fat that softens dry skin and helps it hold moisture. Coconut oil melts easily into the blend, making the texture smoother and easier to spread. Together they form a cream that works well for hands, elbows, heels and other areas that tend to feel dry. Because the recipe uses only two ingredients, it is easy to understand and easy to adjust if you want a lighter or thicker texture.
How to Make It
- Let the shea butter sit at room temperature until it is soft enough to scoop. For faster softening, warm it in a microwave in very short bursts of 5 to 10 seconds, stirring between each one. Do not let it get hot or start to melt completely.
- Scoop 1/4 cup of softened shea butter into your clean bowl.
- Add 2 tablespoons of coconut oil. If the coconut oil is solid, soften it the same way first.
- Stir with a spatula until the mixture is smooth and combined. For a fluffier, whipped texture, use a hand mixer on low, then increase the speed for about one to two minutes until it looks light and creamy.
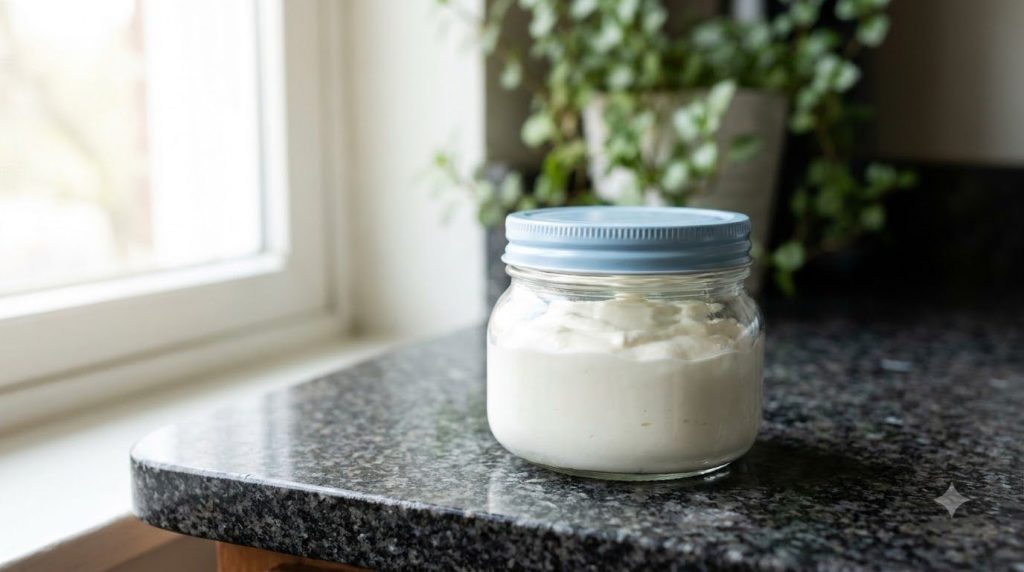
- Spoon the cream into your clean container, pressing gently to remove air pockets. Seal the lid tightly.
- Leave the container at room temperature for an hour or two so the cream firms up slightly before you start using it.
How to Use It
Start with clean, dry skin. Warm a small amount between your fingers, then massage it into hands, elbows, heels or any patch that feels rough. A pea-sized amount is usually enough for the hands. Apply it after washing or bathing, when your skin is still slightly damp, to help lock in moisture.
Avoid dipping wet fingers into the container, since water can introduce bacteria and shorten the shelf life. Use a clean spoon or spatula to scoop out what you need.
What to Expect
This cream is a simple moisturizer, not a treatment for medical skin conditions. Most people notice softer, more comfortable skin after regular use, especially in dry weather. Results vary depending on your skin type and how often you apply the cream. Consistent use over several days usually gives a better sense of how it works for you than a single application.
Helpful Tips
- Use a clean, dry container and utensils every time to keep the cream fresh.
- Store the jar in a cool, dry place away from direct sunlight. The coconut oil and shea butter can soften in heat.
- Make small batches so you can use the cream within a few months.
- If you prefer a lighter feel, reduce the shea butter slightly and add a little more coconut oil.
Important Notes / Safety
- Do a patch test first. Apply a small amount to the inside of your forearm and wait 24 hours. Skip the recipe if you notice redness, itching or irritation.
- Do not use the cream on broken, infected or irritated skin.
- Check for allergies to tree nuts before using shea butter, and avoid coconut products if you are allergic to coconut.
- Stop using the cream and contact a healthcare professional if you have a reaction or if dry skin does not improve.
- Keep the cream away from children and do not use it near the eyes.
Making your own cream is a simple way to care for your skin with ingredients you recognize. Start with a small batch, pay attention to how your skin responds, and enjoy the calm of making something useful with your own hands.