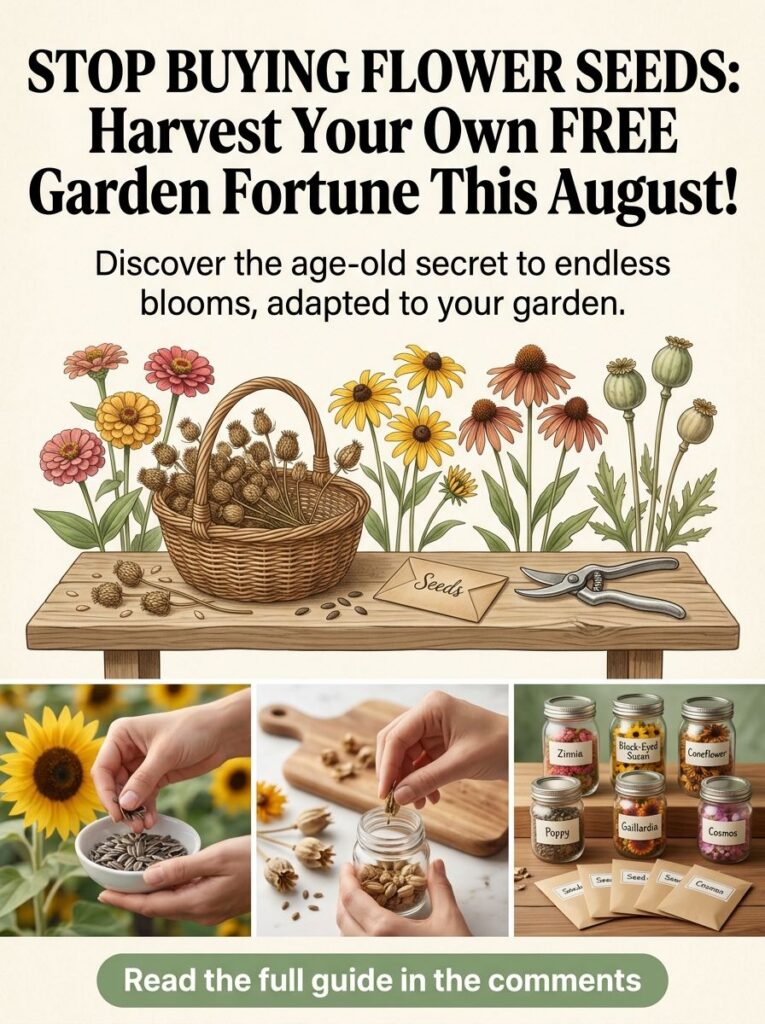
Imagine stepping into your garden each spring, knowing that the vibrant flowers you cherish can bloom again and again, year after year, without ever costing you another dime for seeds! It’s not a dream; it’s the beautiful, time-honored practice of harvesting your own flower seeds. This August, as your summer garden begins its graceful transition, is the perfect time to learn this invaluable skill and transform your patch into a truly self-sufficient haven.
Think of it as nurturing your garden’s legacy. By collecting seeds from your favorite plants, you’re not just saving money; you’re cultivating strains uniquely adapted to your local climate and soil, ensuring stronger, more resilient blooms for seasons to come. It’s a simple trick, passed down through generations of gardeners, and I’m here to walk you through every step!
Why Harvesting Your Own Seeds is a Garden Game-Changer
Seed saving isn’t just a quaint hobby; it’s a powerful way to enhance your gardening experience and impact. Here’s why it’s worth adding to your routine:
Save Money, Grow Stronger Plants
- Free Future Blooms: The most obvious benefit is cutting down on your annual seed budget. Imagine using that saved money for new tools, soil amendments, or even more plants!
- Local Adaptation: Seeds harvested from plants that thrived in your garden are already accustomed to your specific soil, sunlight, and weather patterns. This means their offspring are more likely to be vigorous and resilient than store-bought varieties grown elsewhere.
- Preserve Favorite Varieties: If you have a particular zinnia color or a robust coneflower variety that you adore, saving its seeds ensures you can enjoy it again and again, year after year.
Connect Deeper with Your Garden
There’s a profound satisfaction in holding the tiny embryos of future life in your hand, knowing you played a direct part in their journey. Seed saving fosters a deeper connection to nature’s cycles and gives you a sense of accomplishment.
When to Start Your Seed Harvesting Adventure (Hint: August is Perfect!)
Timing is everything when it comes to seed saving. You want to collect seeds when they are fully mature, but before the plant naturally disperses them. For many popular summer flowers, late summer to early fall—making August an ideal month—is prime time.
Spotting the Right Moment: Signs Your Seeds Are Ready
Look for these tell-tale signs that your flower seeds are ripe for the picking:
- Drying and Browning: Seed pods or flower heads will often turn brown, dry, and crispy. Green pods usually indicate immature seeds.
- Rattling Sound: For many types of seeds (like marigolds or poppies), if you gently shake the dried seed head, you might hear the seeds rattling around inside.
- Easy Detachment: Mature seeds will often detach easily from the plant.
- Familiar Appearance: If you’ve ever bought seeds, you’ll recognize the general appearance of the mature seeds themselves once you get a peek.
Your Step-by-Step Guide to Collecting Flower Seeds
Ready to get your hands a little dirty? Here’s how to collect those precious seeds:
Choose Your Champions: Best Flowers for Seed Saving
Many common garden flowers are excellent for seed saving. Some of my favorites include:
- Zinnias: Wait for the entire flower head to dry and brown.
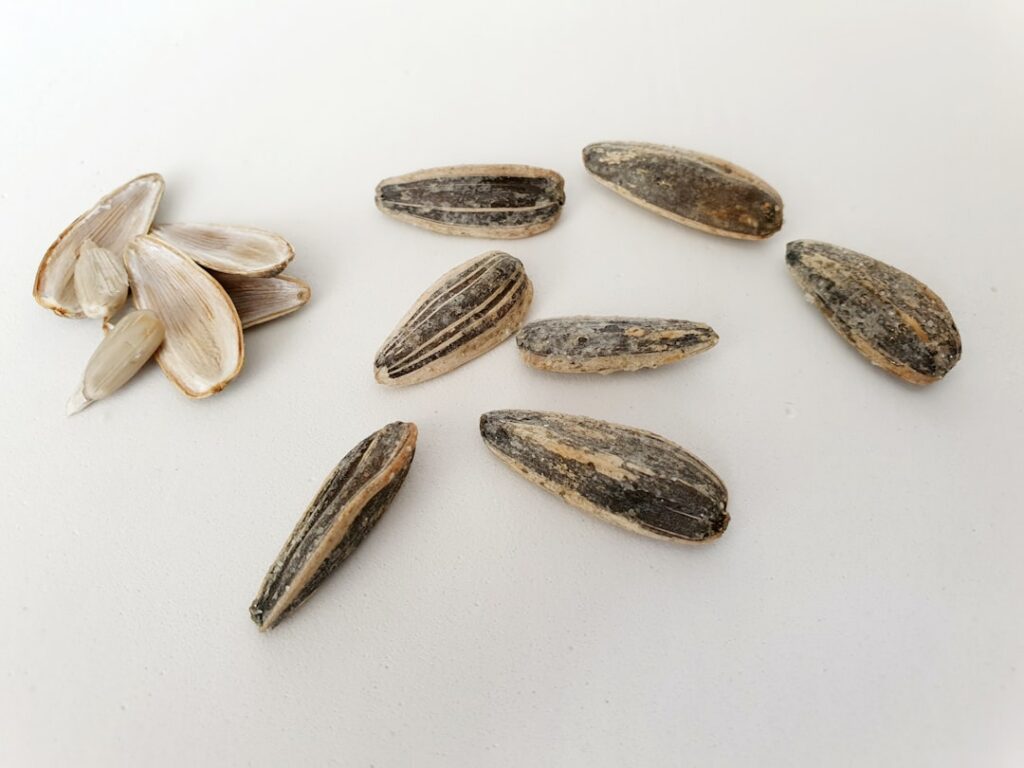
- Sunflowers: The large head will turn yellow and then brown, and the back will start to dry.
- Coneflowers (Echinacea): The central cone will become hard and prickly, with seeds embedded in the base of the petals.
- Poppies: Once the seed pod (a capsule) turns brown and dry, you’ll hear the seeds rattle inside.
- Cosmos: The petals will fall off, and the central receptacle will dry, revealing dark, elongated seeds.
- Black-Eyed Susans (Rudbeckia): Similar to coneflowers, the central dome will dry and harden.
- Gaillardia (Blanket Flower): The flower head will dry and become fluffy/papery.
- Marigolds: Let the flower heads dry completely on the plant.
The Gentle Art of Collection
Once you’ve identified ripe seeds:
- Gather Your Tools: You’ll need sharp garden shears or scissors, and a small paper bag or envelope for immediate collection.
- Clip Carefully: Cut off the dried flower head or seed pod, leaving a small stem attached if possible.
- Collect Directly: Hold the bag or envelope under the seed head as you clip to catch any loose seeds.
- Label Immediately: This is crucial! Label your bag or envelope with the flower type and the date of harvest. You’ll thank yourself later.
Cleaning and Preparing Your Garden Treasures
After collection, most seeds need a bit of cleaning to separate them from the ‘chaff’ (dried petals, bits of stem, and other debris). This helps prevent mold and makes storage more efficient.
- Spread Them Out: Lay your collected flower heads or pods on a screen, paper plate, or newspaper in a dry, airy spot away from direct sunlight.
- Break Apart: Once fully dry, gently break apart the flower heads or pods over a bowl.
- Winnowing: For lighter chaff, you can ‘winnow’ by gently blowing over the seeds in a shallow bowl. The lighter bits will fly away, leaving the heavier seeds. Alternatively, use a fine-mesh sieve.
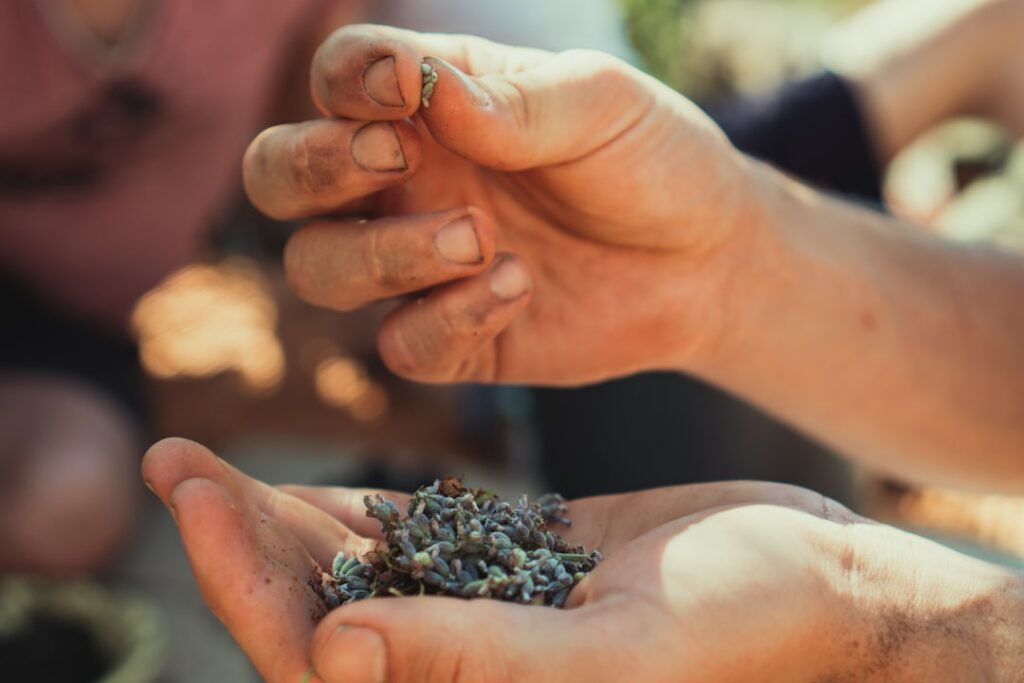
The Secret to Long-Lasting Seeds: Proper Drying and Storage
Proper drying and storage are critical to maintaining your seeds’ viability. A single speck of moisture can lead to mold and ruin your entire harvest.
Drying Them Right
Even after cleaning, your seeds might still retain some moisture. Spread them in a single layer on a plate, screen, or coffee filter in a warm, dry spot with good air circulation for at least one to two weeks. Avoid direct sunlight or extreme heat, which can cook the embryo within.
Storing for Success
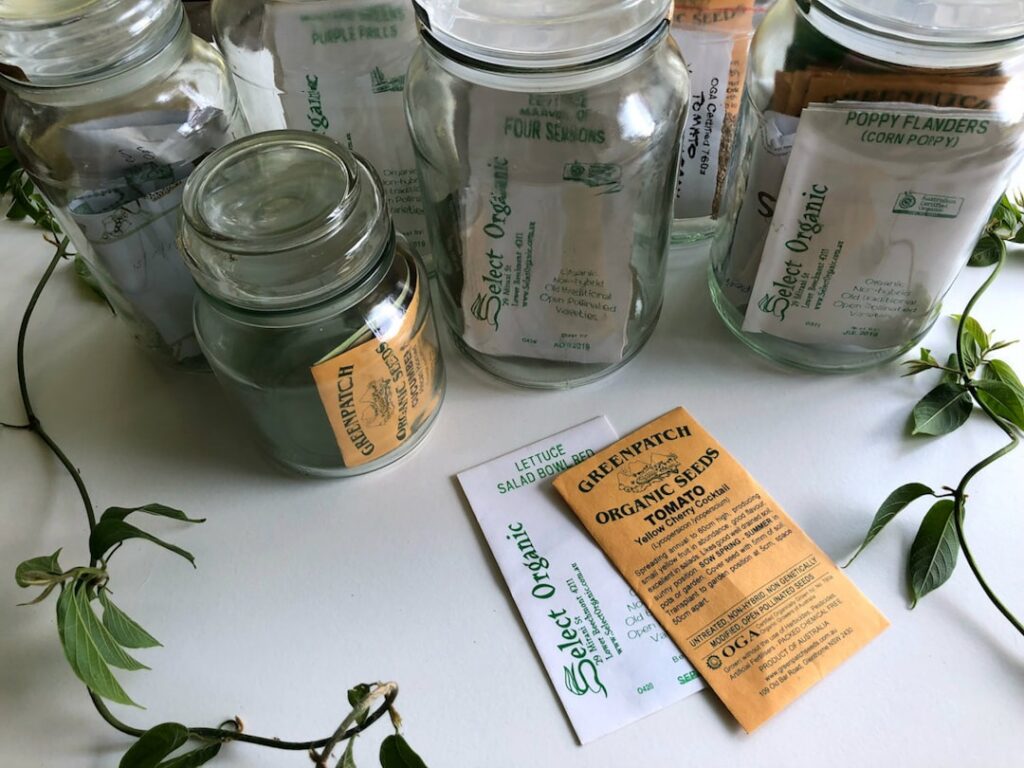
Once completely dry, store your seeds in a cool, dark, and dry place. Here are some excellent options:
- Paper Envelopes: Breathable and good for small batches.
- Glass Jars with Tight Lids: Excellent for keeping moisture and pests out. Add a desiccant packet (like those found in shoe boxes) if you live in a humid area.
- Plastic Containers: Can also work if sealed well.
Always label your containers clearly with the flower variety and the date of harvest! Seeds generally remain viable for 1-5 years, depending on the type and storage conditions.
Reaping Your Rewards: Planting Your Home-Grown Seeds
The true joy of seed saving comes in the spring when you plant your home-grown seeds and watch them sprout into new life. You’ll feel a deep sense of accomplishment knowing that you nurtured them from bloom to seed, and now back to bloom again.
This August, take a moment to look at your beautiful garden with new eyes. Those fading flowers aren’t just saying goodbye to summer; they’re offering a gift for next year. Embrace the cycle, save those seeds, and prepare for an even more abundant, beautiful, and truly free garden!