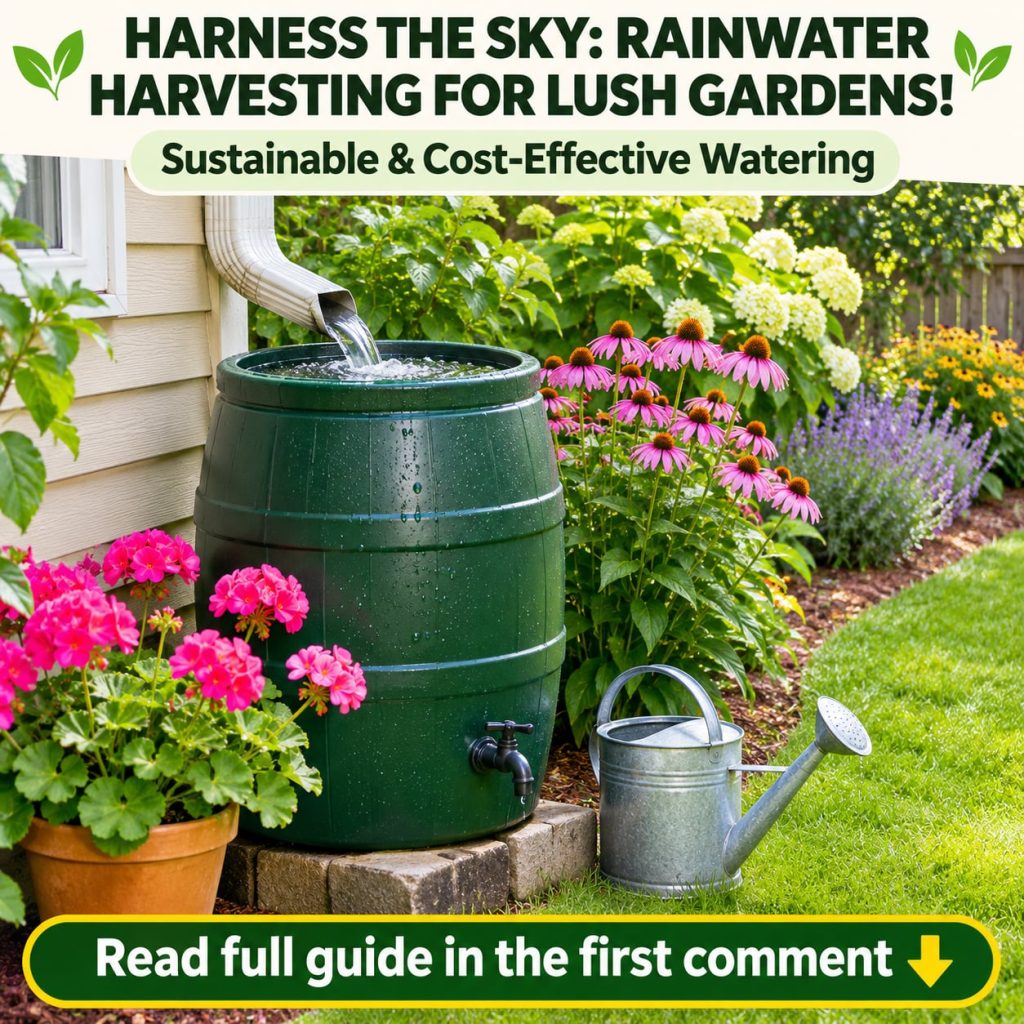
Rain is one of the most generous resources your garden will ever receive. Instead of letting every drop run off the roof and down the driveway, you can capture it, store it, and use it to water your plants during dry spells. Rainwater harvesting is a practical, budget-friendly habit that supports healthier plants and a greener lifestyle.
Why Rainwater Is a Valuable Resource for Gardeners
Many gardeners find that rainwater works well for their plants. It is naturally soft, so it does not carry the mineral buildup that can come from hard tap water. It also costs nothing once your collector is set up, which makes it an appealing option for anyone who waters often.
Collecting rain also reduces stormwater runoff around your home. Water that is captured on site is water that does not carry soil and debris into drains. Over a season, even a modest setup can make a noticeable difference to your water use and your garden routine.
What You Will Need to Build a Simple Rain Collector
A basic system does not require special skills or expensive tools. Most home gardeners can build one over a weekend using common materials.
- A food-safe barrel or large container with a lid, ideally with a capacity of 50 to 200 liters
- A downspout diverter kit or a length of rigid pipe to redirect water from the gutter
- A fine mesh screen to keep leaves, insects, and mosquitoes out of the barrel
- A tap or spigot near the bottom for easy access to the water
- A stable base made from concrete blocks, gravel, or a sturdy platform
- Basic tools such as a drill, a hole saw, sealant, and a level
Step-by-Step: Setting Up Your Collector
- Choose a location near a downspout where the barrel can sit on level, firm ground close to the plants you water most often.
- Raise the barrel on a stable base so that gravity can help you fill watering cans and hoses.
- Cut a hole near the top of the barrel and fit the overflow outlet so that excess water can drain safely away from your foundation.
- Install the diverter on the downspout and connect it to the barrel inlet, checking that all joints are sealed.
- Cover the inlet with fine mesh to block debris and mosquitoes, and make sure the lid fits tightly.
- Attach the spigot near the bottom of the barrel and test the system with a garden hose before the next rainfall.
Smart Ways to Use Harvested Rainwater
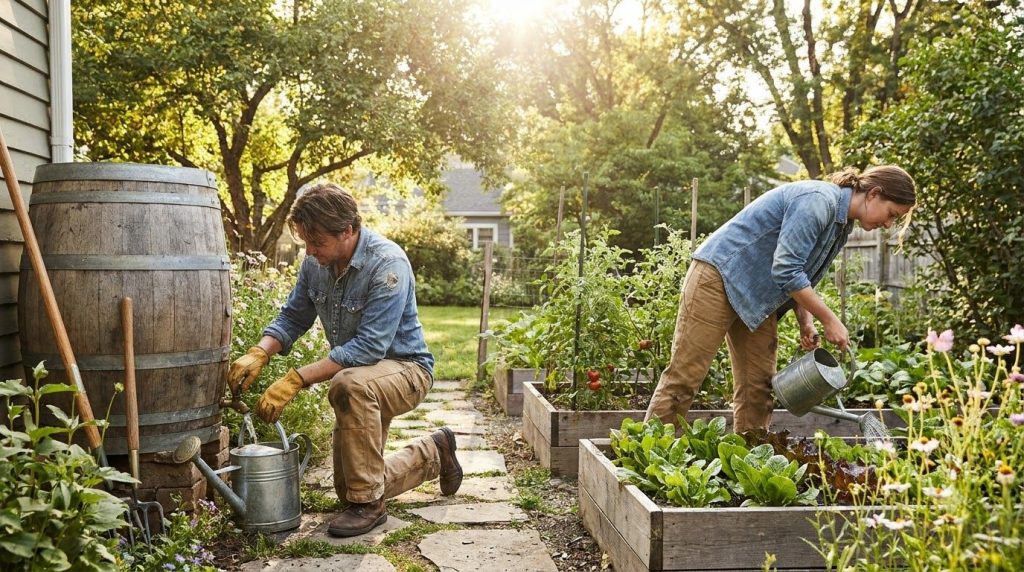
Once your collector is in place, a little planning will help you get the most from every rainfall.
- Water seedlings, container plants, and indoor plants that prefer gentle moisture.
- Use rainwater for vegetable beds, flower borders, and fruit shrubs during dry weeks.
- Direct water to the root zone rather than the leaves to reduce evaporation and disease risk.
- Water in the early morning or evening to help plants absorb moisture more efficiently.
- Mulch the soil around your plants to keep moisture in place for longer.
Keeping Your System Clean and Safe
Clean water makes for healthy plants. Check the mesh screen and gutters regularly to remove leaves and debris, and drain the barrel occasionally to prevent sludge from building up. Keep the lid closed to block light, which discourages algae, and avoid using rainwater that has been collected from roofs treated with certain coatings or materials. If you plan to use harvested water on edible crops, consider a first-flush diverter and check local guidance on rainwater use in your area.
Final Thoughts
Rainwater harvesting is a rewarding way to care for your garden while using water more thoughtfully. With a simple barrel, a diverter, and a little routine maintenance, you can turn ordinary rainfall into a valuable resource for your plants. Start small, observe how your garden responds, and expand your system as your confidence grows.