Danish butter cookies are one of those classic bakes that look fancy but are surprisingly simple to make at home. These cookies are rich, golden, and crisp at the edges, with a tender center that practically melts once it hits your tongue. They pair well with a cup of coffee or tea, and they are a nice treat for a holiday tin, an afternoon snack, or a weekend baking project.
Why You’ll Love This Recipe
- Simple ingredients: butter, sugar, egg yolk, flour, and vanilla.
- Melt-in-your-mouth texture from a high butter content.
- Easy to shape with a piping bag or cookie press.
- Makes a great gift or make-ahead treat.
Ingredients
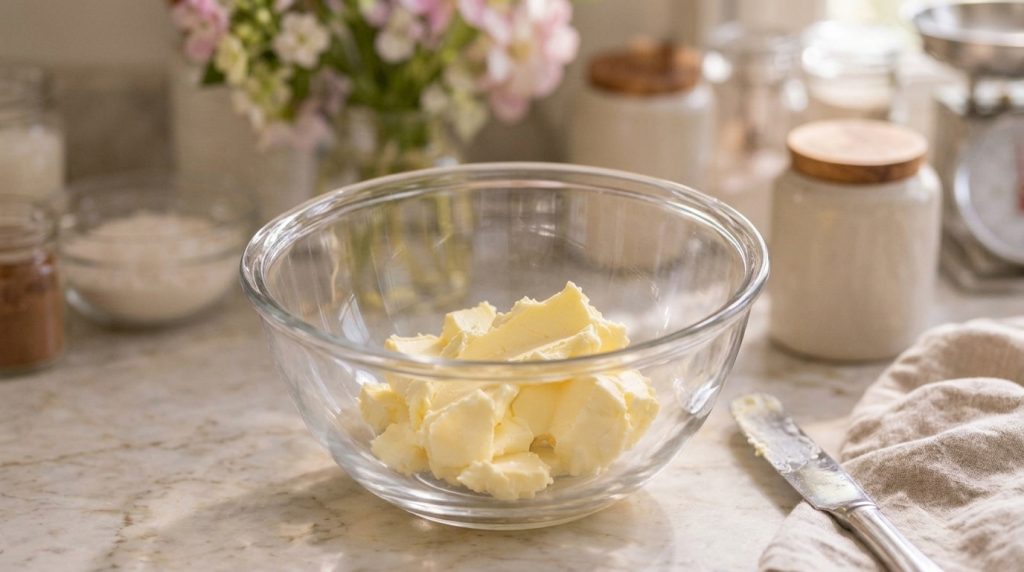
- 1 cup (226 g) unsalted butter, softened to cool room temperature
- 1/2 cup (100 g) granulated sugar
- 1 large egg yolk (about 18 g)
- 1 teaspoon (5 ml) pure vanilla extract
- 2 1/4 cups (280 g) all-purpose flour
- 1/4 teaspoon (1.5 g) fine salt
Ingredient Notes
Use real butter for the best flavor and texture. Softened butter should give slightly when pressed but still hold its shape. Egg yolk adds richness and helps the dough hold together. If you need a substitute for vanilla, a small amount of almond extract works, but use it sparingly.
Equipment You’ll Need
- Stand or hand mixer
- Piping bag with a star tip, or a cookie press
- Baking sheets lined with parchment paper
- Wire cooling rack
How to Make Danish Butter Cookies
- Preheat the oven to 350°F (175°C). Position a rack in the center of the oven.
- Beat the softened butter and sugar on medium speed for about 2 to 3 minutes, until pale and fluffy.
- Add the egg yolk and vanilla, then beat for another 30 seconds until smooth.
- Reduce the mixer speed to low and add the flour and salt. Mix just until a soft dough forms, about 30 to 60 seconds. Stop as soon as no dry flour is visible.
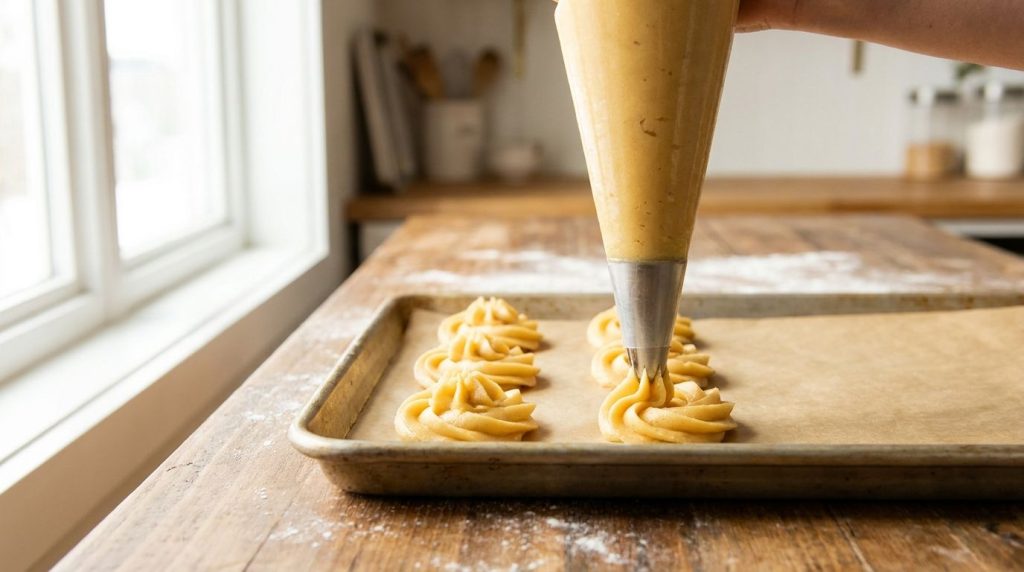
- Transfer the dough to a piping bag fitted with a star tip, or load it into a cookie press.
- Pipe 1 1/2-inch rounds or S-shapes onto the parchment-lined baking sheets, leaving about 1 inch between cookies.
- Bake for about 10 to 12 minutes, until the edges are lightly golden. The centers should look set but pale.
- Let the cookies cool on the sheet for 5 minutes, then move them to a wire rack to cool completely.
Pro Tips for the Best Results
- Chill the piped cookies for 10 minutes before baking if the dough feels soft. This helps them keep their shape.
- Keep the butter at a cool room temperature. Butter that is too warm will spread and bake flat.
- Pipe the dough with steady, even pressure for uniform cookies that bake at the same rate.
- Bake one sheet at a time for the most even color.
Common Mistakes to Avoid
- Overmixing the flour: This can make the cookies tough. Mix only until the dough just comes together.
- Overbaking: Pull the cookies out once the edges are golden. They will firm up as they cool.
- Using melted butter: This makes the dough greasy and causes spreading.
Variations and Substitutions
- Dip half of each cooled cookie in melted dark or white chocolate.
- Add 1/2 teaspoon of lemon zest to the dough for a bright flavor.
- Sprinkle a little coarse sugar on top before baking for extra crunch.
Serving Suggestions
Serve these cookies with coffee, black tea, or a glass of cold milk. They also look lovely on a dessert platter with fresh berries.
Storage and Reheating
Store cooled cookies in an airtight container at room temperature for up to about one week. Layer them with parchment paper to protect the delicate edges. Reheating is not usually needed. If the cookies lose some crispness, warm them briefly in a low oven and let them cool before serving.
Frequently Asked Questions
Can I make the dough ahead of time?
Yes. You can refrigerate the dough in a covered bowl for up to 2 days. Let it sit at room temperature for 15 to 20 minutes so it is soft enough to pipe.
Can I freeze Danish butter cookies?
Yes. Freeze baked cookies in a single layer, then store them in an airtight container for up to about 1 month. Thaw at room temperature before serving.
Why did my cookies spread too much?
The butter was likely too warm or the dough was overmixed. Chill the piped cookies briefly before baking next time.
How do I know when the cookies are done?
Look for lightly golden edges and pale golden bottoms. The centers should look set. Exact baking time depends on your oven, so check a few minutes early.
Let us know in the comments: what is your favorite classic cookie?