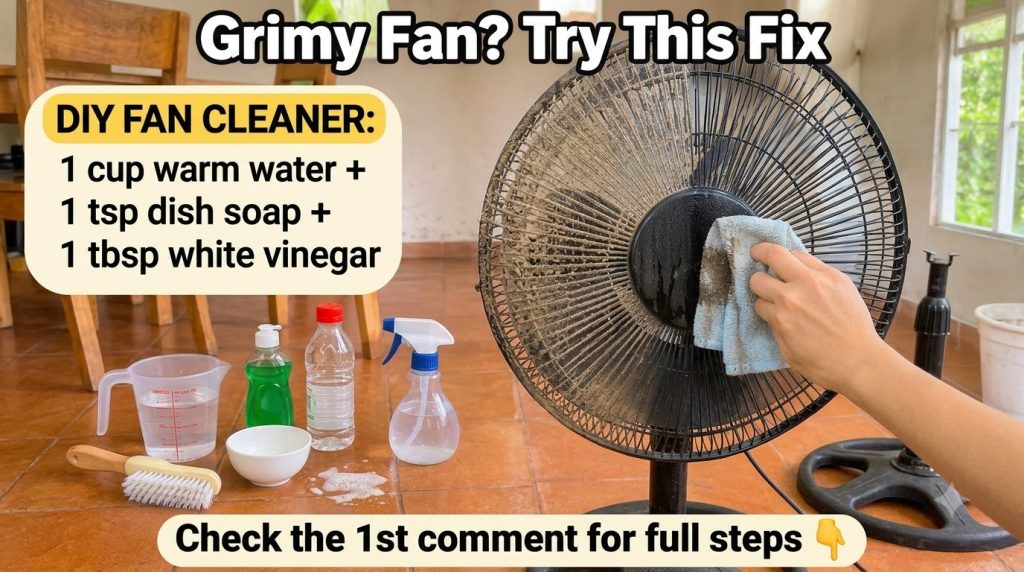
Pedestal fans are easy to forget. They sit in a corner, run through the warm months, and slowly collect a layer of dust that turns gray and sticky, especially around the front guard and motor housing. Left alone, that buildup can make the fan look worn out and can even reduce airflow as dust clogs the grille. The good news is that a thorough cleaning takes less than an hour and doesn’t require anything harsh.
What You’ll Need
Tools and supplies:
- Vacuum with a brush attachment or a soft dusting brush
- Old soft-bristle toothbrush or small cleaning brush
- Two clean microfiber or cotton cloths
- A small bowl of warm water
- A few drops of mild dish soap
- Cotton swabs for tight spots
- A dry towel for finishing
Why This Method Works
Most fan grime is loose dust layered over a light film of oil and moisture from the air. Vacuuming removes the bulk of the dust first, so you aren’t just smearing it around. A mild dish soap solution breaks down that oily film without the risk of harsh chemicals, and a damp cloth lifts the residue. Keeping the cloth only slightly damp protects the motor and any painted or printed surfaces.
How to Clean It
- Unplug the fan and make sure the power cord is out of the way.
- Remove the front and rear grille if your model unclips. Check the manual first if you’re unsure how it comes apart.
- Vacuum the grille, blades, and motor housing with the brush attachment to remove loose dust.
- Dip a toothbrush in the soapy water, shake off the excess, and gently scrub the wire grille and any tight corners.
- Wipe the blades and hub with a cloth dampened in the soapy water, then follow with a second cloth dampened with plain water to remove soap residue.
- Use a cotton swab for the area around the motor shaft and the screw holes, keeping moisture away from the motor vents.
- Dry every part thoroughly with a towel and let the fan air dry for at least one to two hours before reassembling.
- Reattach the grille, make sure it is secure, and plug the fan back in.
How to Use It Afterward
Run the fan on low for a few minutes once it’s back together. This helps any remaining moisture evaporate and lets you check that the blades spin smoothly and the grille doesn’t rattle. Clean the fan every few weeks during heavy use to keep dust from building up again.
What to Expect
You should see a noticeable difference in brightness and clarity on the grille and hub, and the fan will usually move air more freely. Heavily stained or greasy spots may need a second pass, and very old discoloration may not fully disappear. Expect the results to look clean and fresh rather than brand new.
Helpful Tips
- Work from top to bottom so dust doesn’t fall onto areas you’ve already cleaned.
- Dust the fan with a dry cloth between deep cleanings to slow buildup.
- Wipe the blades on both sides, since dust collects on the back faces too.
- Keep a small container of soapy water handy so you can clean the grille quickly without starting over.
Important Notes and Safety
- Always unplug the fan before cleaning, and make sure it is fully dry before plugging it in again.
- Never submerge the motor or pour water into the motor housing.
- Avoid bleach, ammonia, or strong solvents, which can damage plastic, paint, and wiring insulation.
- Do not mix cleaning products together, since some combinations release harmful fumes.
- Test any cleaner on a small hidden area first if the fan has a painted or specially finished surface.
- Check your manual before disassembling, since some models have sealed parts that should not be opened.