A badly burnt pot can make you want to toss it in the trash. Before you give up on it, though, try a simple combination most kitchens already have: baking soda and dish soap. Together they form a gentle scrubbing paste that helps loosen stuck-on food and browned residue, so you can clean the pot with far less effort and without harsh chemicals.
What You’ll Need
- 1/2 cup baking soda
- 1 to 2 tablespoons blue dish soap (a grease-cutting brand works best)
- Water, as needed
Tools:
- A small glass or ceramic bowl for mixing
- A non-scratch sponge or soft scrub pad
- A wooden or silicone spoon
- Measuring cup
- Dish towel
Why This DIY Can Be Useful
Baking soda is a mild alkaline powder with a slightly gritty texture. When mixed into a paste, it gives you gentle scrubbing power that lifts residue without the harshness of abrasive cleaners. Dish soap is designed to break down grease and oily films, which are often what make burnt-on food so stubborn. Combined, the two work together to loosen the mess so it can be wiped away with less force.
How to Make It
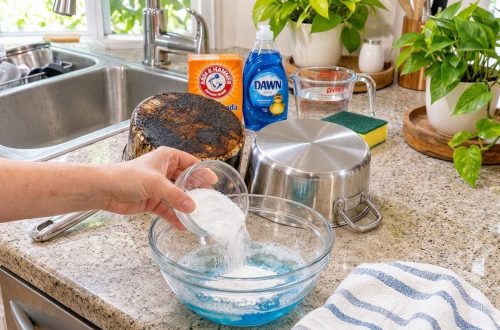
- Pour about 1/2 cup of baking soda into your mixing bowl.
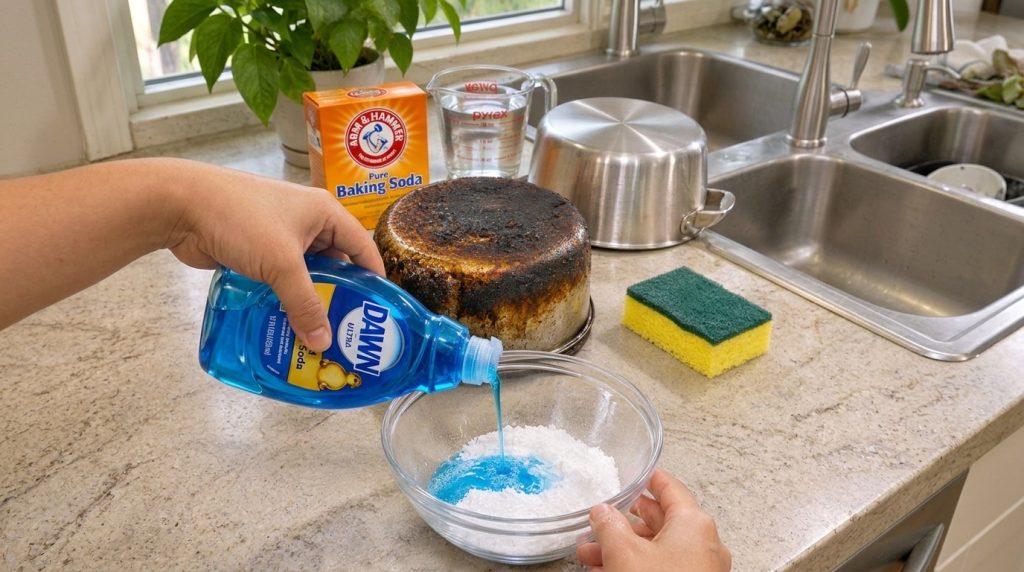
- Add 1 tablespoon of blue dish soap to the baking soda.
- Stir slowly with a spoon. Add water a teaspoon at a time until the mixture forms a thick, spreadable paste, similar to frosting. Avoid making it runny.
- Check the consistency before using it. If it slides off the spoon, add a little more baking soda. If it’s too crumbly, add a few drops more water.
How to Use It
- Let the pot cool completely before cleaning. Hot cookware can warp and can make the paste less effective.
- Empty any leftover food and rinse the pot with warm water to remove loose debris.
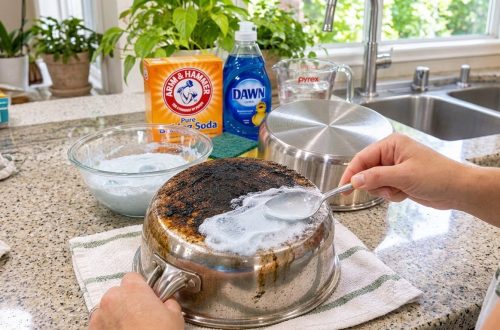
- Spread a generous layer of the paste over the burnt areas, covering the bottom and sides where the residue is thickest.
- Let it sit for 15 to 30 minutes. For heavily burnt spots, you can leave it longer, up to a few hours, as long as the paste stays moist. Add a splash of water if it starts to dry out.
- Scrub gently in small circles with a non-scratch sponge. Let the paste and soap do the work rather than pressing hard.
- Rinse the pot thoroughly with warm water to remove all the paste and any loosened residue.
- If some marks remain, repeat the process with a fresh batch of paste.
- Dry the pot completely with a clean towel before storing it.
What to Expect
Light to moderate burn marks often come off in one or two rounds. Heavily caked-on residue may need longer soaking and more than one application, and some very dark discoloration may remain on stainless steel. Results depend on how long the food was burned and the type of pot, so treat this as a practical way to make scrubbing easier rather than an instant fix.
Helpful Tips
- Soaking the pot with a little warm water before applying the paste can make the residue easier to loosen.
- Use a plastic scraper or wooden spatula to lift off any large, loose pieces before you start scrubbing.
- Keep a spare sponge handy so you can switch to a clean one if the first becomes coated with residue.
Important Notes and Safety
- Check your cookware material first. This method is generally suitable for stainless steel, but avoid aggressive scrubbing on nonstick, aluminum, or delicate coated surfaces, as they can be scratched.
- Do not mix baking soda with vinegar or other acidic cleaners in the same pot, as this can cause fizzing and reduce cleaning effectiveness.
- Rinse thoroughly after cleaning so no soap or baking soda residue is left behind on your cooking surfaces.
- Keep cleaning paste out of reach of children and pets, and store leftover paste in a sealed container if you plan to use it within a day or two.
With a little patience, this simple paste can help bring a burnt pot back into everyday use.